restylai blog
Remove Furniture From a Photo With AI (Step by Step)
Updated July 19, 2026 · by the restylai team
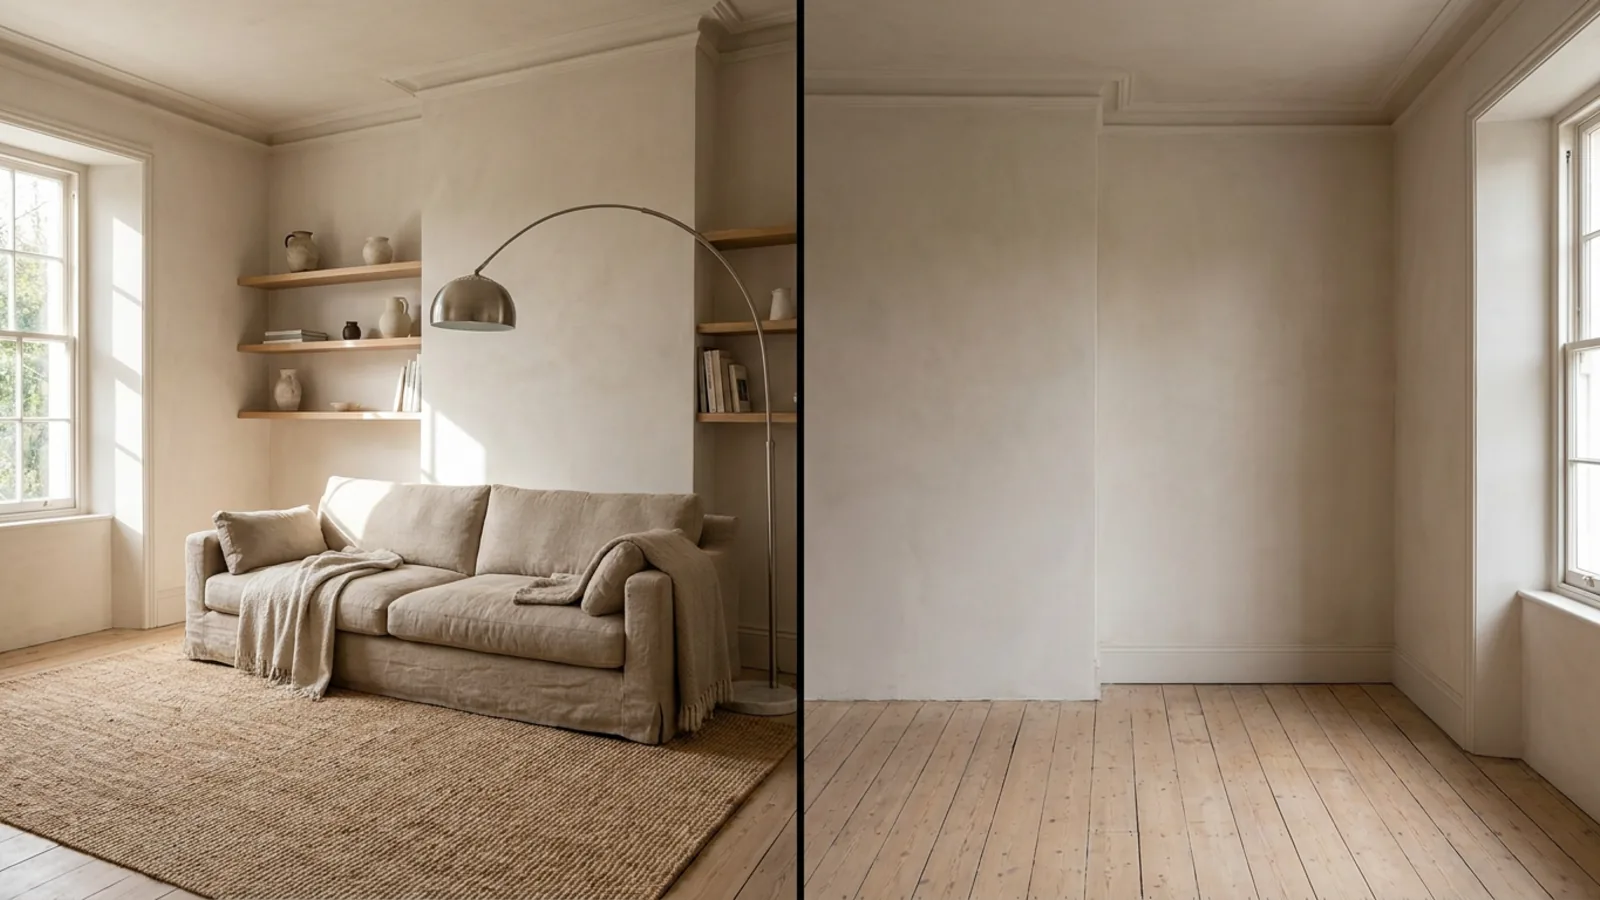
There are moments when a room needs to be seen empty. Before planning a redesign, it helps to look at the bare space without the current furniture in the way. When a home is being listed, a clean, uncluttered photo reads larger and calmer. And sometimes a single distracting object, a stray cord, a bin, an old chair, is all that stands between a photo and a clean result. In each case the answer is the same: remove the furniture from the photo, digitally, without moving a thing in the real room.
This guide covers what furniture removal actually does, how to do it in three steps, when to clear a whole room versus a single object, what AI handles cleanly and where it struggles, and how emptying a photo sets up the natural next step of restaging the space.
What removing furniture from a photo actually means
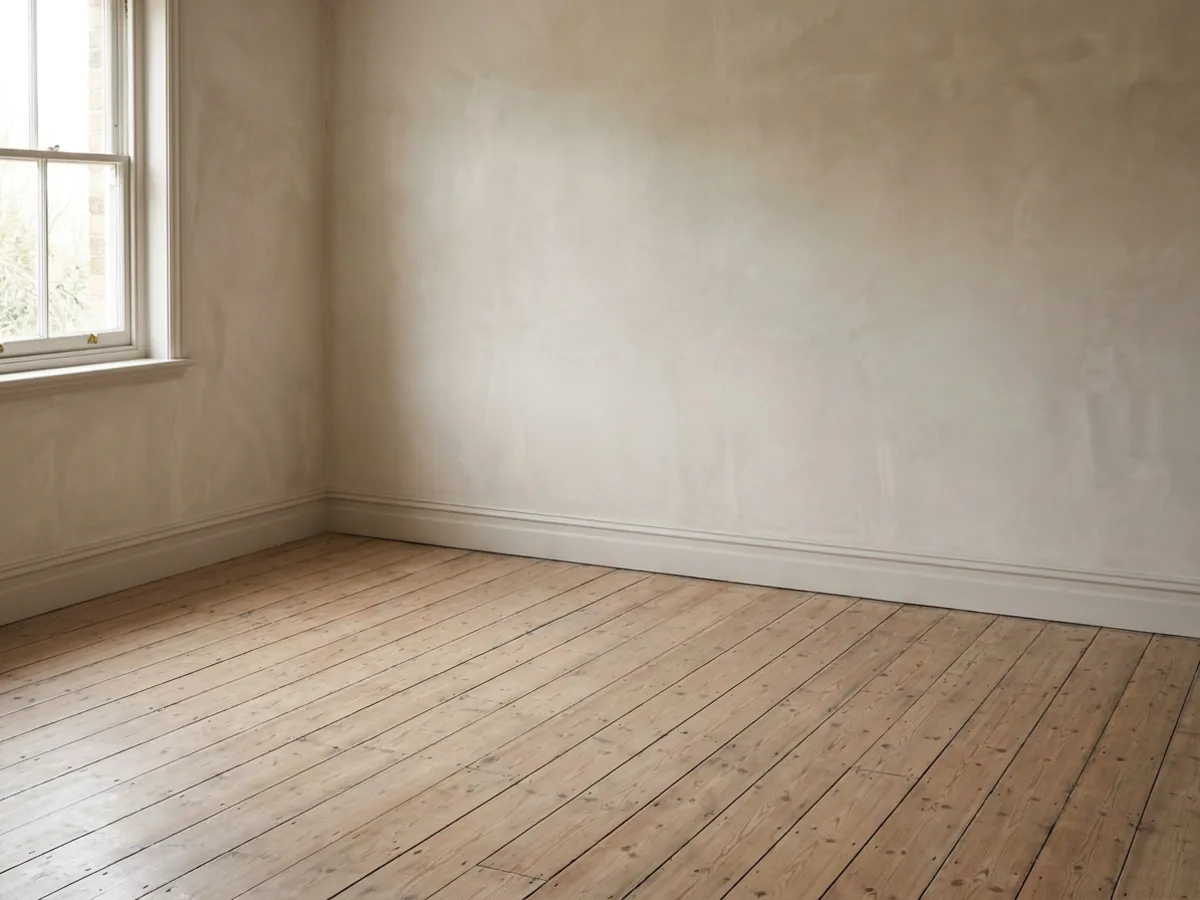
 Before
Emptied
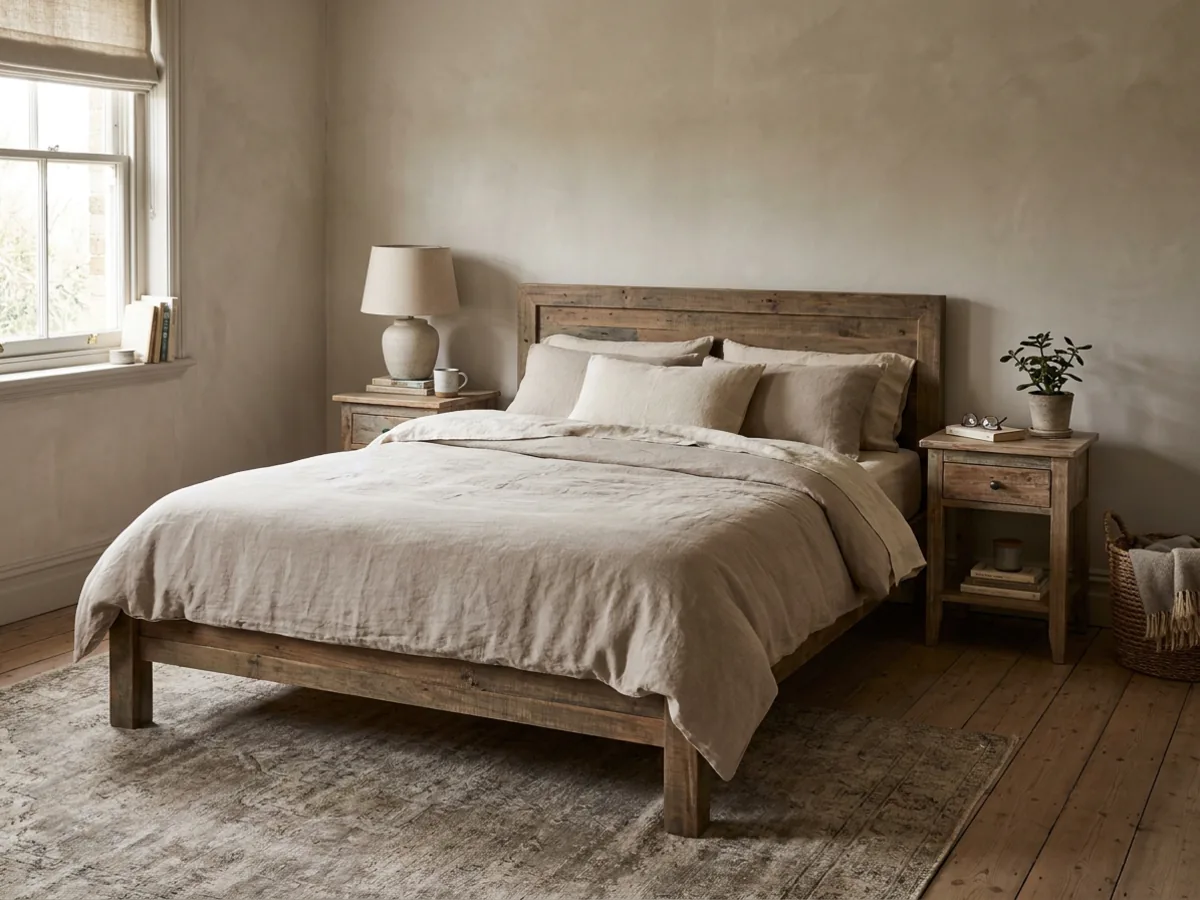
Before
Emptied
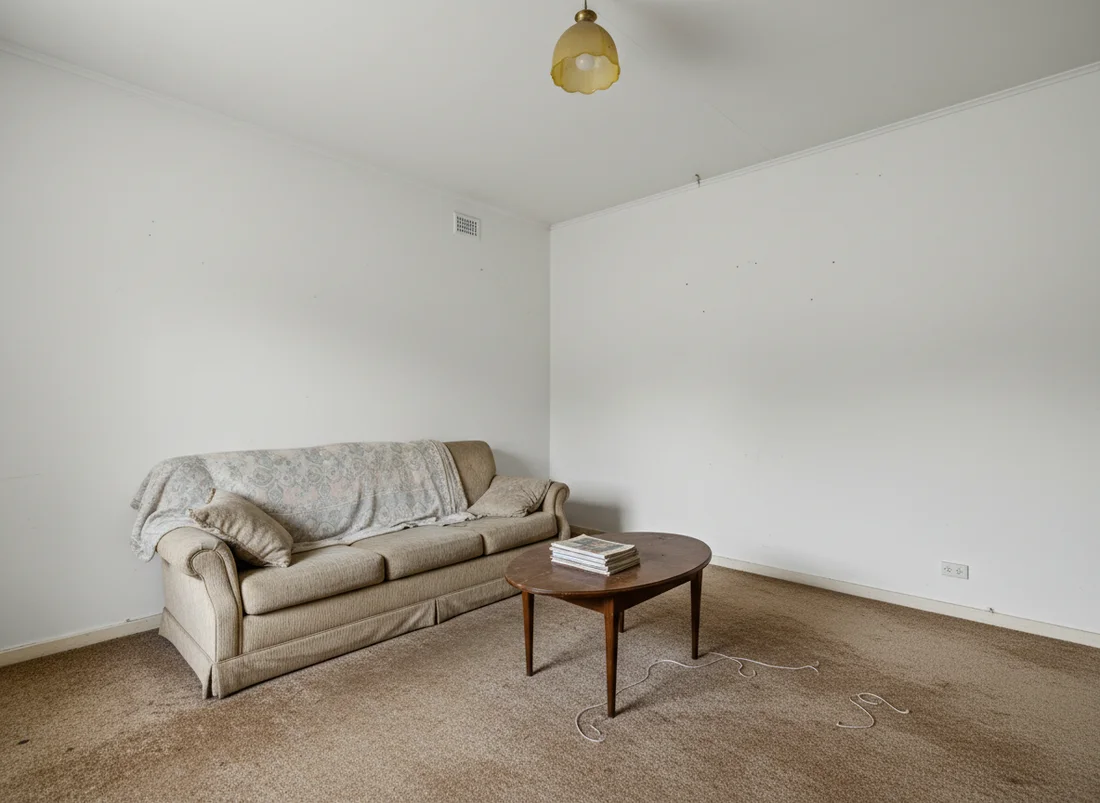
Removing furniture from a photo, sometimes called virtual decluttering, is a photorealistic edit of one real photo. The AI erases the movable items, the sofa, the bed, the clutter, and rebuilds the floor and wall that were hidden behind them, so the result looks like a photograph of the same room standing empty. The architecture stays exactly as it was: the windows, the proportions, the ceiling, the real light.
The reconstruction is the clever part. When a sofa is removed, the floor and skirting board that were hidden behind it have to be invented convincingly, matched to the boards and the light on either side, so the eye reads a continuous empty floor rather than a patch. A good result looks like the room was simply photographed empty, with no seam where the furniture used to be. That is a very different thing from crudely painting over an object, and it is why the output can stand in as a genuine picture of the bare space.
The important distinction is that it edits pixels, not the room. Nothing physical moves. You are not clearing the space or hiring movers, you are producing a picture of the space without its current contents. That is what makes it fast and reversible: the real room is untouched, and you can empty it, restage it, or try ten variations, all from the single photo you started with.
How to remove furniture from a photo in three steps
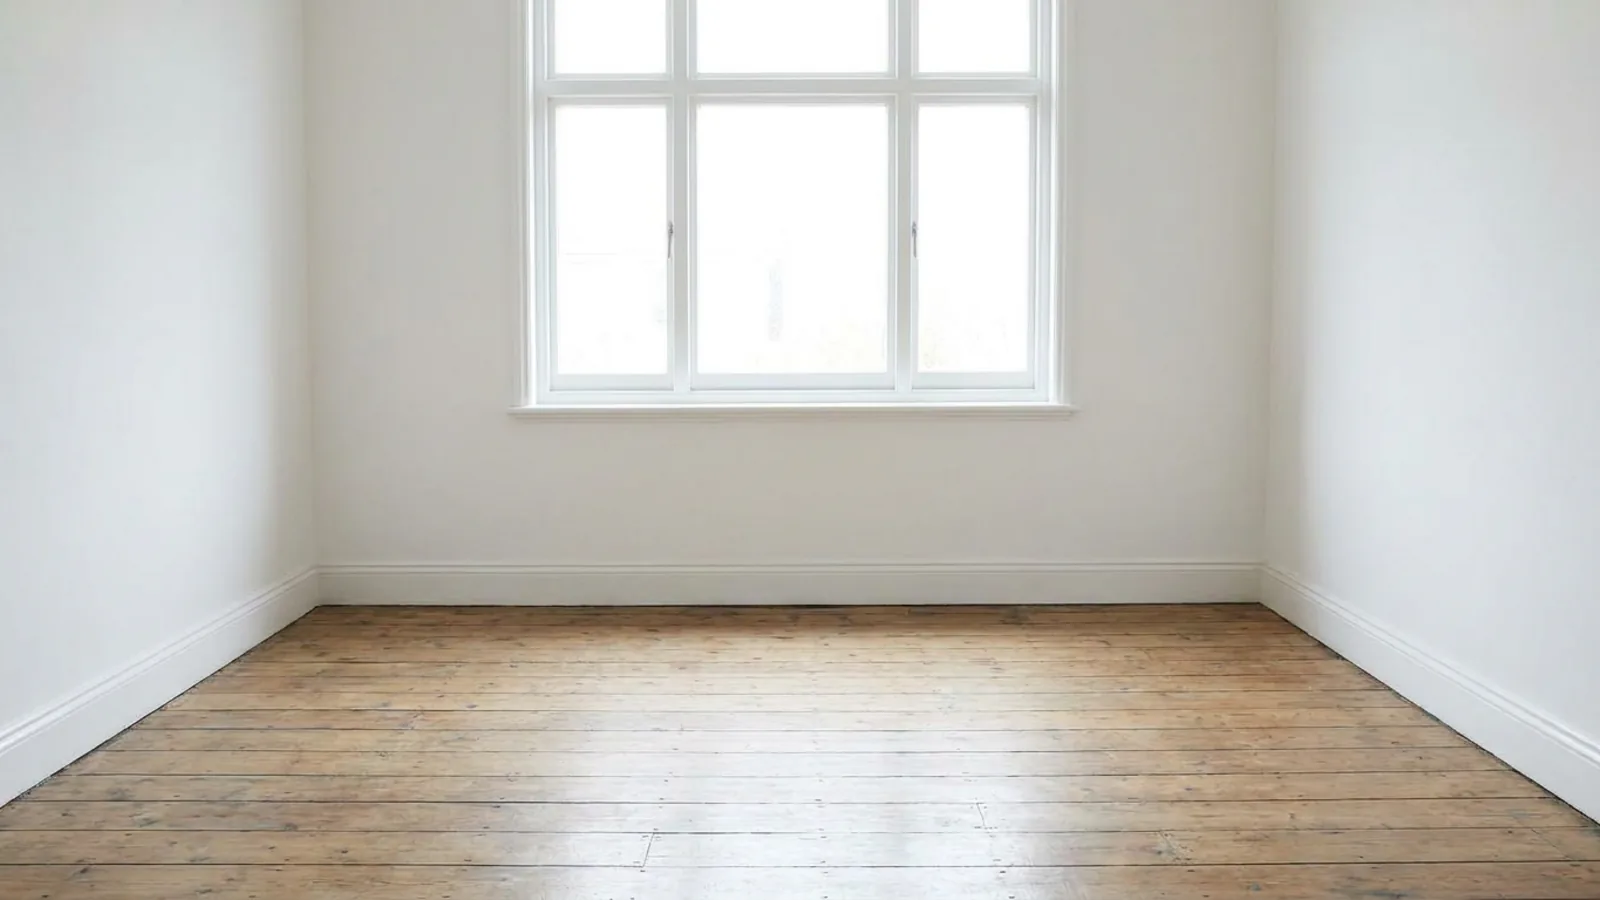
 Before
Cleared
Before
Cleared
The whole process is three steps:
- Photograph the room in good light. A straight-on shot in even daylight gives the AI the most to work with and the cleanest result.
- Upload the photo. Choose to clear the whole room or select the specific items you want gone.
- Download the emptied result. The room comes back cleared, with the floor and walls reconstructed behind where the furniture was.
That is the entire workflow, and it takes seconds rather than the hours a manual photo editor would spend cloning floor and wall by hand. Because it works from an ordinary photo, you do not need any special equipment, just a clear picture of the room. If the first result is not perfect, a better input photo, described in the photo-tips section below, usually fixes it.
Clear the whole room or remove one object
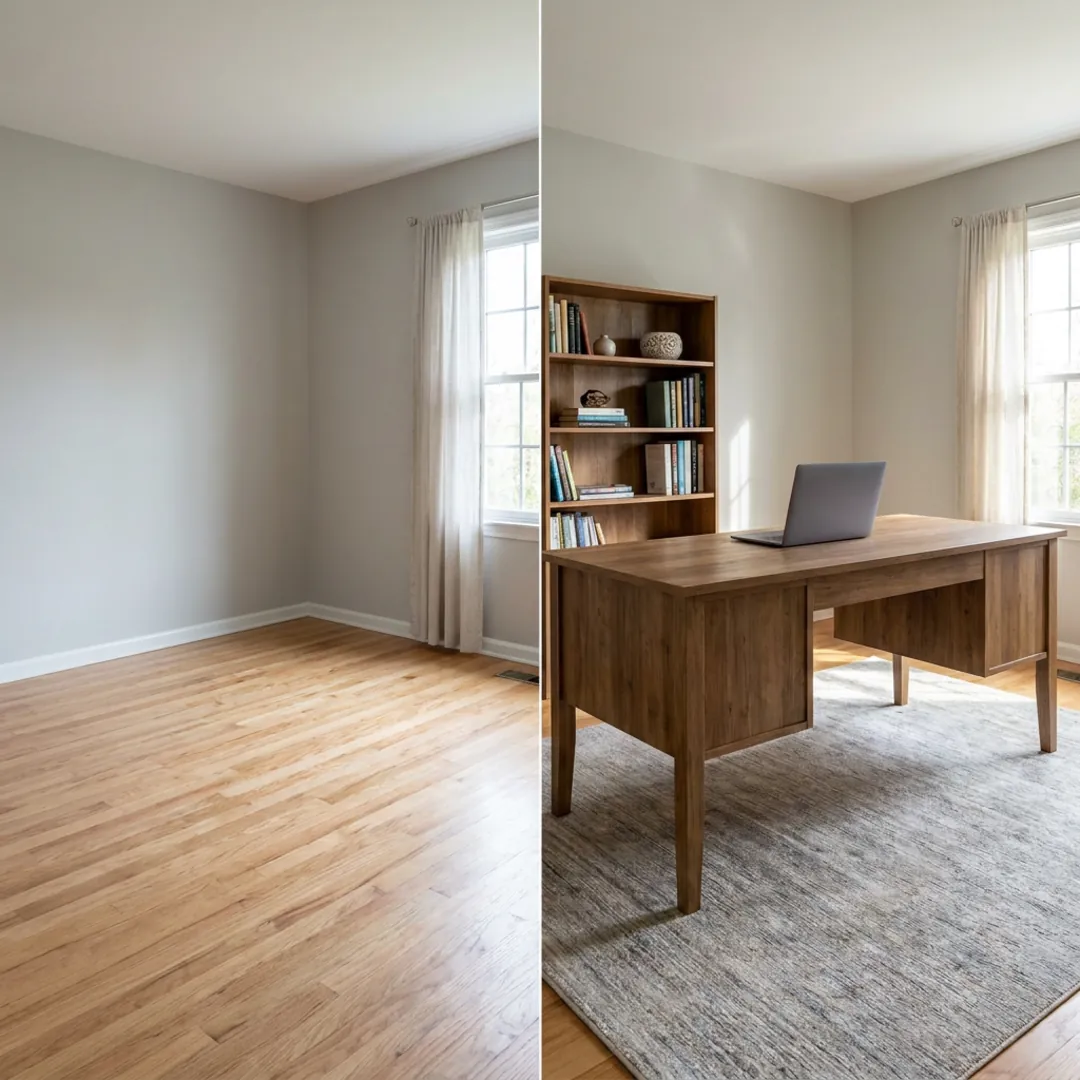
There are two ways to use furniture removal, and they suit different jobs. A whole-room clear empties the space completely, which is what you want before restaging or when you need a blank canvas to plan a redesign. A single-object removal takes out just one item and leaves everything else exactly in place, which is the right tool when a photo is almost perfect and one thing is spoiling it.
Single-object cleanup covers a surprising amount of everyday photo fixing: a power cord snaking across the floor, a bin in the corner, a mismatched chair, a box someone left in shot. Removing that one distraction, while the rest of the room stays untouched, is often all a photo needs. Whole-room clearing is the bigger move, and it is the one that leads naturally into staging the space fresh. Knowing which you need saves time: reach for the whole-room clear when you are starting over, and single-object removal when you are polishing.
What AI removes cleanly, and where it struggles
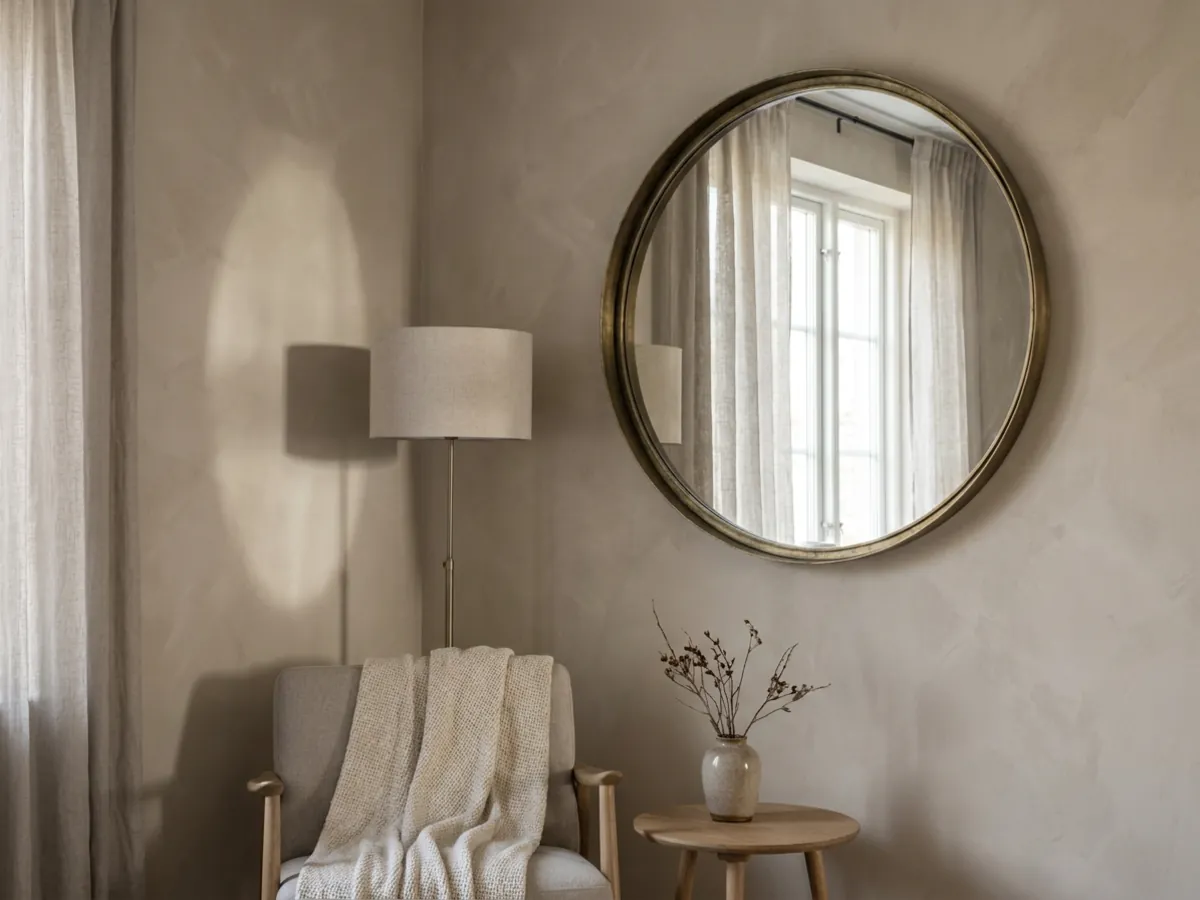
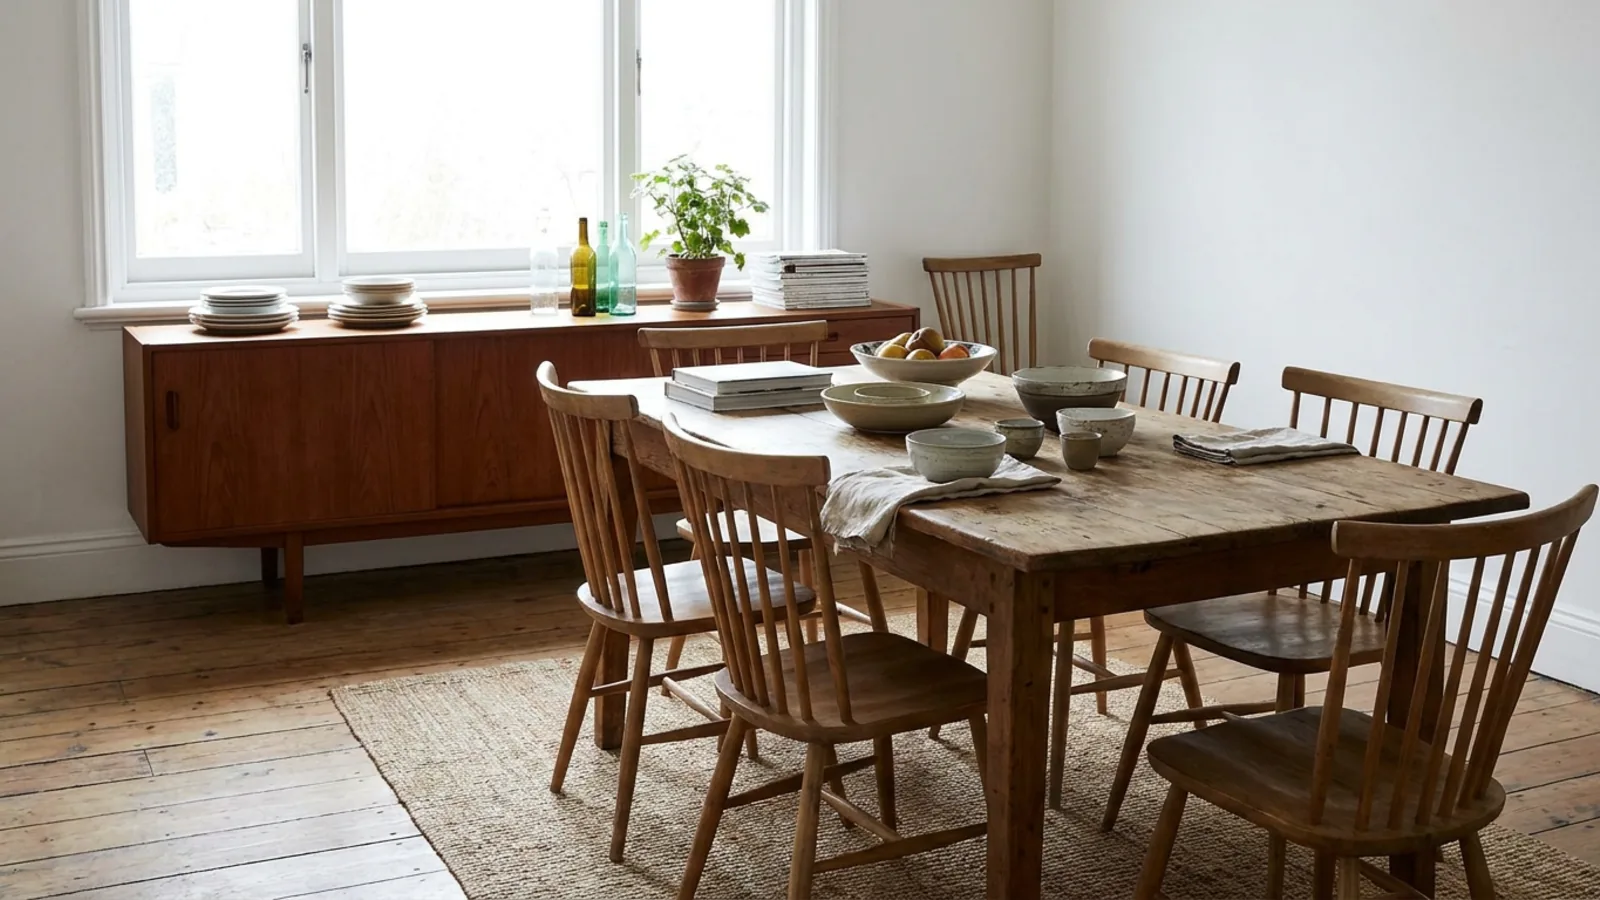
Being honest about the limits is what makes the tool trustworthy. AI removal is very clean on the common cases: furniture sitting on a plain floor, sofas and tables against a simple wall, and small clutter on surfaces. In those situations the reconstruction behind the object is straightforward and the result is usually convincing on the first try.
It works harder in a few specific situations, and knowing them helps you get a good result:
- Mirrors and reflections. A mirror reflects the very furniture you are removing, so the reflection has to be rebuilt too. Keep large mirrors out of frame where you can.
- Cast shadows. A heavy shadow on the floor or wall can linger after the object is gone. Even, soft light avoids this.
- Items overlapping windows. Rebuilding a window and the view behind a removed object is harder than rebuilding a plain wall.
- Wall-mounted fixtures. Shelves, sconces, and anything fixed to the wall leave a more complex patch to reconstruct.
None of these are dealbreakers, they are just cases where a cleaner input photo, or a second attempt, pays off. When you know where the tool struggles, you can shoot around it and get a clean result the first time.
Declutter first, then restage the empty room
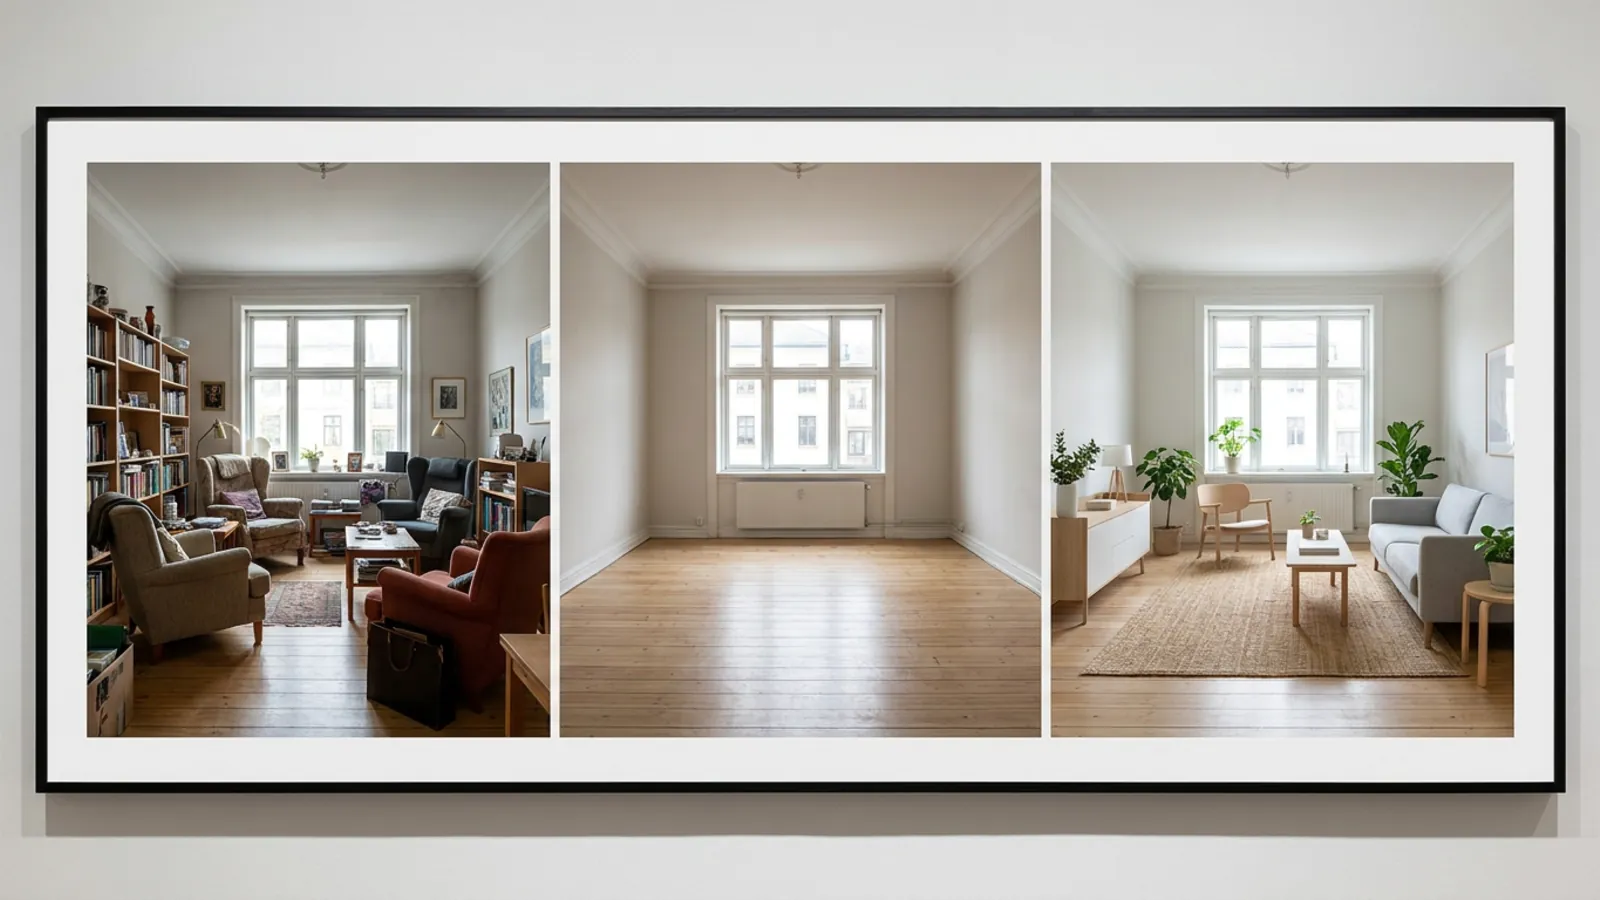
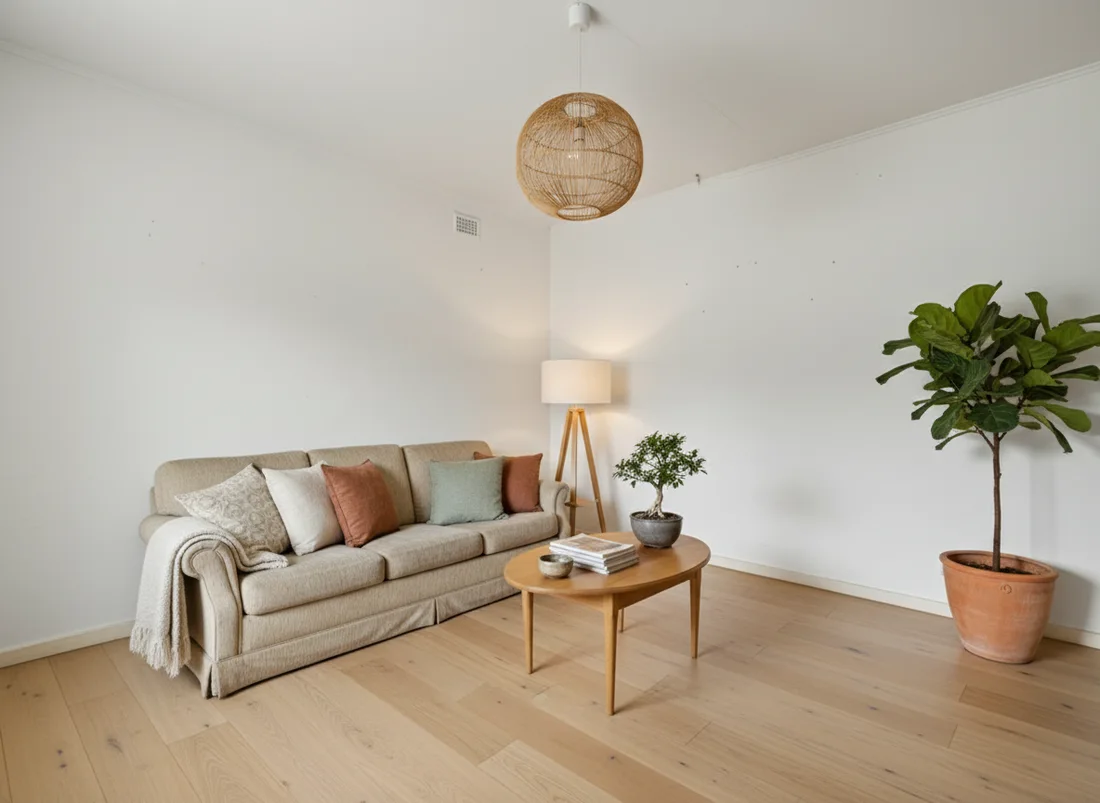
Emptying a photo is rarely the end goal, it is usually the first step. Once the room is cleared, you have a clean canvas to fill however you like, and this is where furniture removal becomes genuinely powerful. You can take the emptied room and stage it with new furniture, or restyle the whole space in a different look, all from the same starting photo.
That declutter-then-stage workflow is the heart of it. Clear the current furniture, then add new furniture back with virtual staging, or restyle the emptied room with AI room design from a photo. From there you can redesign the room in a different style entirely, or plan the new layout with the AI room planner. The same approach restages a kitchen or a bedroom. Removing what is there is simply how you make room for what could be.
A worked example makes it concrete. Say a living room is crowded with a previous owner's heavy furniture and dark bookshelves. Clear it to an empty shell first, so the real proportions and the window light are visible with nothing competing for attention. Then stage that empty shell in a light Scandinavian look, a pale sofa, a low table, a rug, a plant, and you have taken one ordinary photo to a clean, aspirational version of the same space. The emptying step is what makes the staging believable, because the new furniture sits in a genuinely clear room rather than on top of the old one.
Photo tips for a clean result
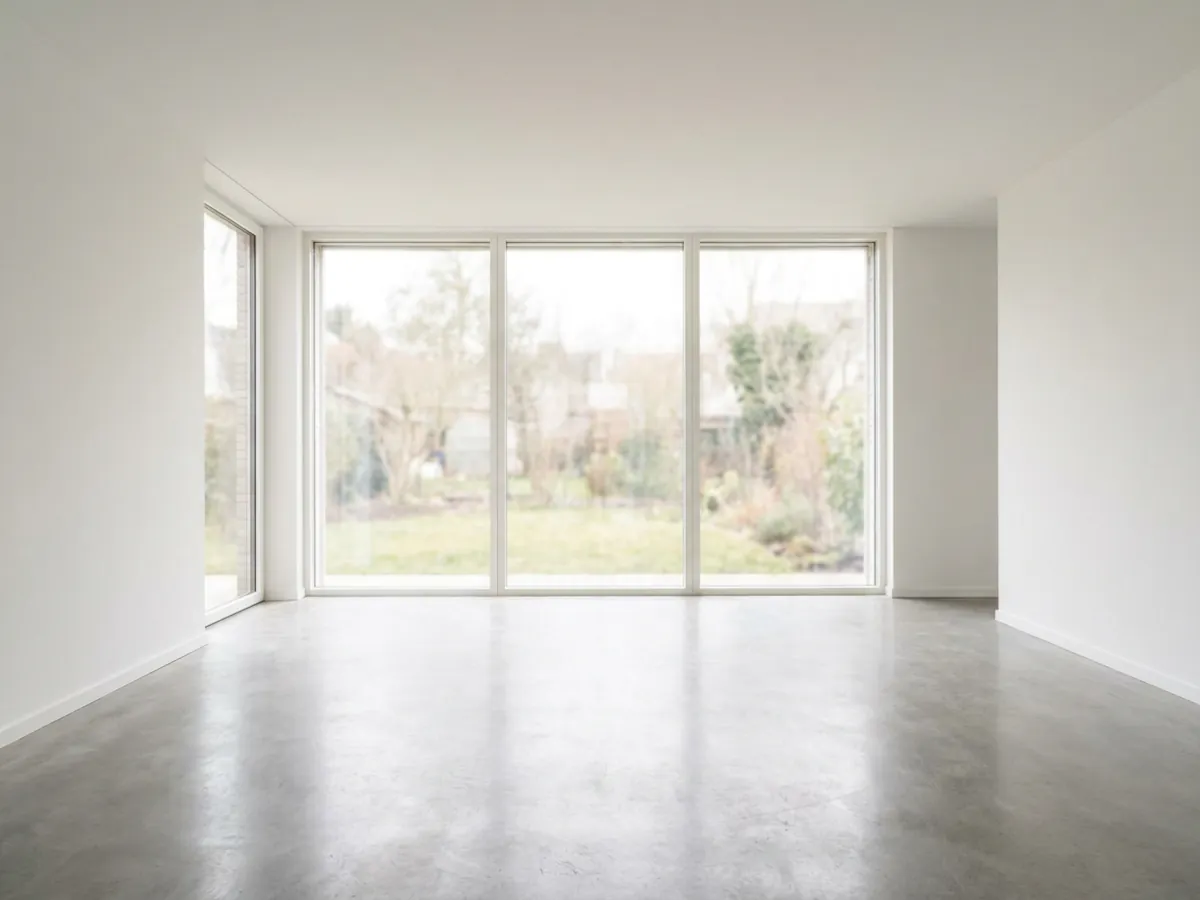
The cleaner the input, the cleaner the output. A short checklist gets you most of the way:
- Shoot straight-on. A level, front-facing angle is easier to reconstruct than a steep or tilted one.
- Use good, even light. Soft daylight avoids the heavy shadows that can linger after removal.
- Keep mirrors out of frame where you can, since reflections are the hardest thing to rebuild.
- Shoot at higher resolution. More detail in equals more detail out, so use a clear, sharp photo rather than a small or blurry one.
These are the same habits that make any interior photo better, so they are worth building anyway. A single clean, well-lit, straight-on photo will nearly always beat several rushed ones, and it is the surest way to get a convincing empty room on the first render.
What an emptied room photo is used for
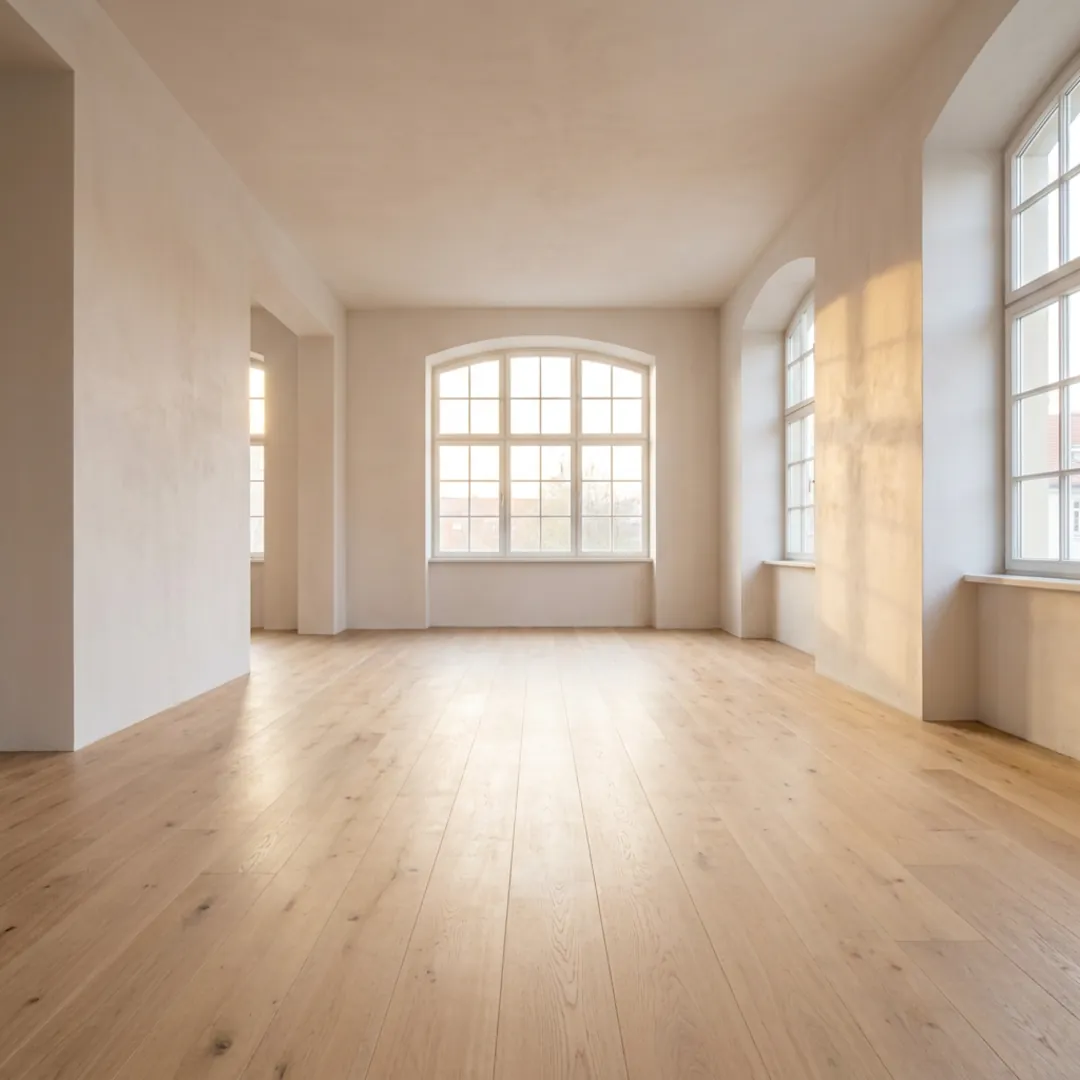
An empty room photo is useful in more situations than it first seems. It gives you a clean starting point to preview a space before a redesign, so you can plan without the current furniture distracting the eye. It helps a room read larger and calmer, because clutter and heavy pieces make a space feel smaller than it is. And it prepares a blank canvas before staging a home that is being listed, so the styling starts from a clear space rather than someone else's belongings.
The common thread is that an empty room is a decision-making tool. It strips a space back to its bones, its size, its light, its proportions, so you can judge the room itself before adding anything. Whether the next step is a redesign, a staging pass, or simply a cleaner set of photos, starting from empty makes every choice that follows easier to see.
Being honest when a listing photo is edited
When an edited photo is used to present a home, honesty is not optional, it is the whole point of keeping trust. The principles are simple and worth stating plainly. Label edited or virtually staged photos as edited, so anyone viewing them knows what they are looking at. Never erase permanent fixtures or defects that a buyer needs to see, a support column, a radiator, a window that opens onto a wall, because hiding those crosses from styling into misleading. And keep an unedited photo of the real space available alongside the edited one.
Used this way, furniture removal is a presentation and planning tool, not a way to deceive. The goal is to show a space at its best and to help people picture its potential, while keeping the picture truthful about what the space actually is. Follow those principles and check any local rules that apply to listing photos, and an edited empty-room image is both useful and fair.
What furniture removal costs
Traditionally, emptying a room in a photo meant paying a photo editor to clone floor and wall by hand, charged as a per-photo fee that adds up quickly across a whole set of listing images. It is careful, skilled work, and the cost scales with every photo you need done. AI removal changes that shape: instead of paying per photo, you work on your own images as many times as you need.
With restylai, the first render is free, and clean high-resolution downloads and unlimited renders come with a subscription rather than a per-image charge. That makes it practical to empty a whole set of photos, try variations, and restage the results without the cost climbing with each one. It is worth comparing the full interior design software if you want staging and redesign in the same place. For a finished look on an emptied room, see an emptied living room restaged in a Scandinavian look or a Japandi bedroom.
Empty your room in one photo
The fastest way to see a space clearly is to see it empty. Take a straight-on photo of the room, upload it, and get it back cleared, with the floor and walls rebuilt behind the furniture. From there you can restage it, redesign it, or simply keep the cleaner photo. The first render is free with no signup. Upload a room photo and empty it now.
Frequently asked questions
Can AI remove furniture from a photo? +
Yes. You upload one photo and the AI erases the furniture and rebuilds the floor and wall behind it, keeping the room's structure, windows, and light intact. It edits the photo, so nothing physical in the room moves.
How do you empty a room in a photo? +
Upload a clear, straight-on photo in good light, choose to clear the whole room or select single items, then download the emptied result. The floor and walls are reconstructed behind wherever the furniture stood.
Can AI remove just one object instead of everything? +
Yes. You can clear an entire room or remove a single item such as a chair, a cord, or a wall hanging while everything else stays exactly in place. Single-object removal is the right tool when a photo is almost perfect and one thing is spoiling it.
Does removing furniture change the room's walls or floor? +
No. It reconstructs the surfaces that were hidden behind the furniture and leaves the real architecture, windows, and proportions unchanged. The result looks like a photograph of the same room standing empty.
Can I remove furniture from a photo for free? +
You can see your first render free on the homepage with a watermarked result. A subscription unlocks clean high-resolution downloads and unlimited renders, so you can empty and restage a whole set of photos without a per-image charge.
What photo works best for furniture removal? +
A straight-on shot with even light and higher resolution gives the cleanest result. Avoid heavy shadows and large mirrors in frame where you can, since reflections and cast shadows are the hardest things to reconstruct.
Is it okay to use an edited empty-room photo in a listing? +
Yes, as long as you disclose that the photo is edited or virtually staged, never hide permanent fixtures or defects a buyer needs to see, and keep an unedited photo available. Check any local rules that apply to listing photos.
Can I add new furniture after removing the old furniture? +
Yes. Emptying the photo is the natural first step before virtual staging or restyling the room in a new look, so you can clear the current furniture and then design the space fresh from the same photo.
 After
After
 Before
See it on your own room
Your room, redesigned
Upload one photo and watch your room restyled in a wide range of designer looks. Your walls, windows and layout stay exactly as they are.
Empty your room, freeOne photo. In seconds. No signup.