restylai blog
Change Floors, Walls and Cabinets in a Photo with AI
Updated July 19, 2026 · by the restylai team
Materials are the highest-stakes decision in any room and the hardest to undo. A floor, a wall color, or a kitchen finish is a real commitment of money and effort, and the one thing you cannot judge from a sample is the thing that matters most: how it looks across your whole room, in your light, against everything you already own. A swatch lies about scale and light. A whole-room render does not.
An AI material swap solves exactly that. You name one surface, and the tool repaints only that surface in your own photo while the furniture, layout, windows, and photographed light stay exactly as they are. This guide covers how to do it surface by surface, how to phrase the swap so the result is accurate, how to compare candidates honestly, and where the preview genuinely saves money, plus where it stops and a physical sample takes over.
How an AI material swap works, and what it leaves untouched
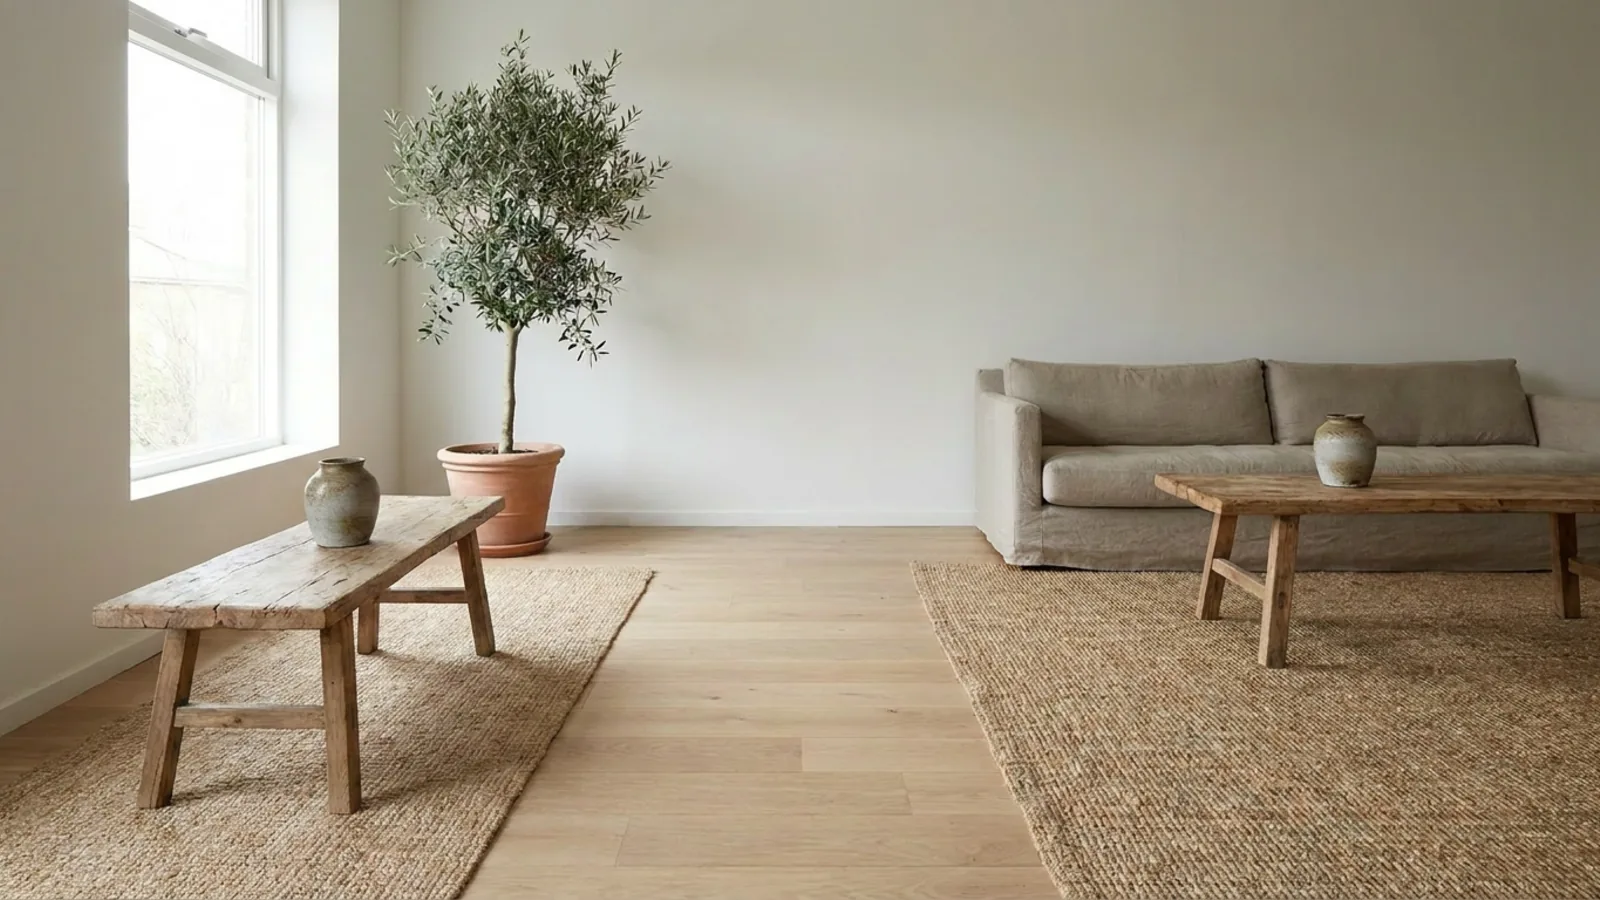
 Before
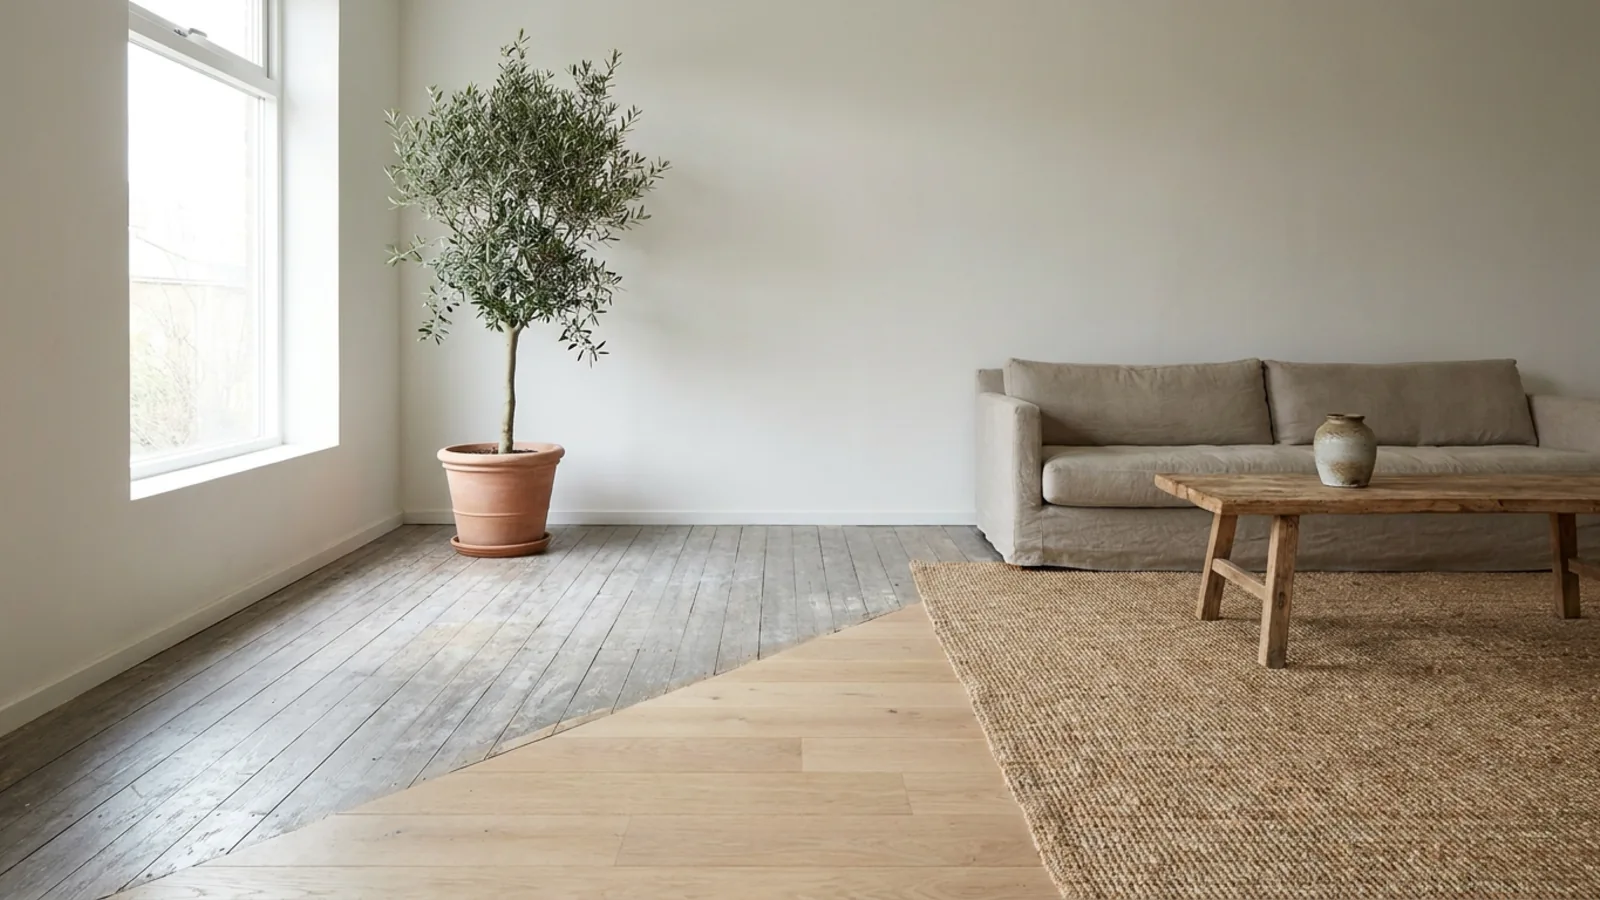
Swapped
Before
Swapped
The distinction that makes this useful is that it is a swap, not a redesign. You upload a photo, name a single surface and the material you want, and the model changes only that surface. Your sofa stays your sofa, the layout stays put, the windows and the daylight coming through them stay exactly as photographed. That is the whole point: you are seeing your actual room with one honest change, not a generic room that happens to have the floor you asked for.
Because everything else is held fixed, the comparison is fair. When you swap the floor from grey laminate to warm oak and nothing else moves, you are judging the floor and only the floor. That is what a swatch on the shop counter can never show you, and it is why a whole-room preview is the honest way to make a surface decision. You can do this with an AI room design tool from a single photo.
Floors: preview wood, tile, vinyl and stone in your real room
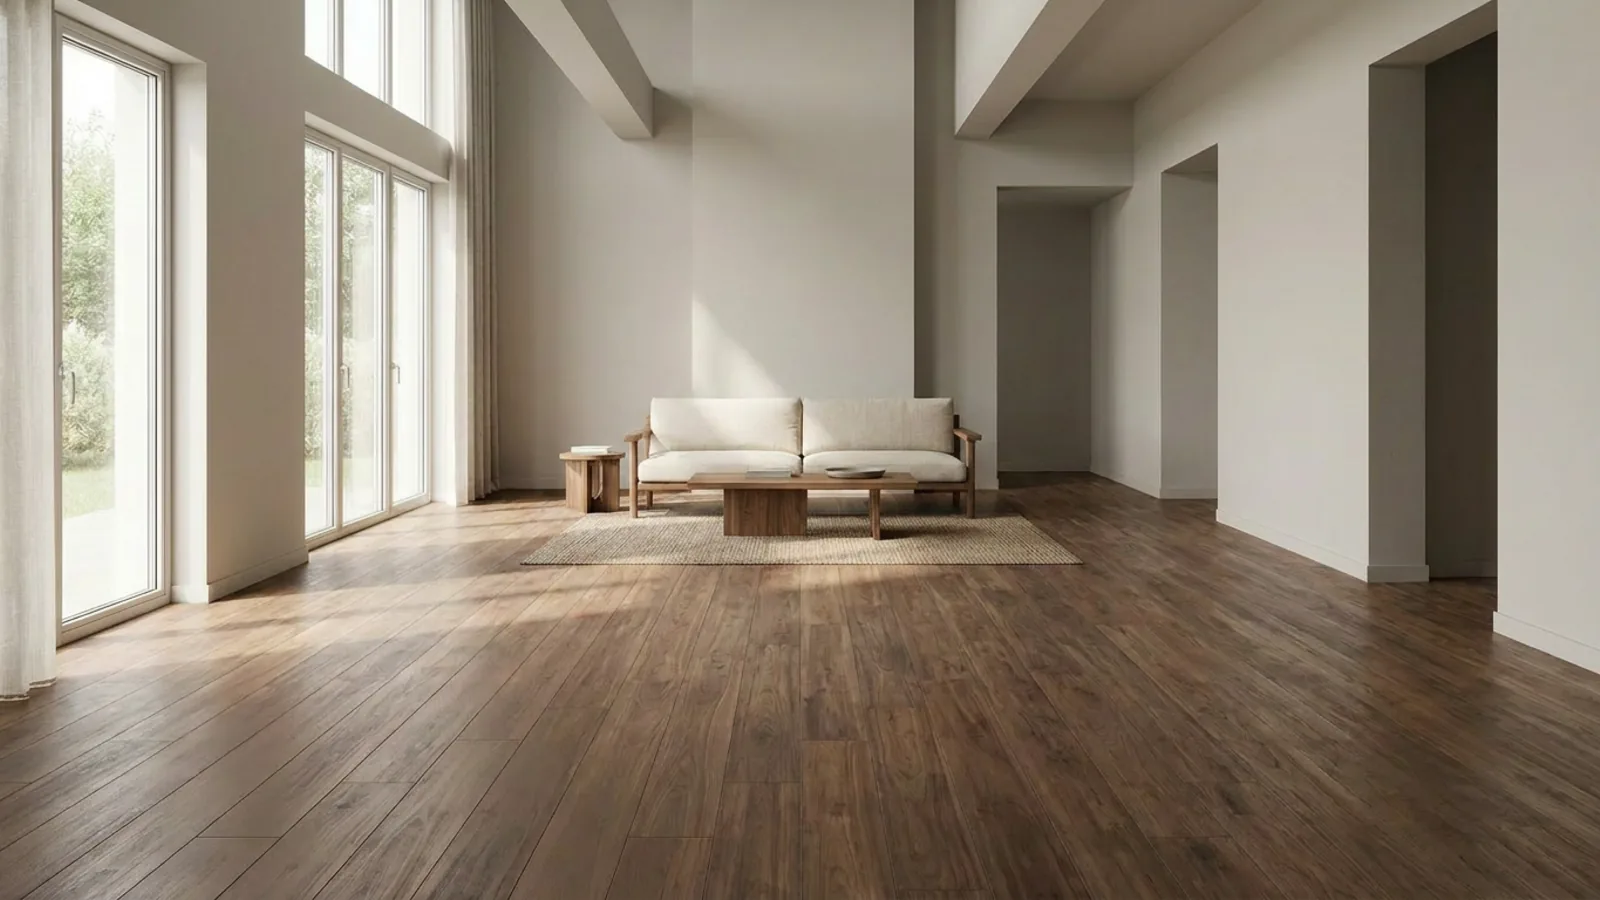
 Before
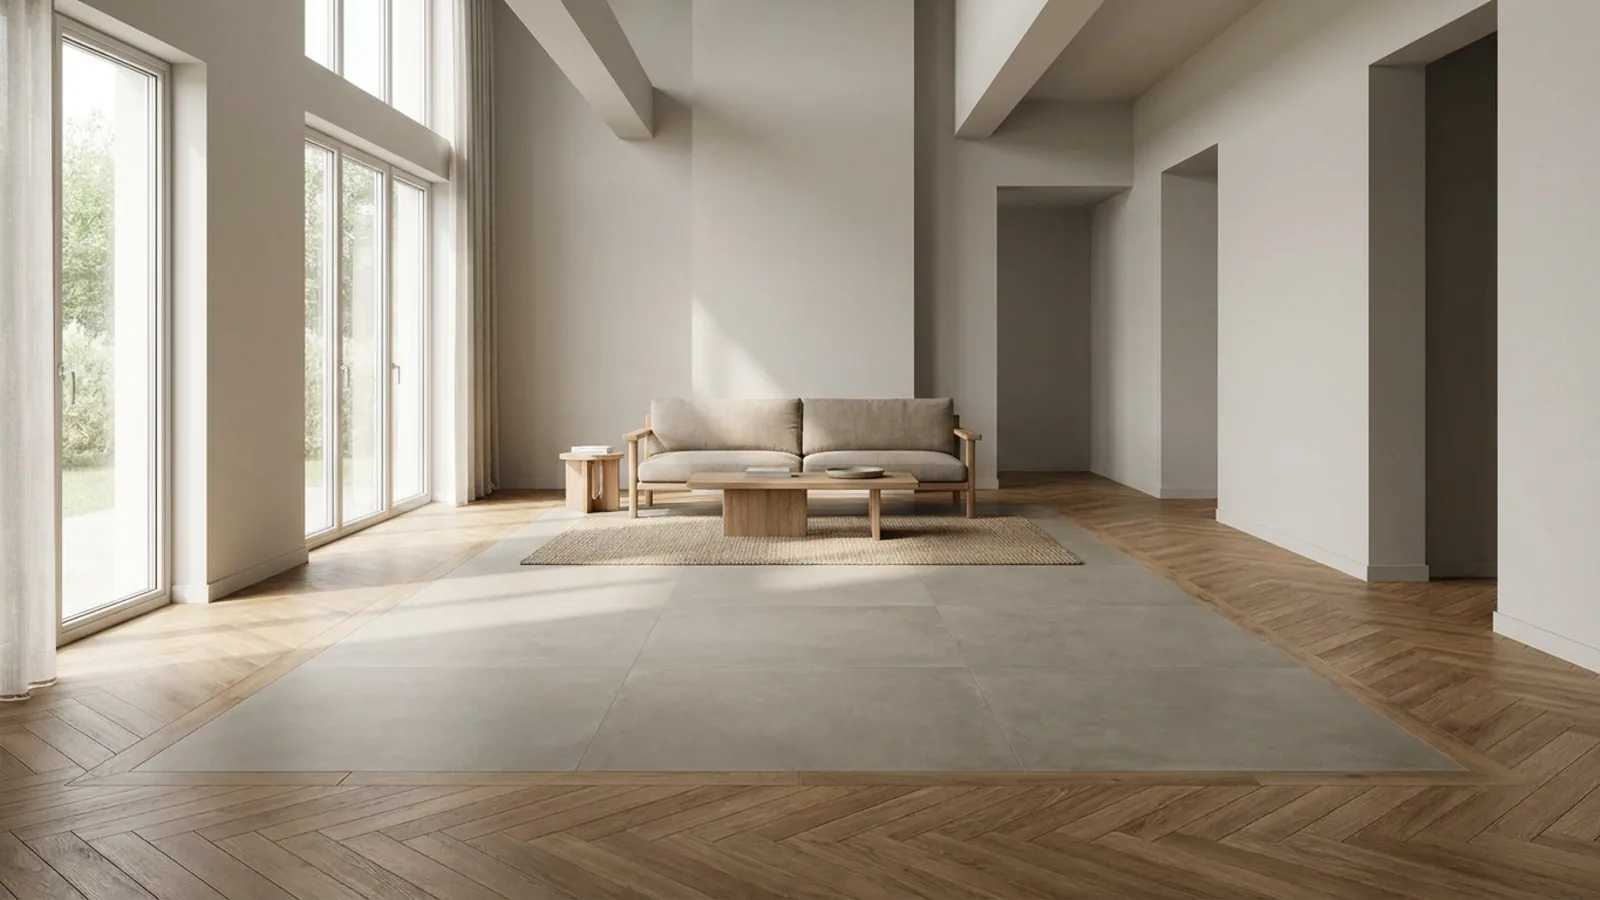
New floor
Before
New floor
Flooring is where a preview matters most, because it runs across the entire room and sets the temperature of the space. A wood tone that looks warm on a small board can read cold across a whole floor, plank direction changes how long a room feels, and the same tile behaves differently under your window than it does under shop lighting. Seeing it wall to wall, in your room, answers all of that at once.
Phrase it by material and tone: "the floor to wide-plank light oak," "the floor to warm honey-toned engineered wood," "the floor to large-format grey porcelain tile," "the floor to a natural travertine." You can test a warm option against a cool one on the same photo and see instantly which one works with your furniture, which is a decision that is expensive and disruptive to get wrong in the real world. Then redesign the room around the winning floor if you want to go further.
Walls and paint: the whole wall, in your room's own light
 Before
Repainted
Before
Repainted
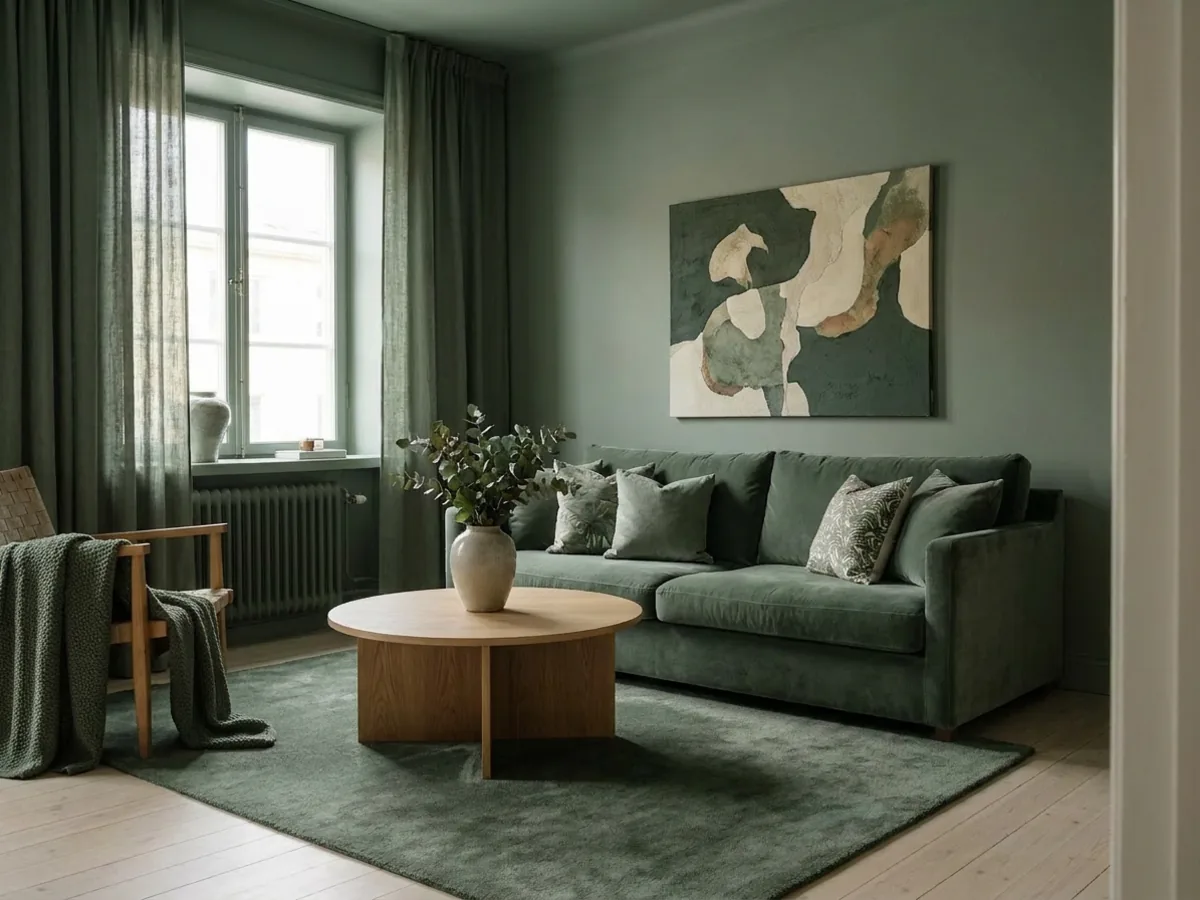
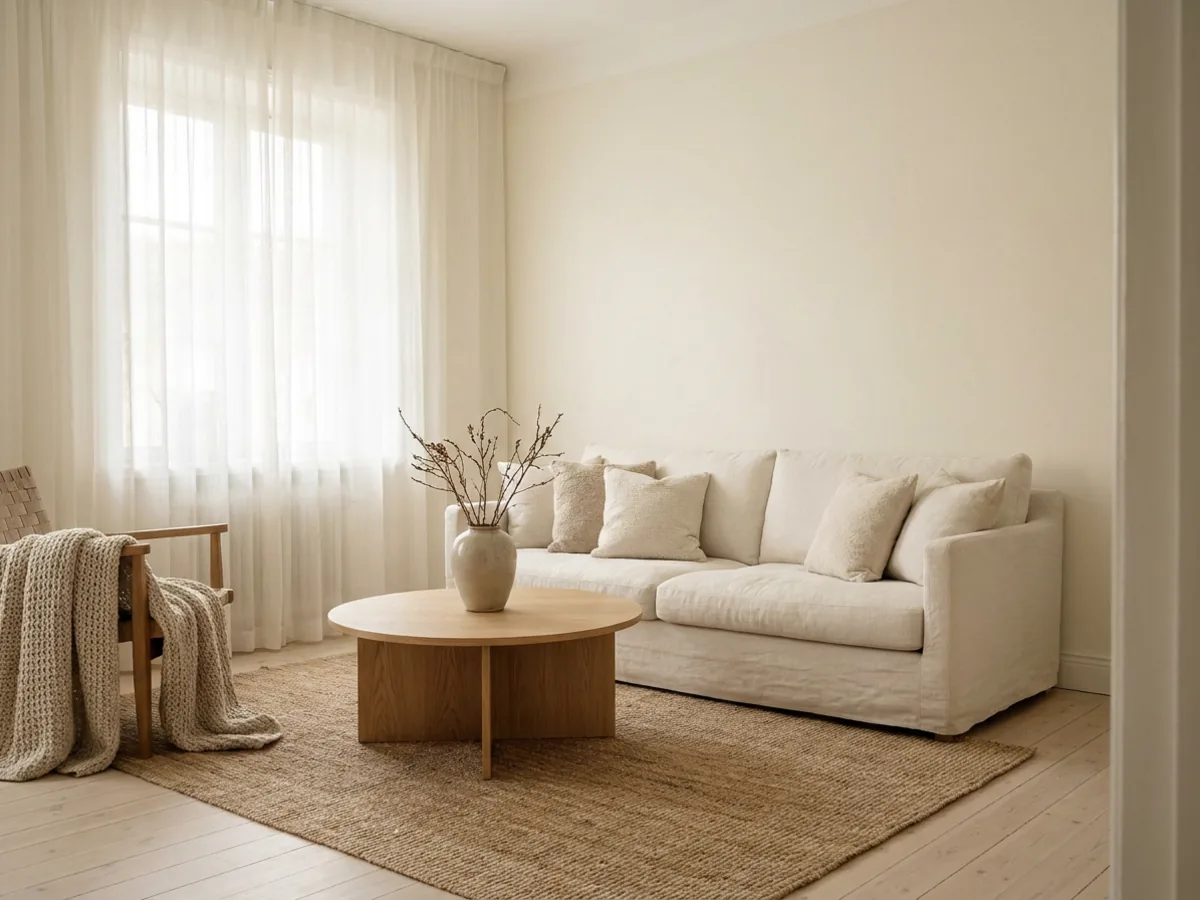
Paint is the classic swatch trap. A chip that looks like a warm greige in the shop can go cold and grey on a north-facing wall, or turn unexpectedly green next to your floor. The reason is always the same: a small sample cannot show you how a color behaves at the scale of a whole wall in your room's specific light. A whole-wall preview can.
Name the surface and the color: "the walls to a warm off-white," "the walls to a soft sage green," "the feature wall behind the bed to a deep clay." You can preview an accent wall, a ceiling color, or new trim the same way, one at a time, and see it against your existing furniture rather than a blank card. It is the cheapest possible way to avoid repainting a room twice. Try it on a bedroom where a calm wall color does the most work.
Kitchens: test cabinets, countertops and backsplash before you order
 Before
New finishes
Before
New finishes
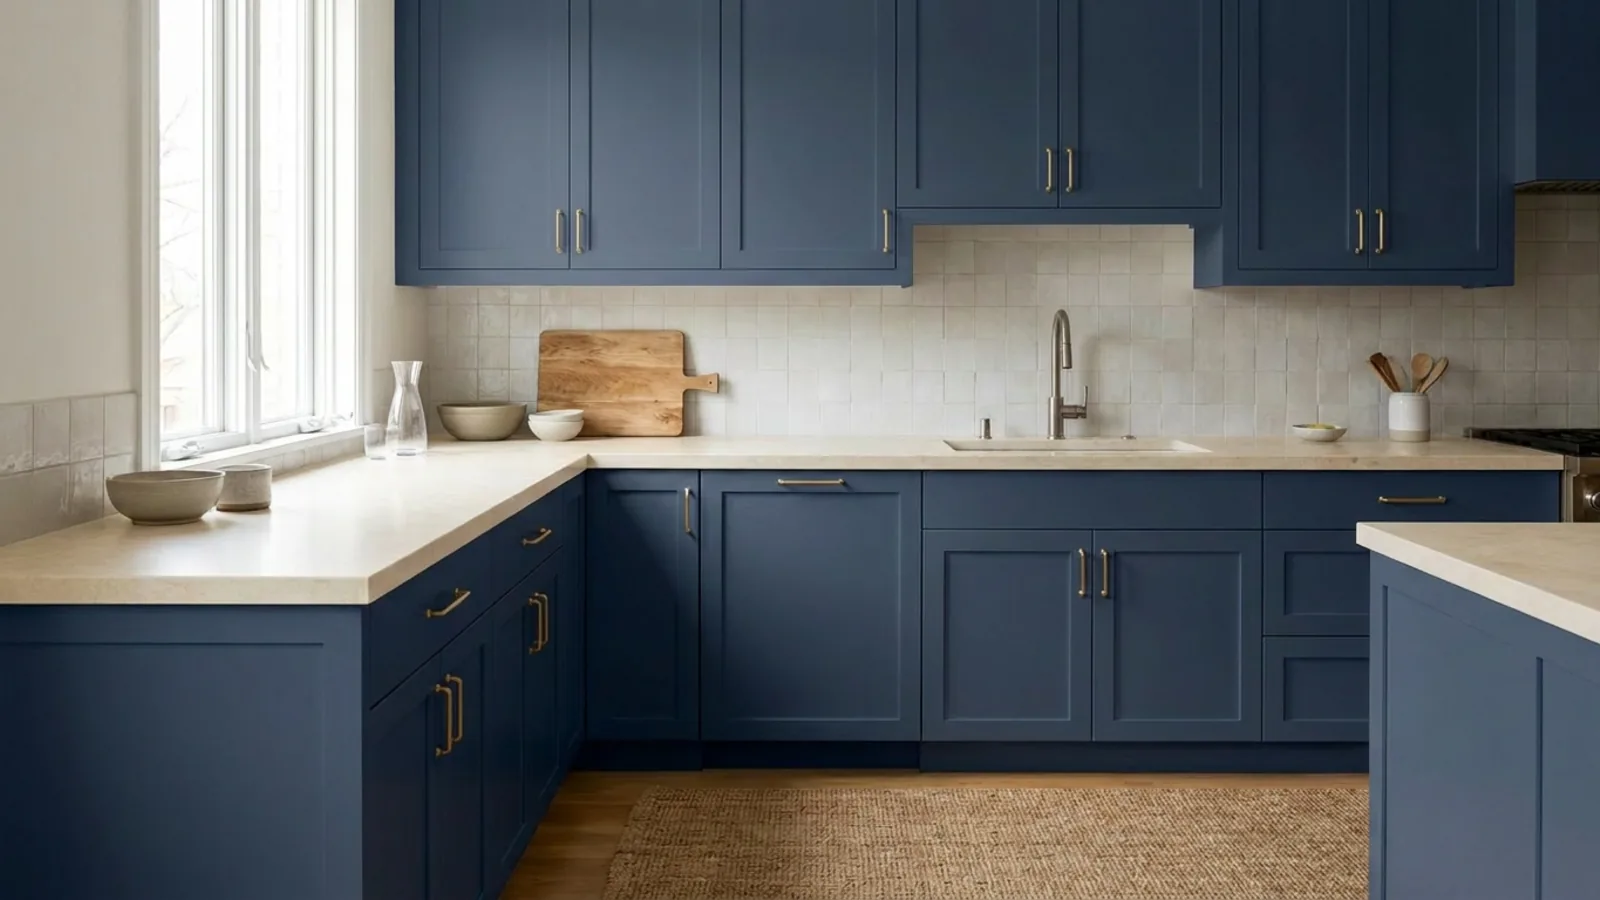
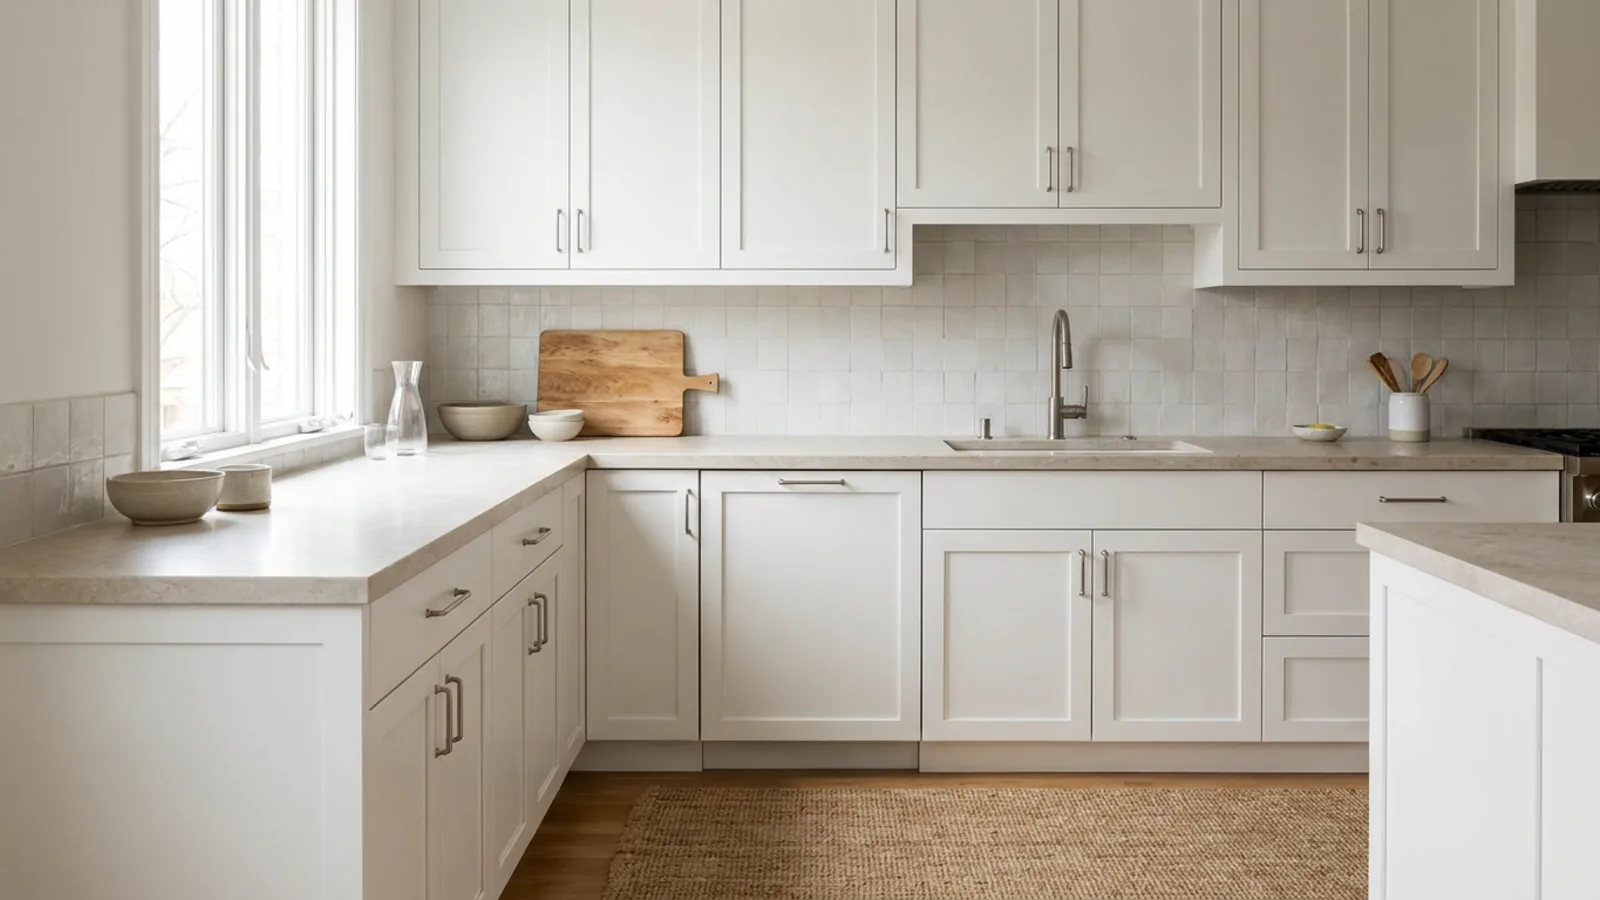
The kitchen is the highest-stakes room to get wrong, because the finishes are expensive, semi-permanent, and hard to picture together until they are installed. A material swap lets you test the three big decisions before committing a cent: the cabinet color or reface, the countertop material, and the backsplash tile, each on your actual kitchen.
Phrase each one: "the cabinets to matte navy," "the countertops to honed white marble," "the backsplash to white subway tile," "the cabinets to warm oak with a reface." Change one at a time so you can see the effect of each, then combine the ones you like. Because cabinetry and stone are ordered by the unit and installed once, this is exactly the decision where seeing it first pays for itself many times over. For the full look, AI kitchen design takes it further, and there are modern kitchen ideas to start from. Confirm the final cabinet color against a physical door sample before you order.
How to describe the swap so the result is accurate

The skill that gets a good result is describing the swap precisely. A vague request gives a vague render; a specific one gives a usable one. The formula is simple:
- Name the surface. The floor, the walls, the cabinets, the backsplash, the countertop.
- Name the material. Wide-plank oak, honed marble, matte navy paint, grey porcelain tile.
- Add a tone or finish word. Warm, cool, light, matte, glossy, honed. "The floor to wide-plank light oak, matte" beats "new floor" every time.
- Change one surface at a time. So you can judge each change on its own before combining them.
Being specific about sheen and tone is what separates a render you can decide from a render you have to squint at. If you want to change more than a surface, editing a room photo with words covers the wider set of instructions.
Compare candidates side by side before you commit
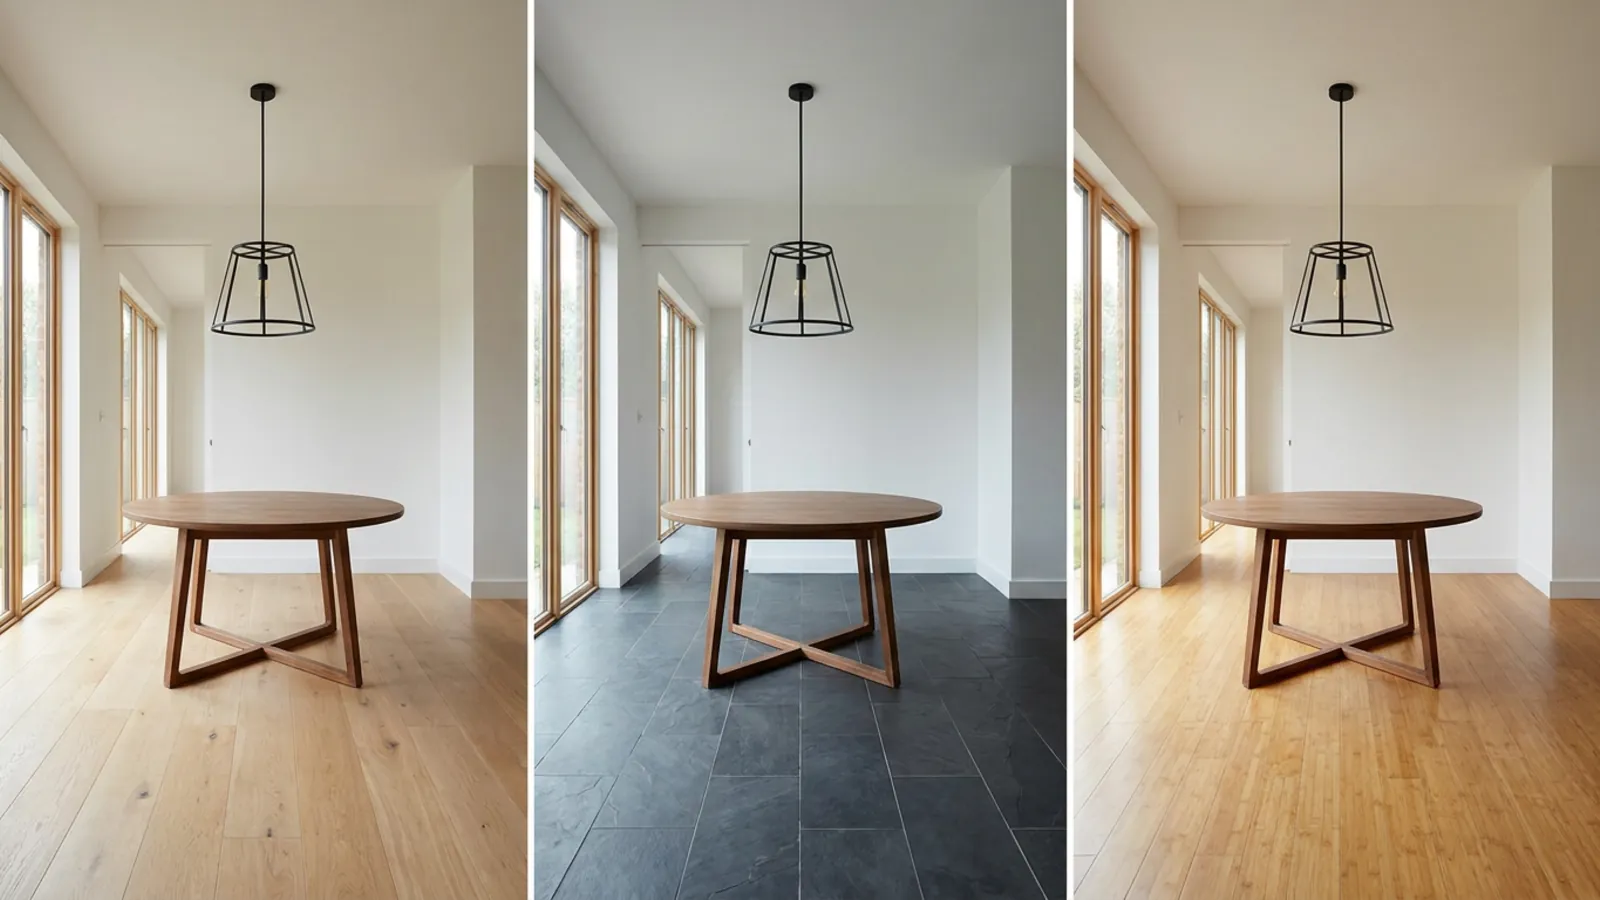
The real value comes from comparison, not a single render. Render each finalist, a light oak and a walnut floor, a navy and a sage cabinet, on the same photo, then view them together. Seeing two options of the same room side by side makes the right one obvious in a way that imagining them never does.
Judge each candidate against your fixed elements, the existing sofa, the worktop you are keeping, the daylight, rather than against a blank swatch card, because that is what the finished room will actually contain. The goal is to shortlist to two, then take those two to a physical sample. That way the samples confirm a decision you have mostly already made, instead of trying to make the decision for you.
Where a preview saves the most money
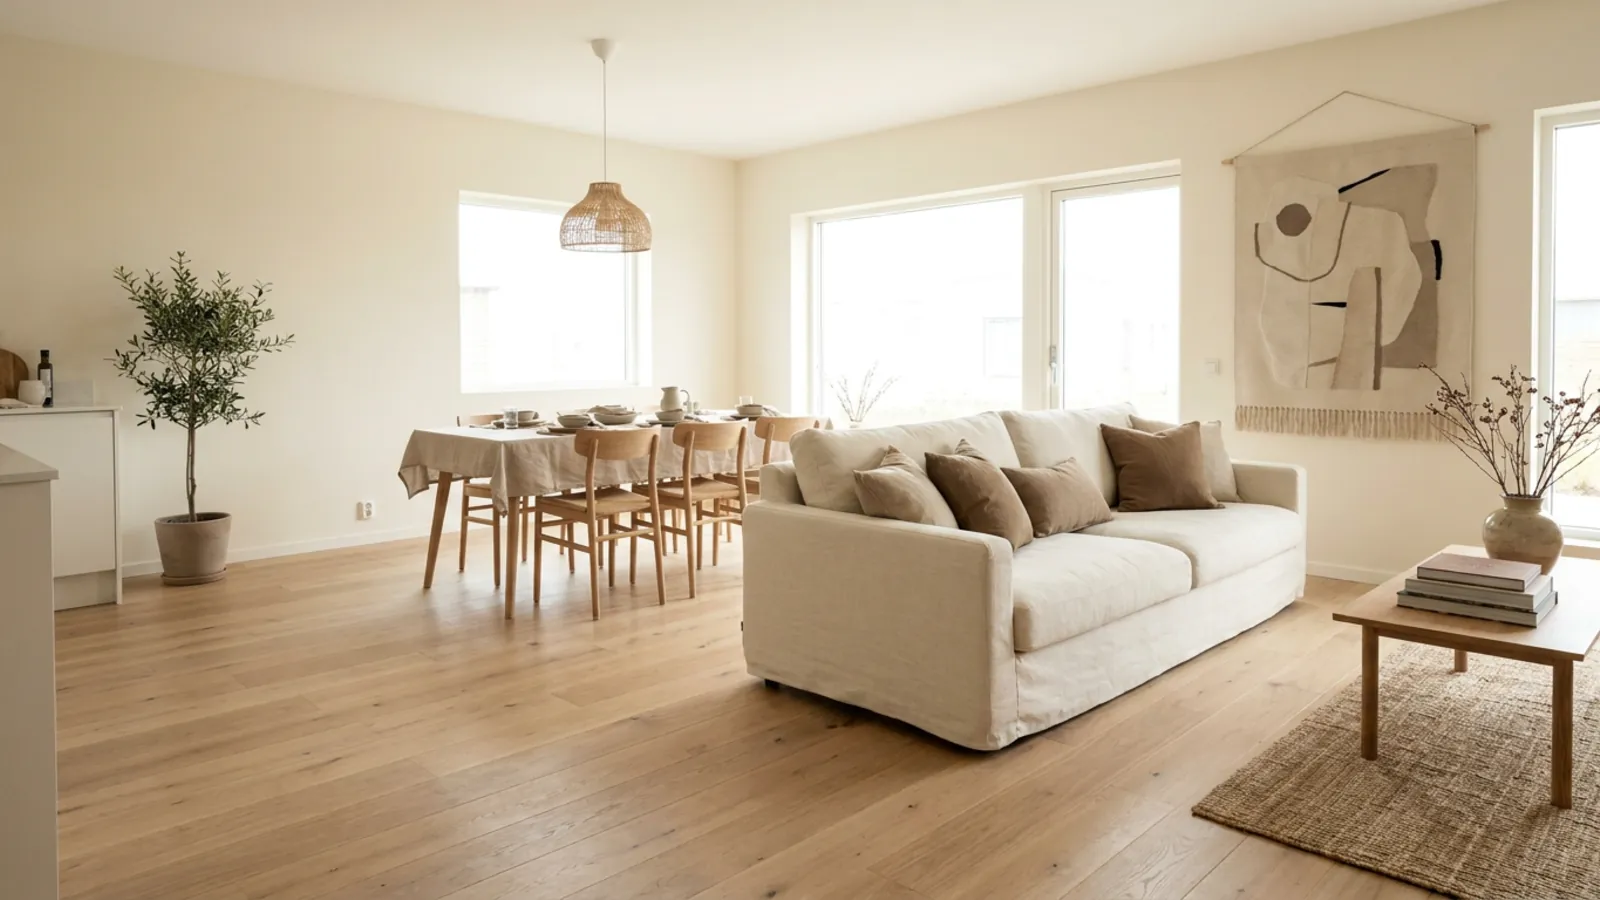
A preview earns its keep most on the decisions that are expensive and hard to reverse:
- Flooring you cannot easily redo, which runs across the whole room and is disruptive to replace twice.
- A whole-kitchen refinish, where cabinets, counters, and backsplash have to work together and each is costly.
- Ordering tile or stone by the pallet, where a wrong call is a warehouse of the wrong material.
- Agreeing a scheme with a partner or a contractor before anyone quotes, so everyone is deciding from the same picture rather than crossed assumptions.
In every one of these, the render costs nothing and the mistake it prevents costs a great deal. That is the whole economic case for previewing a surface before you buy it.
What AI material previews can and cannot do
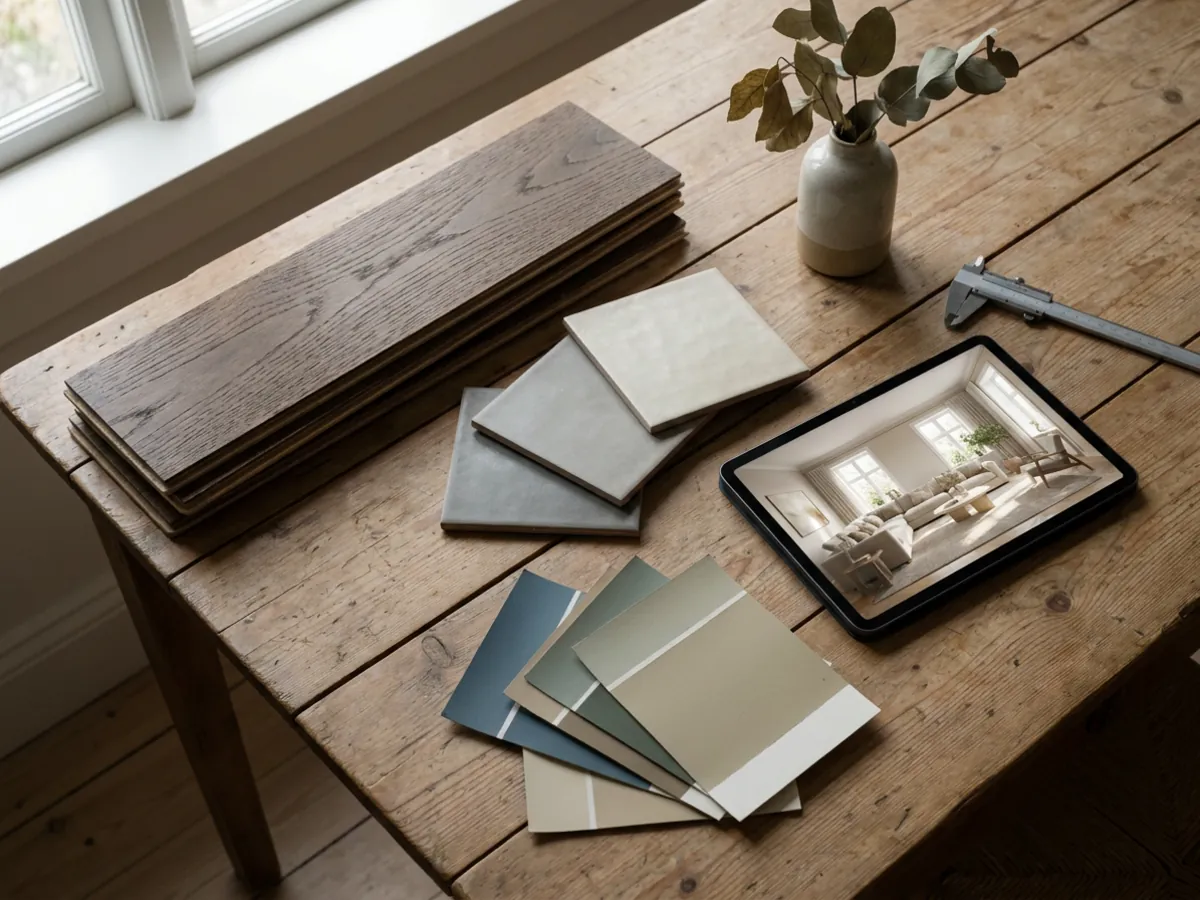
Honesty about the limits is what makes the tool trustworthy. A material preview is a shortlisting tool, not a substitute for a sample. Always confirm the final color and texture against a real physical sample, because brands tone the same color name differently and a screen cannot show you exactly how a finish feels or reflects. The render shows intent and scale, not a spec sheet.
Very reflective or highly patterned surfaces, a high-gloss lacquer, a busy mosaic, a mirror-polished stone, can sometimes need a second attempt to read right, so give those an extra render if the first is not convincing. Used as intended, the preview does the expensive-to-get-wrong part, seeing the surface at full scale in your room, and hands the final confirmation to a sample you can hold. For the wider set of tools, it is worth comparing dedicated interior design software. To try a swap now, upload a photo and name one surface. The first render is free, so you can see your own room with a new floor, wall color, or cabinet finish before spending anything.
Frequently asked questions
Can AI show my room with a different floor? +
Yes. Upload a photo and name the swap, like "the floor to wide-plank light oak". The tool repaints exactly that surface in your photo and keeps the furniture, layout, windows and light as they are, so the comparison is honest.
Does an AI paint preview match real light? +
The render uses your room's own photographed light, which is what makes it more truthful than a swatch. Colors that look right on a chip often go cold on a whole wall; a whole-room render shows that before you paint.
Can I test kitchen cabinet colors with AI? +
Yes, cabinet refacing and repainting previews are one of the most useful swaps: "cabinets in matte navy" renders the whole kitchen in under a minute. Confirm the final pick against a physical sample, since brands tone the same color name differently.
Is there a free AI material swap tool? +
Yes. The first render is free with no signup: upload your room, pick the materials mode, and type the change. Ongoing use runs on a subscription, so you can test a surface before paying for anything.
Can I change the floor without changing my furniture? +
Yes. A material swap repaints only the surface you name and keeps the furniture, layout, and light from your photo, so you see your actual room with just the new floor. That is what makes it a fair comparison rather than a redesign.
Can AI preview tile or a backsplash before I buy it? +
Yes. Name the tile, for example "large-format grey porcelain" or "white subway backsplash", and it renders on your actual wall or floor in your own light. As with any material, confirm the final pick against a physical sample before you order.
How accurate is an AI paint or flooring preview? +
It is accurate enough to shortlist and to rule options out, because it uses your room's own light and scale rather than a swatch card. Treat it as a preview: it shows intent and scale reliably, and you confirm the exact shade and finish against a real sample before ordering.
 After
After
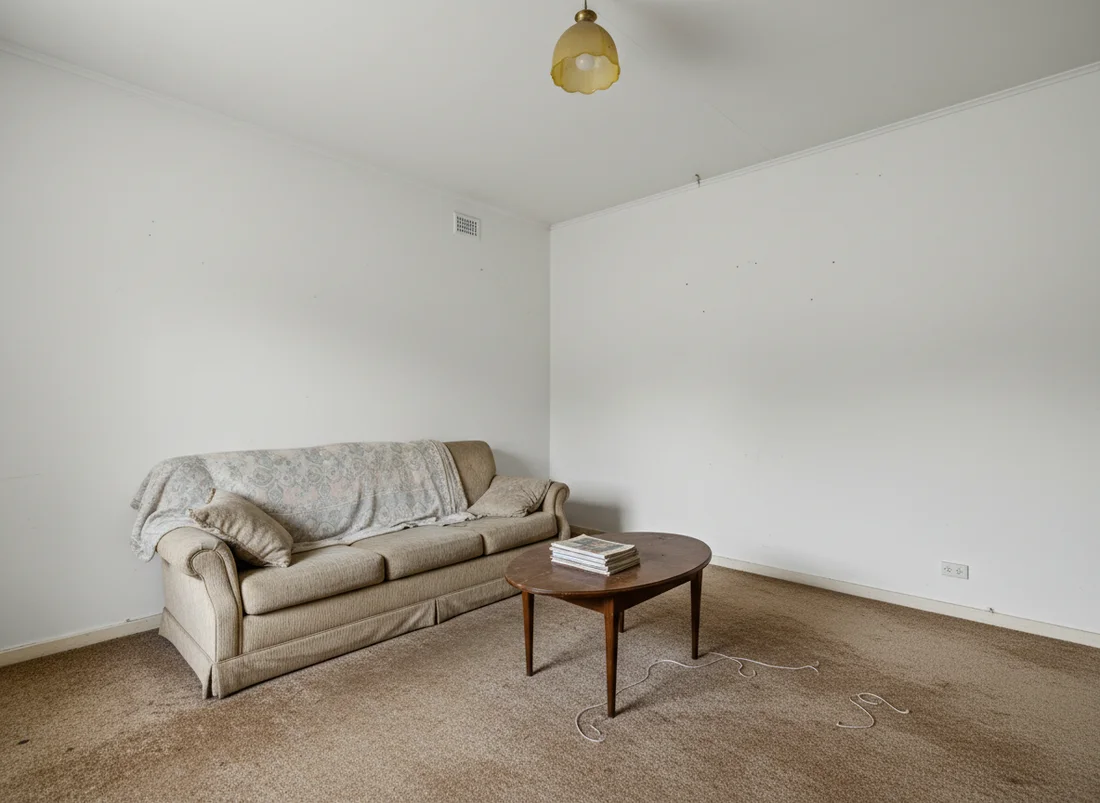 Before
See it on your own room
Your room, redesigned
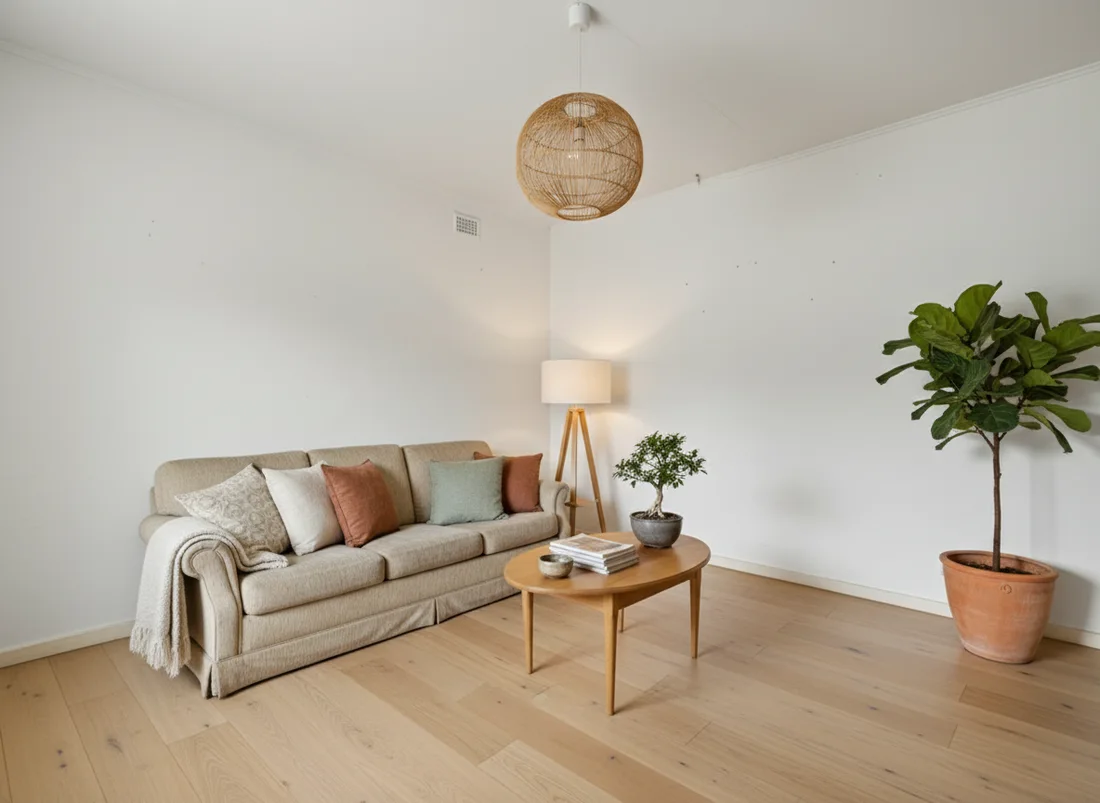
Upload one photo and watch your room restyled in a wide range of designer looks. Your walls, windows and layout stay exactly as they are.
Change your floors and wallsOne photo. In seconds. No signup.