restylai blog
Edit a Room Photo by Describing the Change (AI That Obeys)
Updated July 19, 2026 · by the restylai team
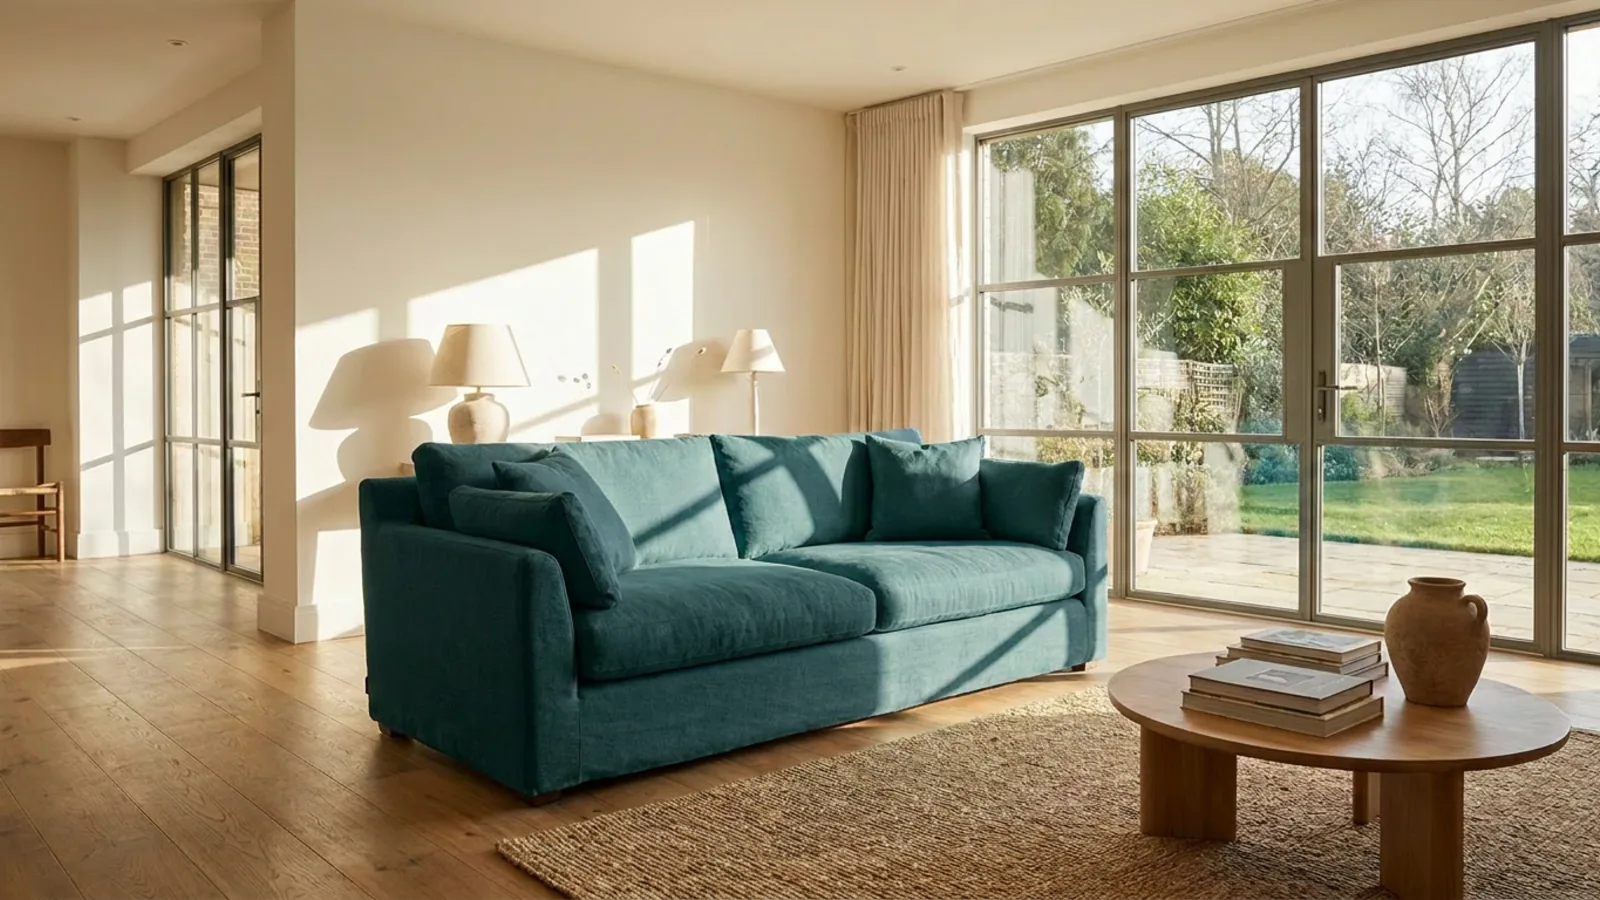
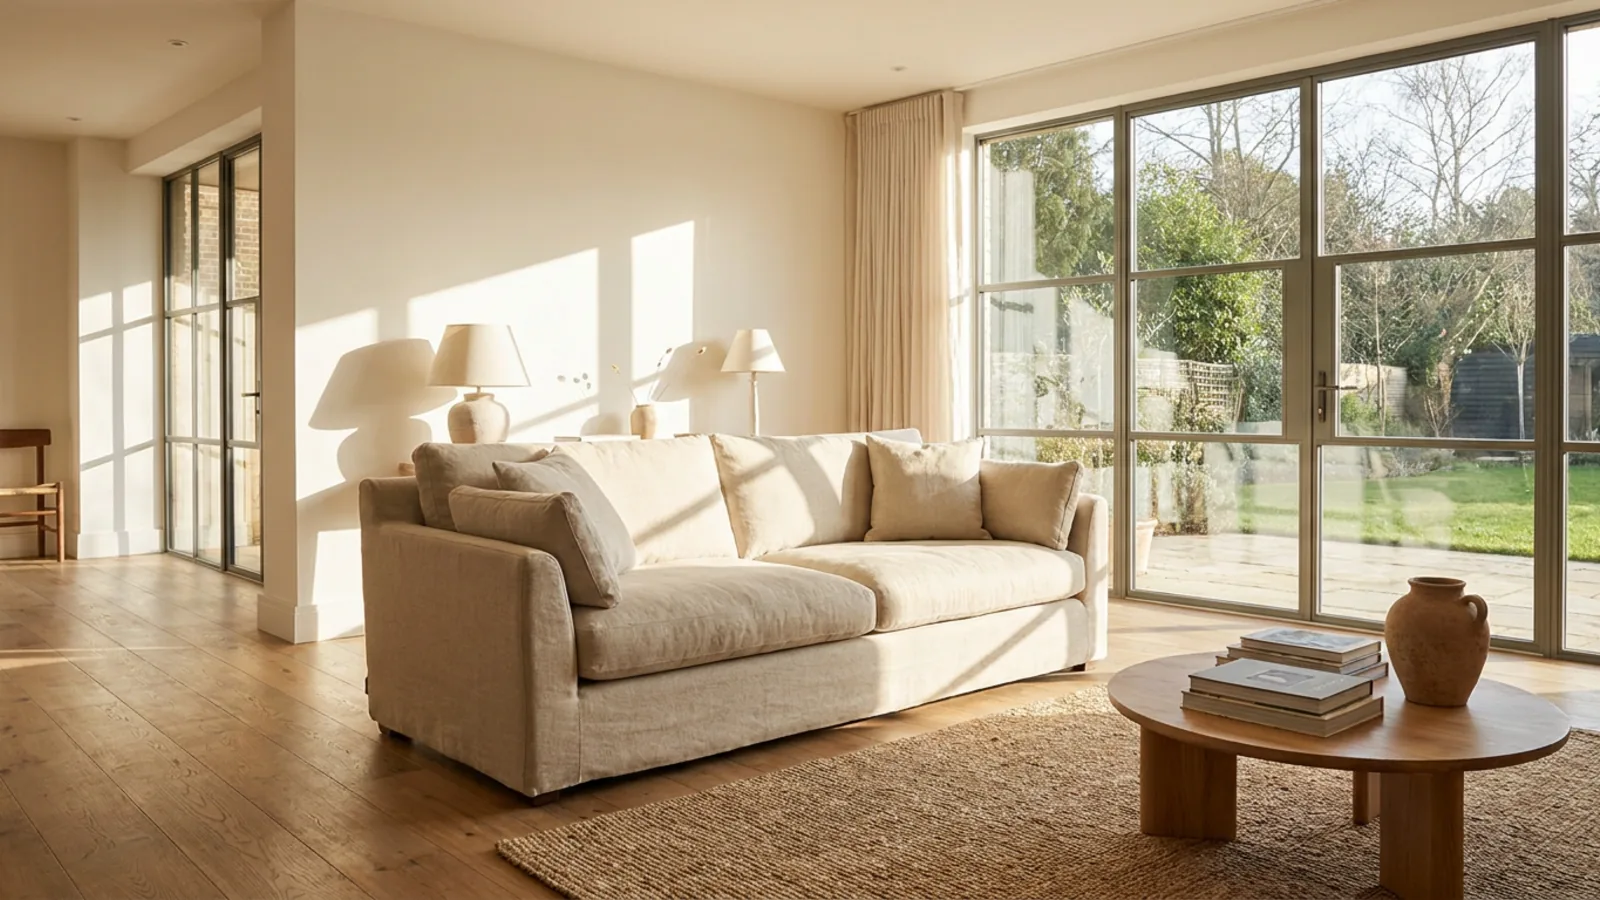 Before
Edited
Before
Edited
Most AI design tools reinterpret. You ask for a teal sofa and they hand you a whole new room that happens to contain one. Editing a room photo by describing the change is the opposite idea: the AI obeys. You name one change, and it makes exactly that change while everything else, the walls, the windows, the layout, the light, stays precisely where it was. It is the difference between redecorating and giving a single, specific instruction.
That distinction is the whole point of this guide. Below is what describe-to-edit actually does, how it differs from applying a style, the exact words to type for the ten most common edits, how to refine a result, where the tool is reliable and where to be specific, and how to turn a finished still into a moving walkthrough.
What "edit by describing" actually does
Editing by description takes your photo and a plain-language instruction and applies that instruction as a command, not a suggestion. "Change the sofa to deep teal" changes the sofa to deep teal. It does not restyle the room around it, move the furniture, or reinterpret your request as a mood. The sofa changes color and the rest of the photograph is left alone.
This works because the tool treats your words as literal edits against a locked scene. Anything you do not mention is held fixed: the camera angle, the proportions, the surfaces you did not name. That is what makes it trustworthy for real decisions, because you can change one thing, judge it against everything else staying the same, and know that what you are looking at is your actual room with one honest change. It is the precise-instruction sibling of our broader AI room design tool.
Two different jobs: a style or a change
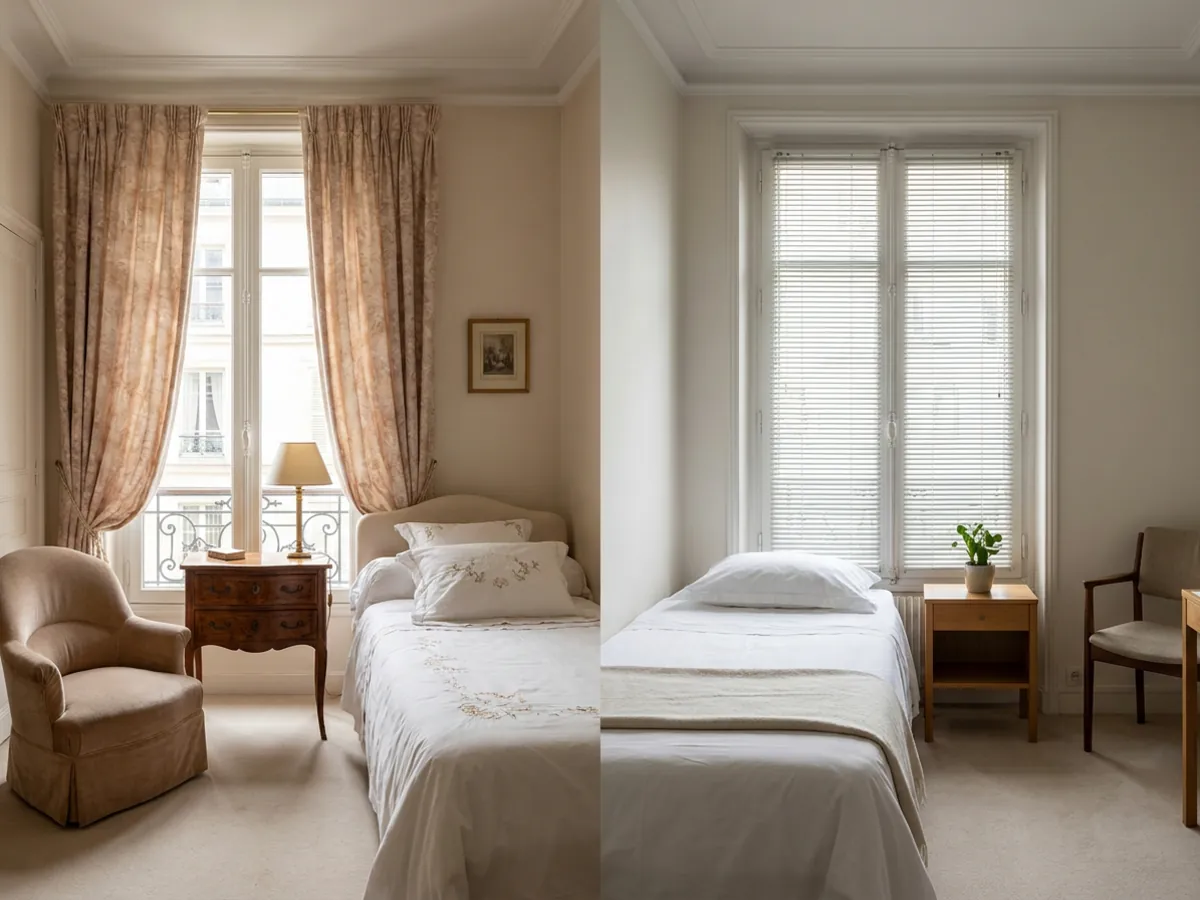
It helps to know which of two jobs you are doing, because they use different tools. Applying a style reimagines the whole room in a direction, Scandinavian, Parisian, Japandi, and reinterprets the furniture and finishes to fit that look. Making an edit keeps the room as it is and changes one named thing. A style is a redesign; an edit is a command.
You choose by intent. If you want the room to feel different overall, apply a style or run a full room redesign. If you like the room and want one specific thing changed, a described edit is the tool: move the bed under the window, recolor the walls, swap the floor, without touching anything else. Many projects use both in turn, a style to set the direction, then a series of edits to dial it in, which is exactly the workflow the rest of this guide follows.
How to write an instruction the AI will obey
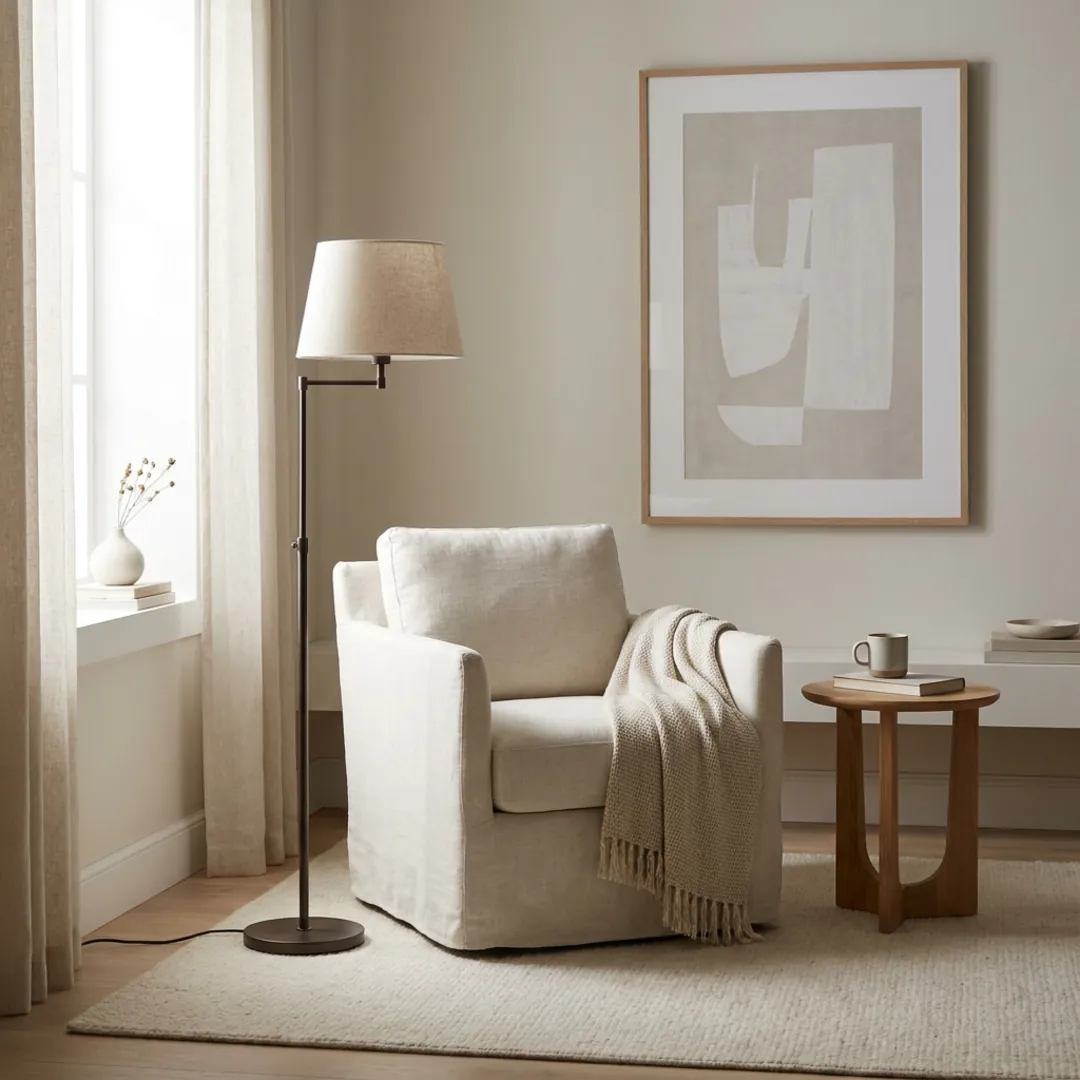
A good instruction is short, concrete, and about one thing. The recipe is simple:
- Name the target. Say which element you mean, "the floor," "the back wall," "the sofa," so the AI knows exactly what to change.
- Name the change. Be specific about the result: "to warm oak," "to a soft sage green," "to a low platform bed."
- Change one thing at a time. One instruction, one edit. Bundling five changes into a sentence is where results drift.
- Say what to keep only if it is at risk. Usually unmentioned things stay put on their own, but "keep the existing rug" can help near a busy edit.
"Change the wall behind the bed to a deep clay" beats "make it cozier" every time, because the first is a command and the second is a mood the AI has to guess at. Concrete beats evocative. The more precisely you name the target and the result, the more exactly the tool obeys.
Prompt recipes: the exact words for common edits
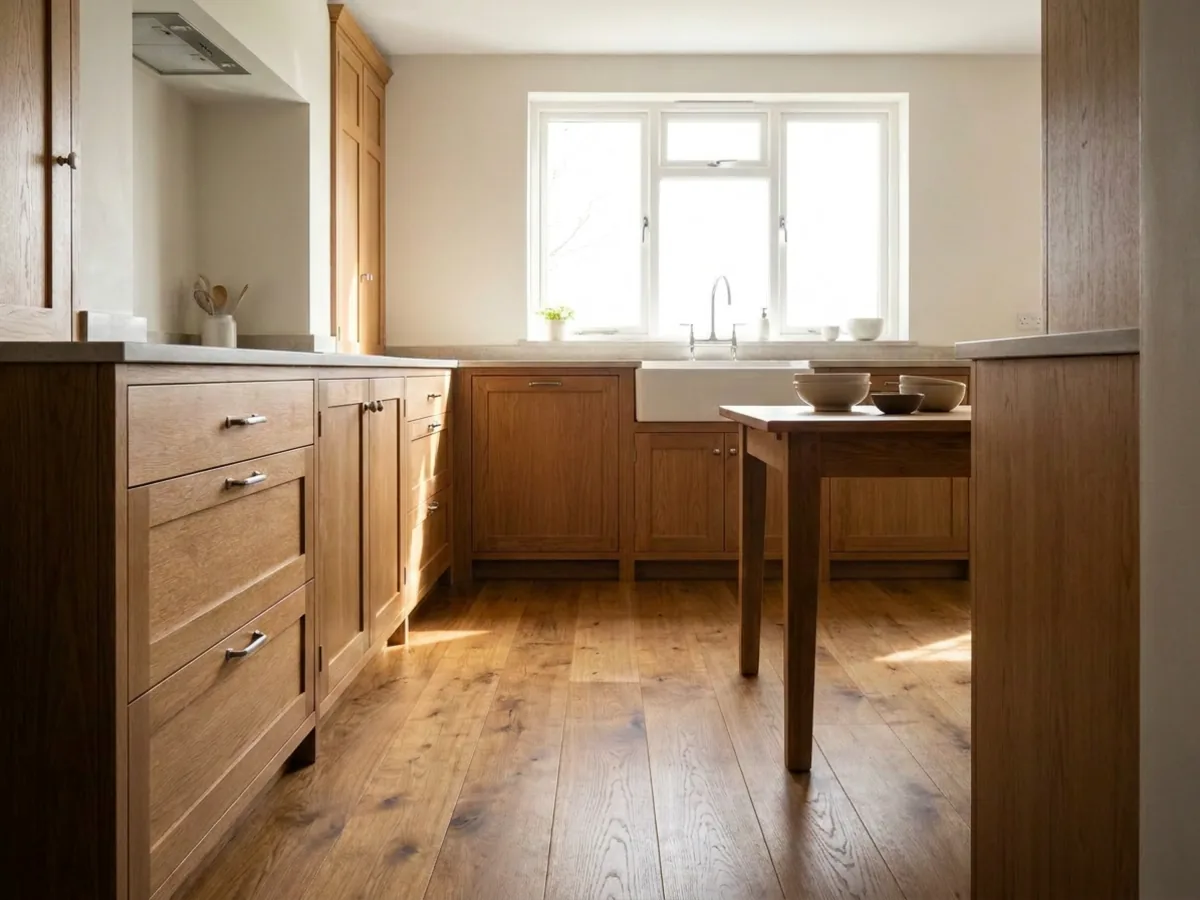
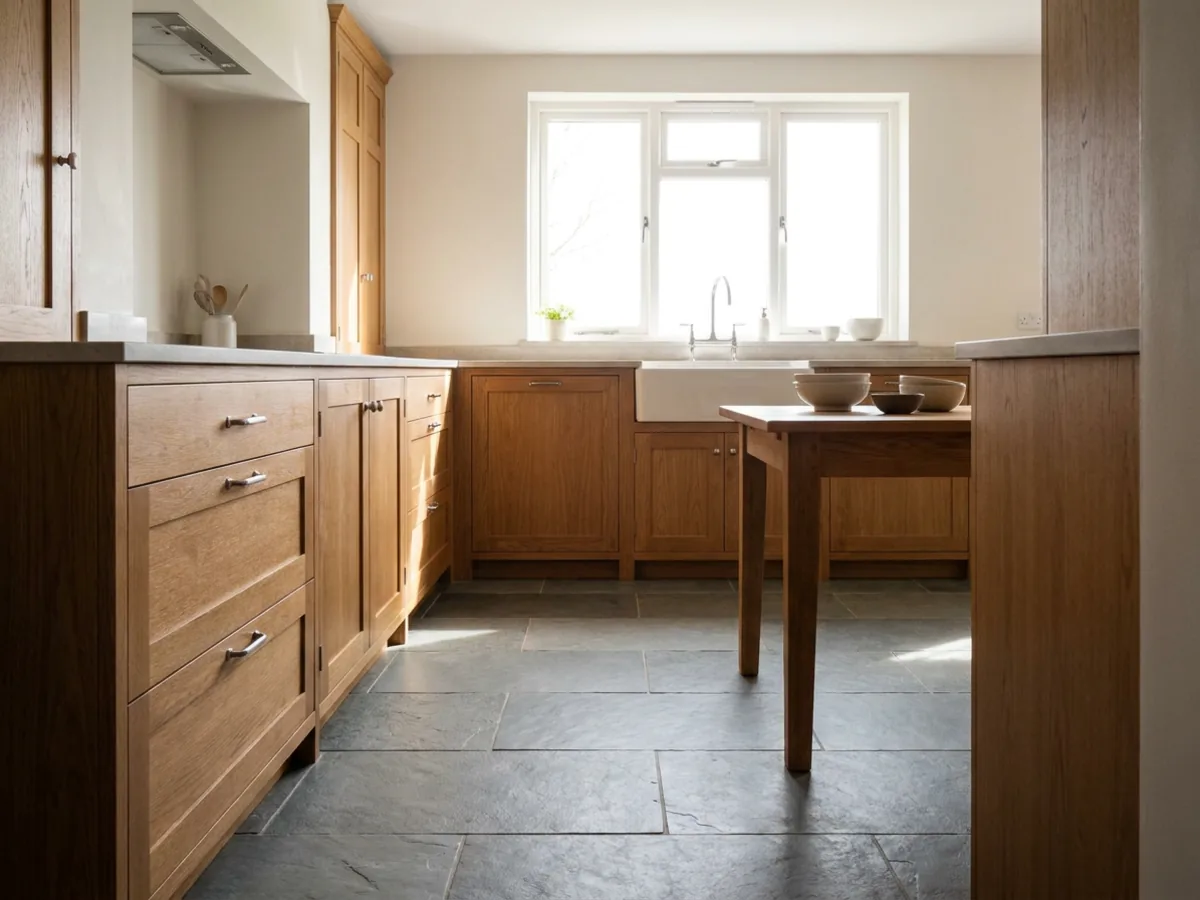 Before
Floor swapped
Before
Floor swapped
Here are the exact words for the edits people ask for most. In each case the specific instruction lands cleanly, and the vague one leaves too much to guess.
| The edit | Type this | Not this |
|---|---|---|
| Recolor the walls | "Change the walls to a warm off-white" | "Nicer walls" |
| Swap the flooring | "Change the floor to wide-plank light oak" | "Better floor" |
| Change the sofa | "Change the sofa to a mid-grey linen sectional" | "New sofa" |
| Move furniture | "Move the bed under the window" | "Rearrange the room" |
| Add a window | "Add a tall window on the left wall" | "More light" |
| Remove clutter | "Remove the boxes and the floor lamp" | "Tidy up" |
| Warm or cool the light | "Make the lighting warm golden-hour" | "Change the vibe" |
| Change the rug | "Change the rug to a pale wool one" | "Different rug" |
The pattern is always the same: name the thing, name the result. You can preview a material swap the same way when you want to change floors, walls, or cabinets across a whole room. The first render is free, so you can try your own instruction on your own photo and see how literally it lands.
Refine on the render, not the original photo
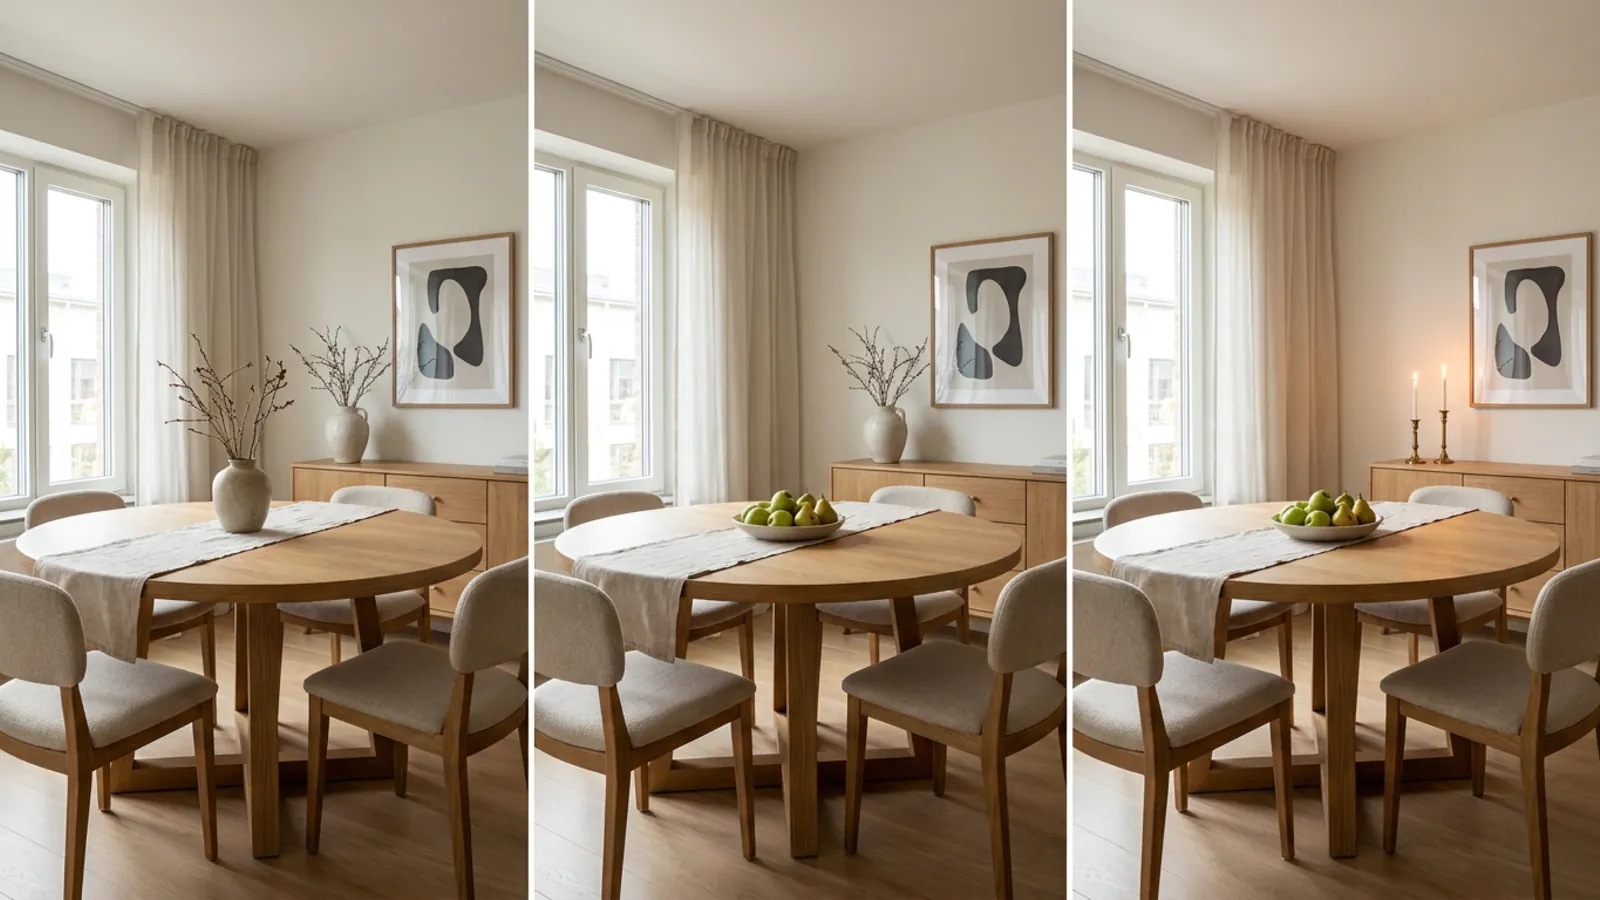
The real power of describing edits is that they stack. Once you have made one change, the next instruction applies to the result you are looking at, not back to the original photo. So you build up a room one small, confirmed step at a time, keeping everything you like and changing only the next thing.
A worked sequence shows it: restyle the dining room into a warm modern look, then "swap the rug for a flat-weave jute," then "add a pendant light over the table," then "warm the lighting slightly." Each edit lands on the previous render, so you are never gambling a good result on a big rewrite. If one step goes too far, you adjust just that step. This is how a rough idea becomes an exact room: not one perfect prompt, but a short chain of precise ones. For layout-level changes, you can also plan the arrangement with the AI room planner.
What it changes cleanly, and where to be specific
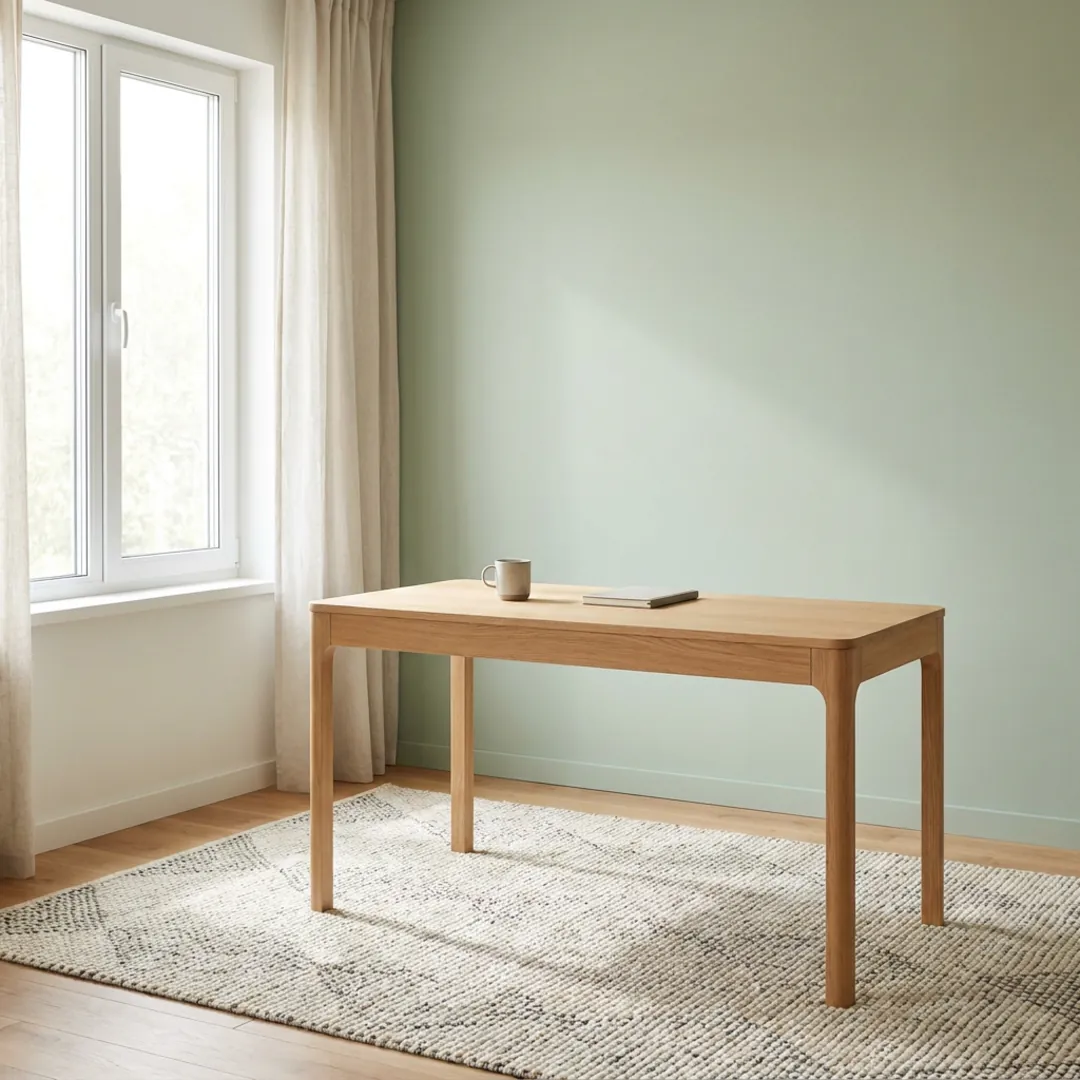
Being honest about scope is what makes the tool dependable. Described edits land cleanly on the things people change most:
- Colors and paint, on any surface you name.
- Materials and finishes, flooring, worktops, tile, upholstery.
- Furniture, swapping, moving, adding, or removing a named piece.
- Lighting mood, warmer, cooler, brighter, softer.
- A single structural element, adding one window, one doorway, one fireplace.
Where to be more careful: whole-room reconfigurations and busy multi-part instructions are best split into separate edits, one change per step, so nothing gets lost. The camera angle and any structure you do not mention stay put by design, which is usually what you want. If a complex edit drifts, the fix is almost always to break it into smaller, single-target instructions rather than to write a longer sentence. The tool rewards precision, not length.
From a still edit to an AI video walkthrough
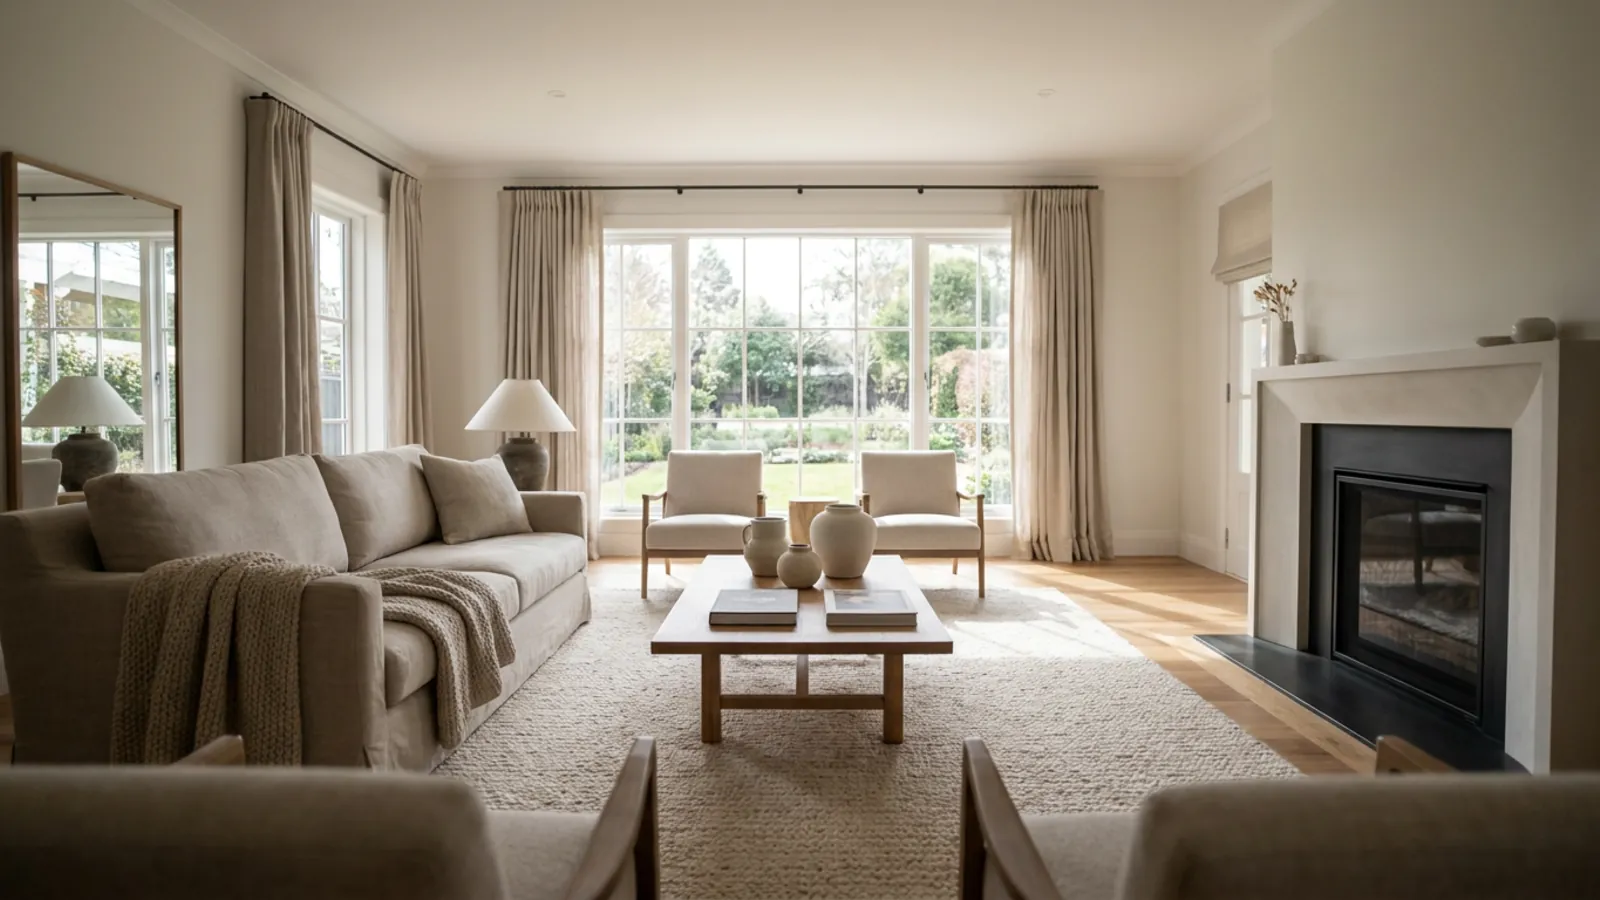
Once the still is exactly right, you do not have to stop at a picture. You can turn the finished render into a short moving walkthrough, a smooth camera glide through the redesigned space, so the room reads as somewhere you could walk into rather than a flat image. It is the natural last step after the edits are settled.
This is the part no comparable tool offers alongside describe-to-edit: get the design right in words, then see it in motion. A walkthrough is far more convincing than a still for sharing a finished idea, whether you are presenting a concept or picturing your own space brought to life. See how the AI video walkthrough turns a finished room into a flythrough. Video is available on the higher subscription plans.
A walkthrough earns its keep exactly when a single frame cannot carry the room. A still shows one angle; a glide reveals how the space connects, how the light falls across it as the camera moves, and how big it really feels. Because you have already settled the design with described edits, the video is built on a room you have confirmed down to the rug, so the motion adds presence without changing a single decision you made. Get the still exactly right first, then let the walkthrough sell it.
The same idea, room by room
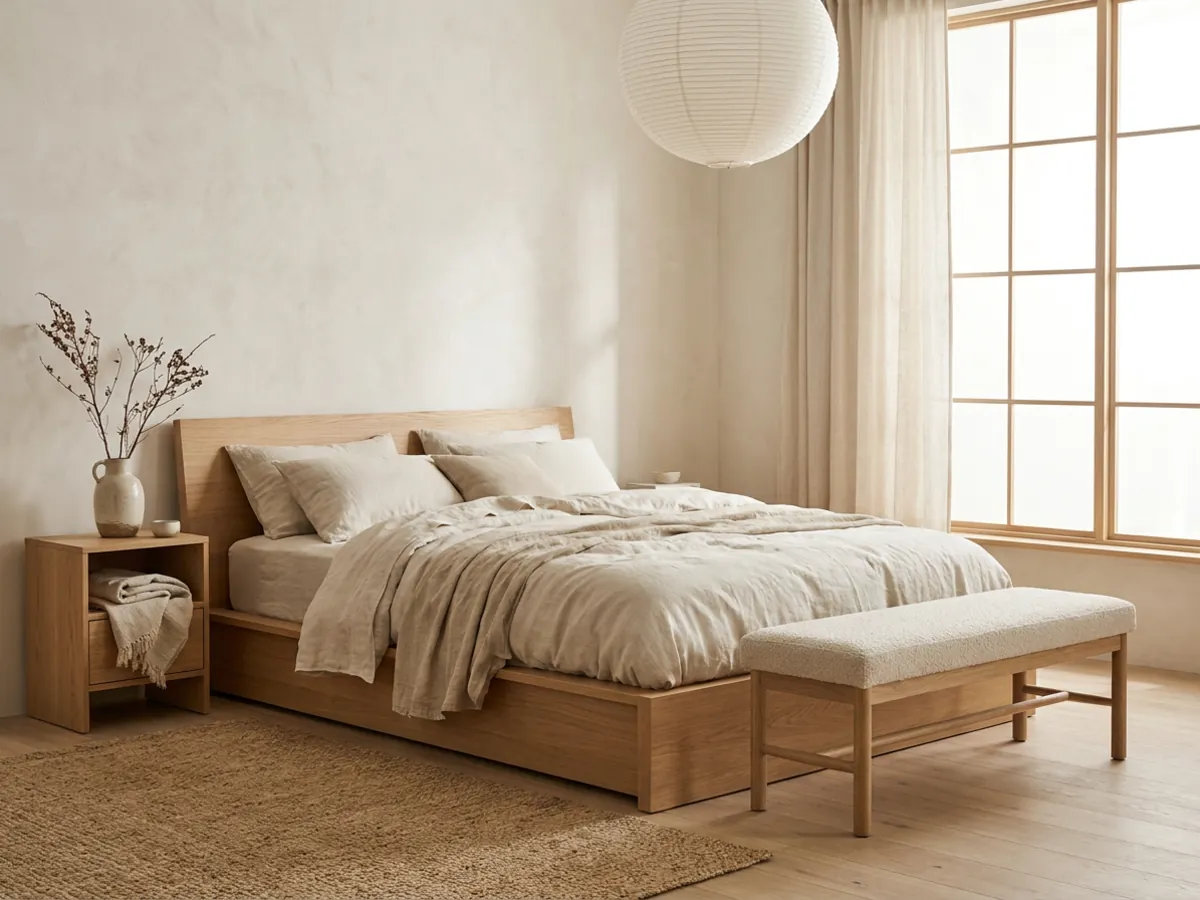
Describing edits works in every room, and each room has its own common instructions. In a bedroom, "change to a low platform bed" or "move the bed under the window" reshapes the room around rest, and you can design the bedroom from there or start from a Japandi bedroom. In a kitchen, "change the cabinets to matte navy" or "swap the backsplash to white subway tile" tests the big finishes, which pairs with AI kitchen design and a modern kitchen for reference.
The same one-instruction-at-a-time habit carries a look through a whole home: a living room gets a new rug and warmer light, a bedroom a calmer wall, a kitchen a fresh floor, each a single described change on its own photo. To furnish an empty room before editing it, you can stage it first with virtual staging, and it is worth comparing the full interior design software if you want editing, staging, and redesign in one place.
Edit your own room in plain words

The best way to understand describe-to-edit is to try one instruction on your own room. Take a photo, type the single change you have been picturing, "warmer floor," "sage walls," "move the sofa to face the window," and watch only that change happen. The first render is free with no signup, and unlimited edits with clean HD downloads come with a subscription. Edit your own room in plain words.
Frequently asked questions
Can AI edit a room photo from a text instruction? +
Yes. On restylai the Change anything mode treats your words as instructions: add, remove, move, recolor or change whatever you name, including architectural changes like a new window when you ask. Everything you do not mention stays exactly as photographed.
What is the difference between a custom style and an edit? +
A custom style describes a whole look ("warm Parisian apartment") and redesigns the room in that direction. An edit is a command ("move the bed under the window") that changes only what it names. restylai runs them as separate modes so commands are obeyed literally instead of being reinterpreted as decoration.
Can I refine an AI room design step by step? +
Yes, and it is the whole point. Every instruction applies to the render you are looking at, so you can restyle first, then swap the rug, then add a lamp, one small change at a time. Going back to your original photo is one tap.
Will the AI change my walls or windows without being asked? +
No. Architecture changes only when your instruction explicitly requests it. Unmentioned walls, windows, doors, furniture and the camera angle are kept identical to the source photo.
Can AI recolor just the walls in a photo and leave the rest? +
Yes. Name the wall you want recolored, for example "change the back wall to a soft sage green", and only that surface changes. The other walls, the floor, the furniture and the light stay identical to your photo.
Can AI move or remove furniture in a room photo? +
Yes. Name the item and where it should go, like "move the sofa to face the window", or ask to remove it entirely. Changing one item per step is the most precise way to work, because each instruction lands cleanly on the render in front of you.
Do I need to write a perfect prompt to get a good edit? +
No. Short, concrete instructions beat long ones, and because you refine on the render one change at a time, the first try is rarely the last. Name the target and the result, keep it to one change, and adjust from there.
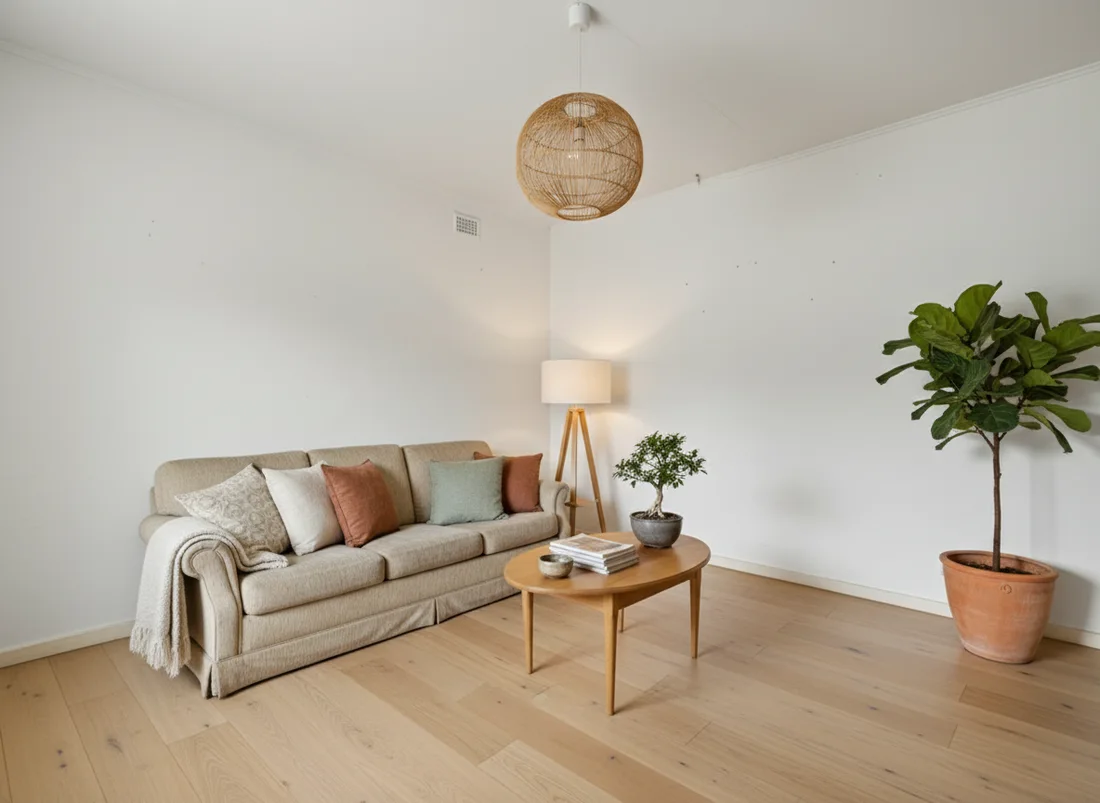 After
After
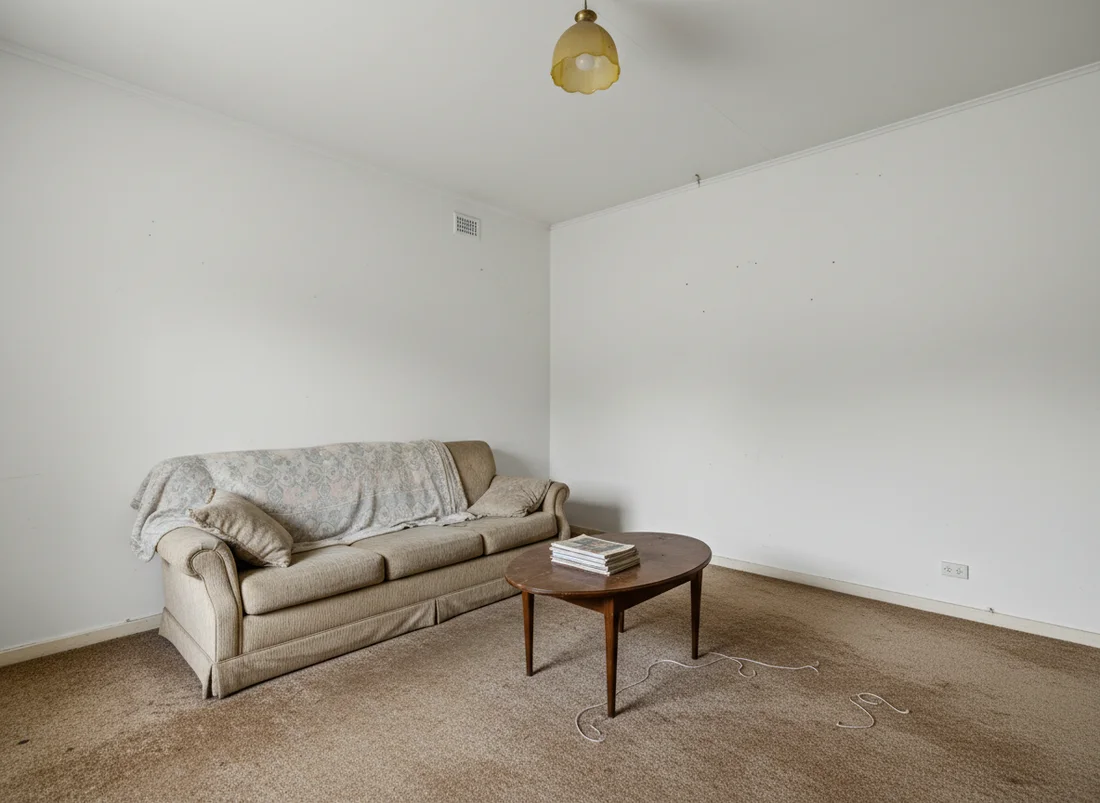 Before
See it on your own room
Your room, redesigned
Upload one photo and watch your room restyled in a wide range of designer looks. Your walls, windows and layout stay exactly as they are.
Edit your photo with wordsOne photo. In seconds. No signup.