restylai blog
How to Draw a Floor Plan: Step by Step Guide
Updated July 31, 2026 · by the restylai team
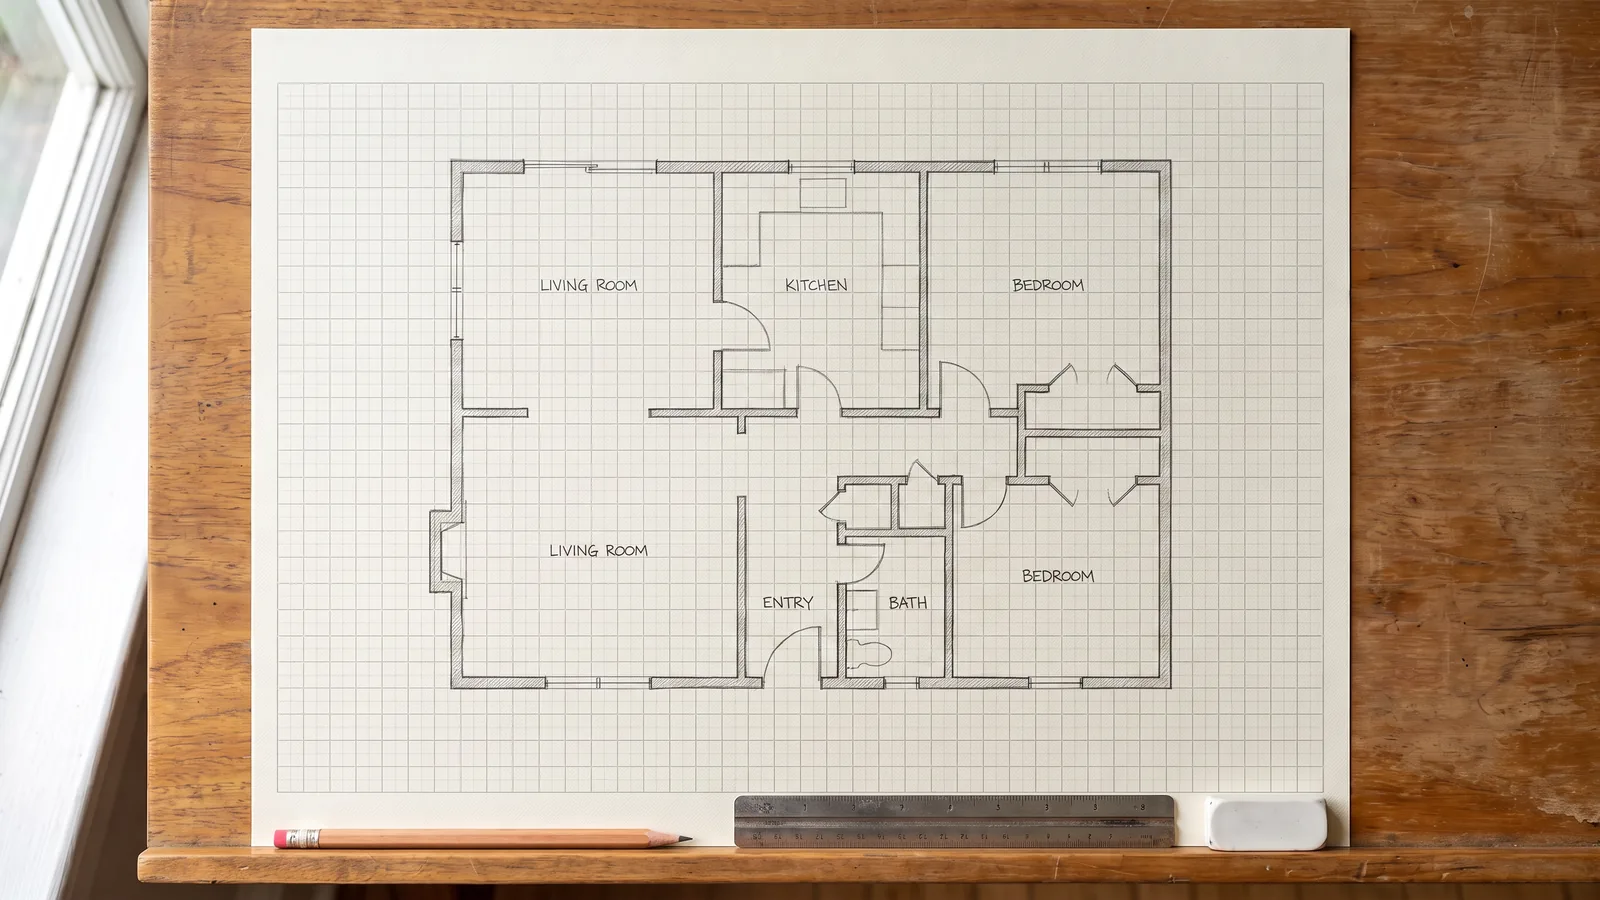
 Before
Drawn
Before
Drawn
Drawing a floor plan is mostly measuring. The drawing itself takes twenty minutes and follows a fixed sequence; the measuring is where plans go wrong, and it is the part every guide skips. This one does not.
You need a tape measure, paper and a pencil. No CAD, no training, no software licence. A small flat takes about 30 minutes to measure and draw properly, and at the end you have something you can buy furniture from, brief a builder with, or turn into a space you can walk through.
This covers what a plan must contain, how to measure so the numbers close, how to choose a scale, the drawing sequence, the symbols worth knowing, placing furniture at true size, one bedroom worked end to end, and the mistakes that quietly ruin a plan.
What a floor plan is, and what yours needs to show
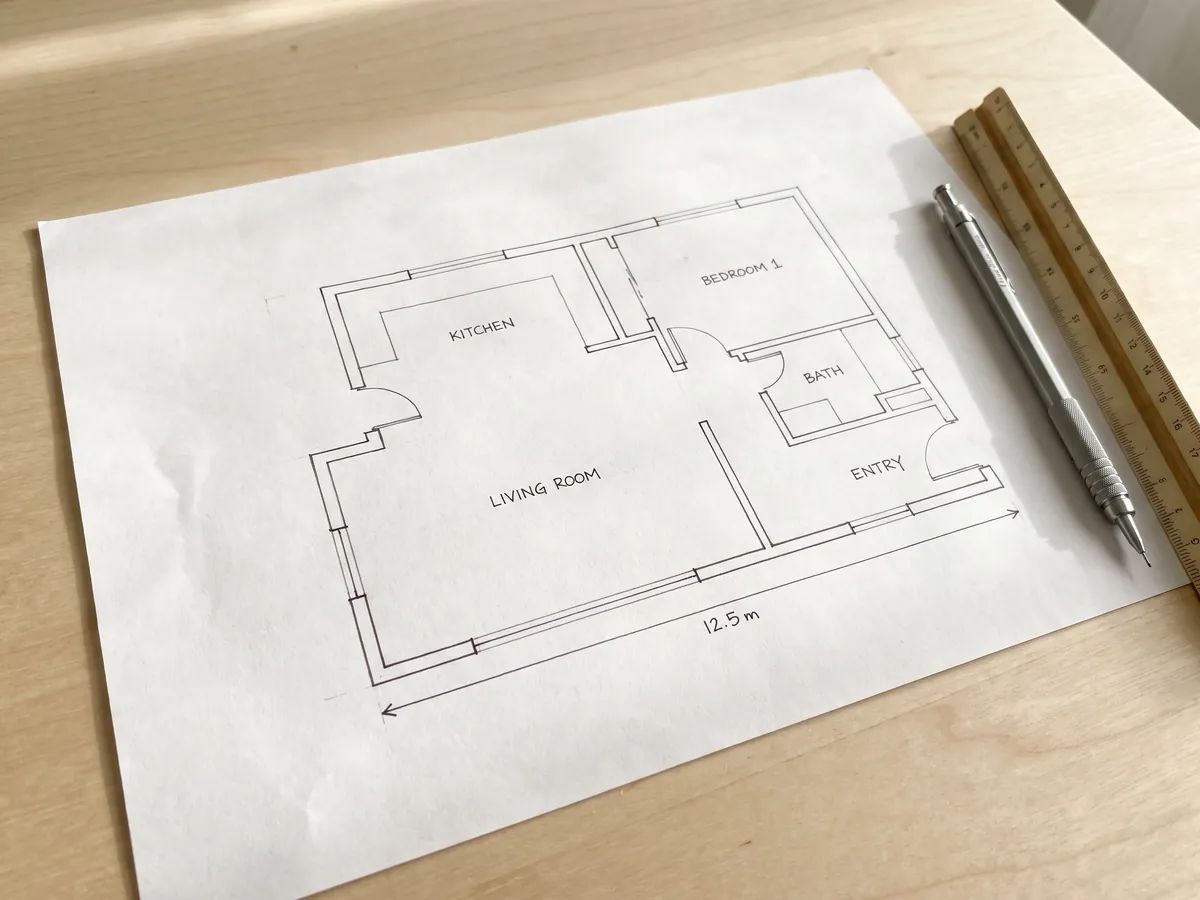
A floor plan is a scaled overhead view of one floor, drawn as if the building were sliced horizontally about a metre above the ground and the top lifted away. That cut height explains something almost no guide mentions: it is why windows and doors appear on a plan while a high shelf or a ceiling beam does not. Anything below the cut is drawn, anything above it is not.
A usable plan shows five things:
- Wall positions and thickness. Both, not just position.
- Door openings with swing direction. The arc is information, not decoration.
- Window positions and widths, placed by their distance from a corner.
- Room labels, so someone else can read it.
- At least the overall dimensions, marked on two sides.
Decide up front which of two things you are making. A sketch has roughly correct proportions and is good enough to think with. A scaled plan is measured and is good enough to buy a wardrobe from. Sketching when you needed a scaled plan wastes an afternoon; measuring precisely when a sketch would do wastes the same. If you are arranging furniture you already own, sketch. If money is about to be spent, measure.
Measure the room properly, because this is where plans go wrong
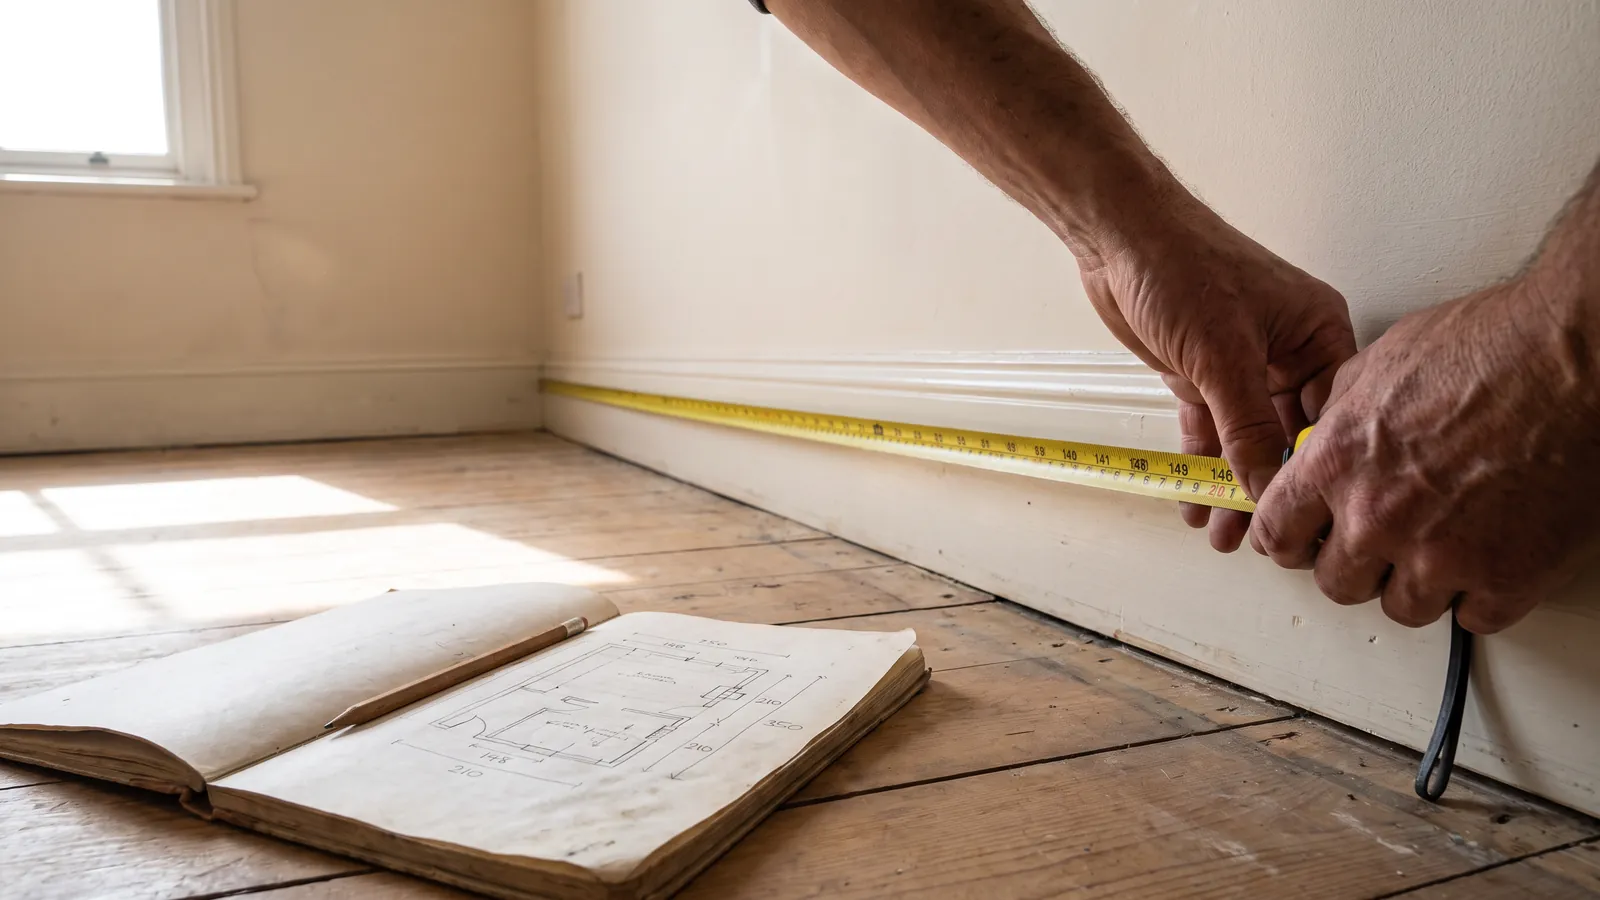
Sketch the room shape first, roughly, before you measure anything. You need somewhere to write numbers down, and trying to draw and measure at the same time is how digits end up next to the wrong wall.
Then work around the room in one direction, and follow four rules:
- Measure at about waist height with the tape level. A tape that sags reads long, and a tape angled up a skirting board reads long too.
- Record every segment, not just the total. A wall interrupted by an alcove is three measurements, not one. This single habit prevents most plans that refuse to close.
- Measure each door and window twice over: its width, and its distance from the nearest corner. Position matters as much as size, and the corner distance is what places it on the drawing.
- Note which way each door swings and which side the hinges are on, then measure ceiling height once per room.
Two checks catch almost every error before it costs anything. In a rectangular room, opposite walls should match. And the segments along one side should sum to the overall measurement of that side. If they do not, you have missed an alcove or written a number down wrong, and it is a two-minute fix now rather than a returned sofa later.
The awkward cases are all handled the same way, by breaking the shape into rectangles. An alcove or a chimney breast is its own small rectangle. An L-shaped room splits at the inside corner. A bay window is a rectangle plus two triangles, and it is worth noting whether its floor is usable or whether it sits above a radiator. For a room that is genuinely not square, measure both diagonals: in a true rectangle they are equal, and a difference beyond a couple of centimetres means you should draw it as the shape it actually is. Radiators, pipe boxing and deep window sills all eat usable wall, so record them too. How to measure a room works through the irregular cases in full.
Use metric if you are anywhere metric. It removes fraction arithmetic entirely, and every error you avoid is one you do not have to find later.
Choose your scale
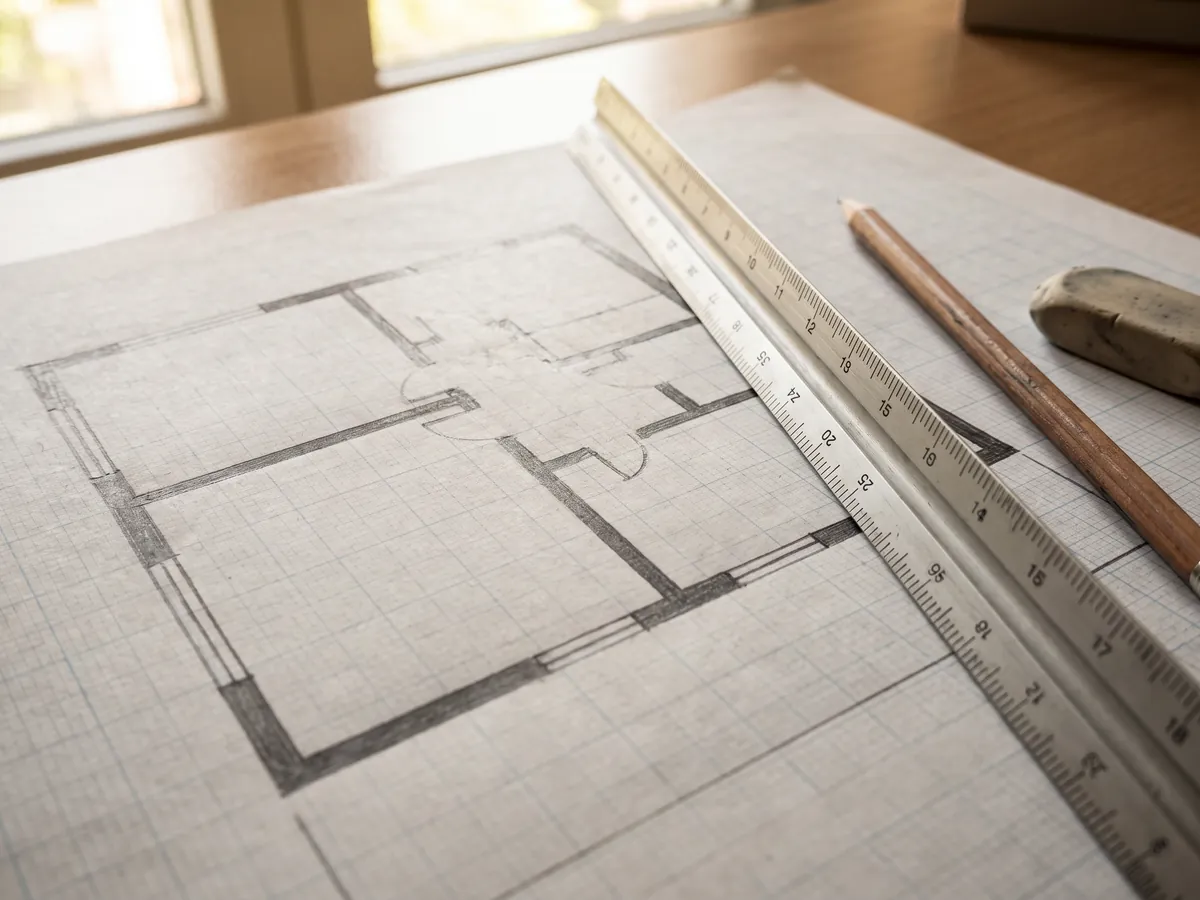
Scale is a ratio between the drawing and reality. At 1:50, one centimetre on paper is fifty in the room, so a 4.2 m wall is drawn 8.4 cm long. That is the whole concept.
Three choices cover almost everything:
- 1:100 for a whole house on one sheet. Rooms read as rooms, detail disappears.
- 1:50 for a flat or a single floor. The standard working choice, detailed enough for furniture.
- 1:20 for one room where placement matters to the centimetre, such as a kitchen or a bathroom.
Graph paper removes the arithmetic. Decide that one square is 10 cm, or 25 cm for a whole house, and from then on you count squares instead of dividing. A 4.2 m wall at 10 cm per square is 42 squares, and you never touch a calculator.
Drawing digitally removes scale entirely, because you type the real dimension and the software handles the ratio. That is the honest reason most people stop drawing by hand after their first attempt, and it is not a failure of the paper method: paper is genuinely better on site, in your hand, while you are measuring.
Draw the walls, then the openings
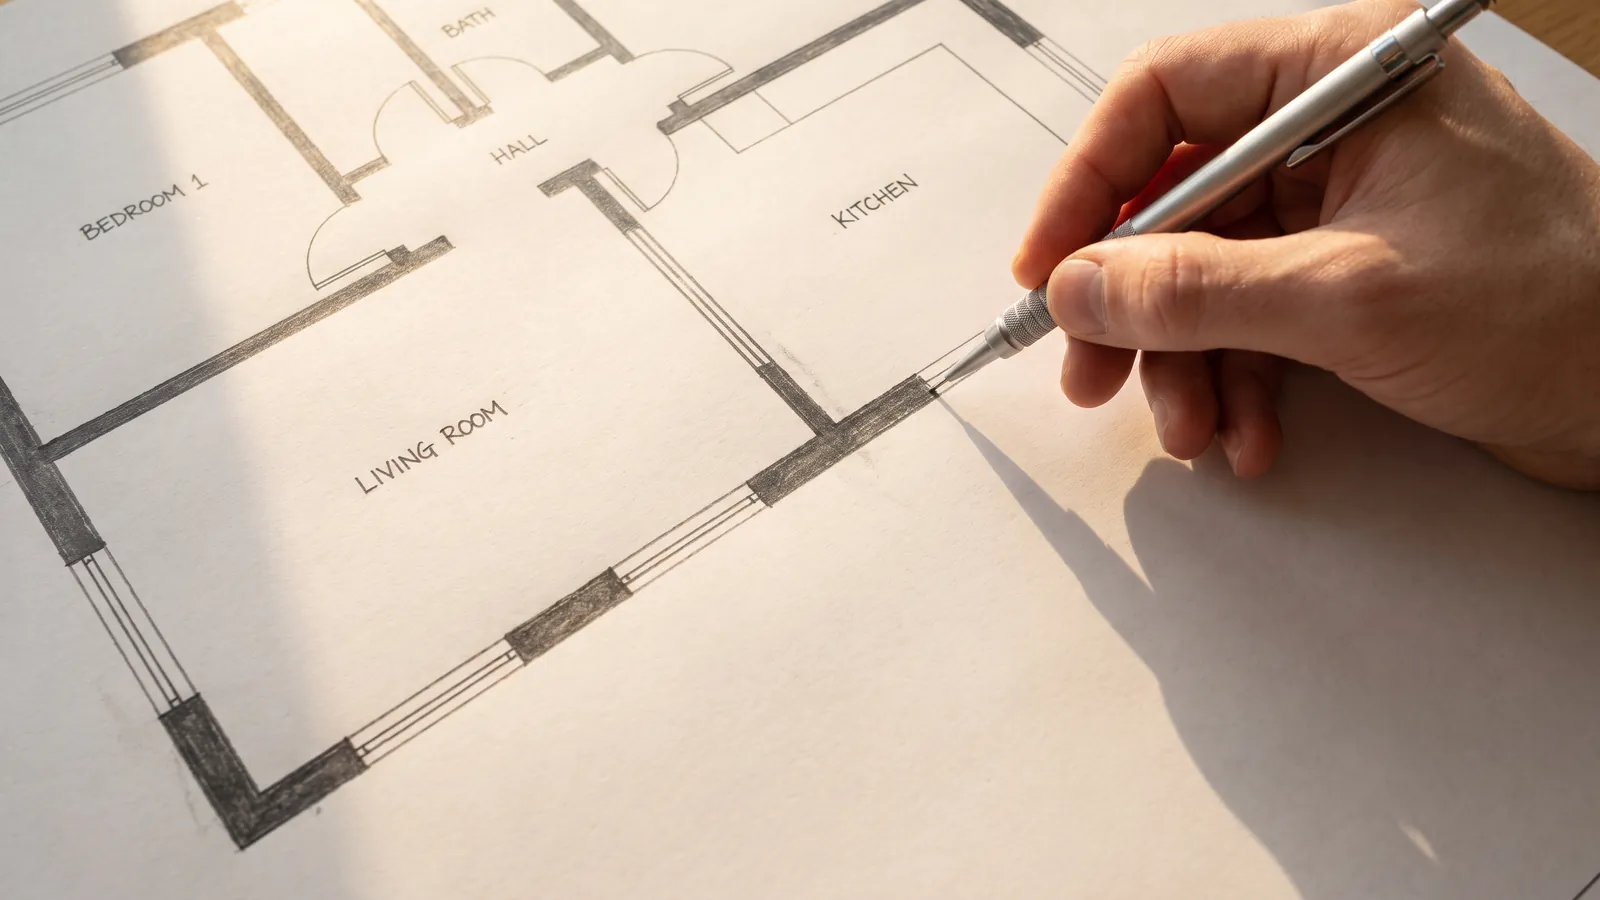
The order matters, because each step constrains the next:
- The outer envelope of the whole floor first. Get the perimeter right and everything inside has somewhere to land.
- Internal walls next, with real thickness. Interior partitions are typically 10 to 12 cm, exterior walls 25 to 40 cm depending on construction. Draw them as two lines, not one.
- Doors after the walls. Leave the opening as a gap, then add the quarter-circle swing arc. That arc marks floor you cannot put anything on, which is why it belongs on the drawing.
- Windows within the wall thickness, positioned by the corner measurement you took earlier.
- Room labels and the overall dimensions on two sides, plus the scale noted somewhere on the sheet.
Drawing walls as single lines is the most common beginner error and the most consequential, because it makes every room larger than it is. A room drawn with single lines instead of 12 cm partitions gains 12 cm in each direction, which is roughly the difference between a wardrobe fitting and not fitting.
The symbols you actually need
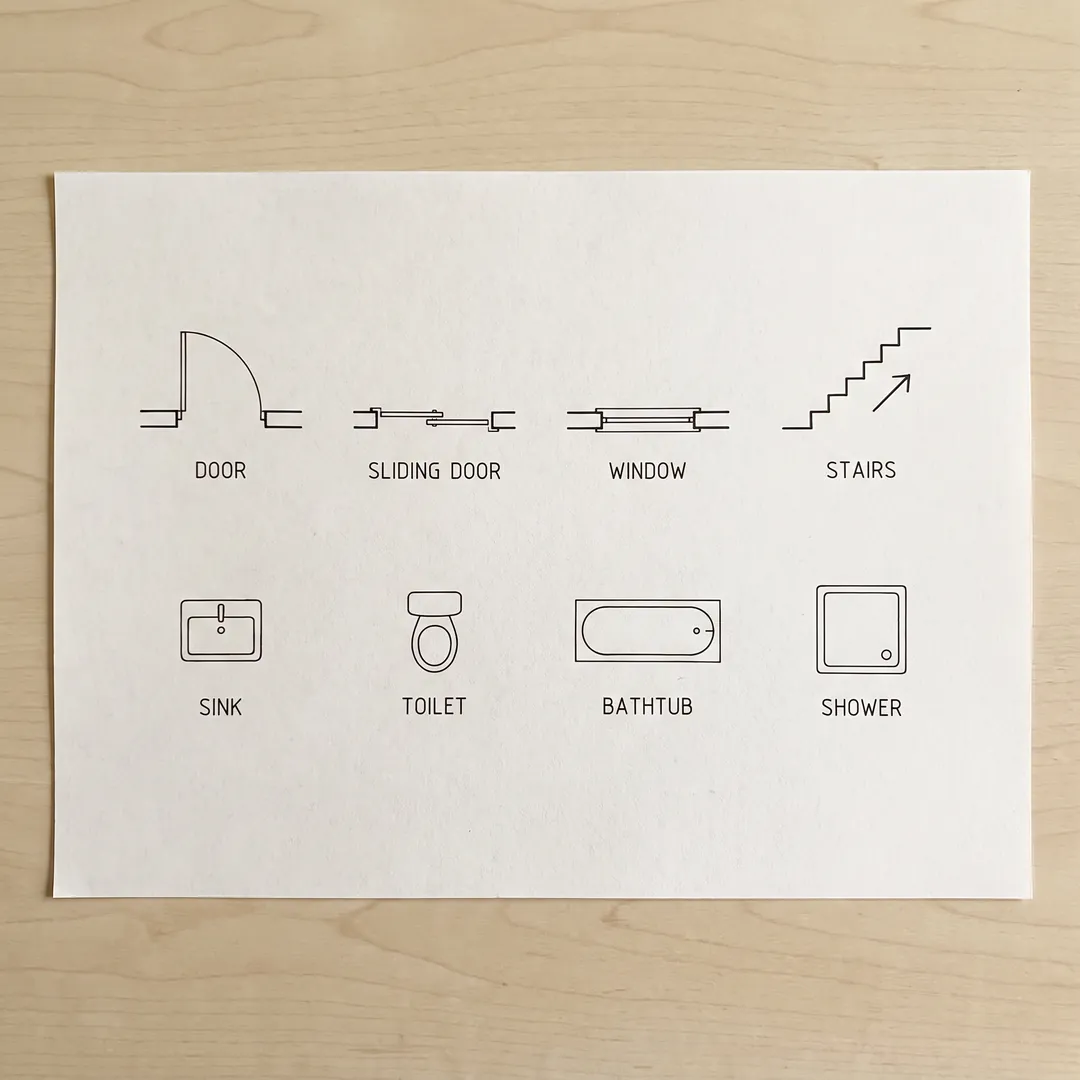
You need eight, not eighty: the hinged door with its swing arc, the sliding or pocket door drawn as a panel sitting inside or across the wall, the window as a thinner line within the wall thickness, the staircase as parallel treads with a direction arrow, and the four fixtures that decide a bathroom and kitchen plan, which are the sink, the toilet, the bath and the shower tray.
One rule makes a symbol set readable: keep symbols consistent in size relative to your scale. An oversized toilet symbol is the point at which a bathroom plan starts lying to you about whether the door will clear it. Furniture is conventionally drawn as a plain true-size outline rather than a detailed shape, and the true size is the entire point of drawing it at all.
Place furniture at true size
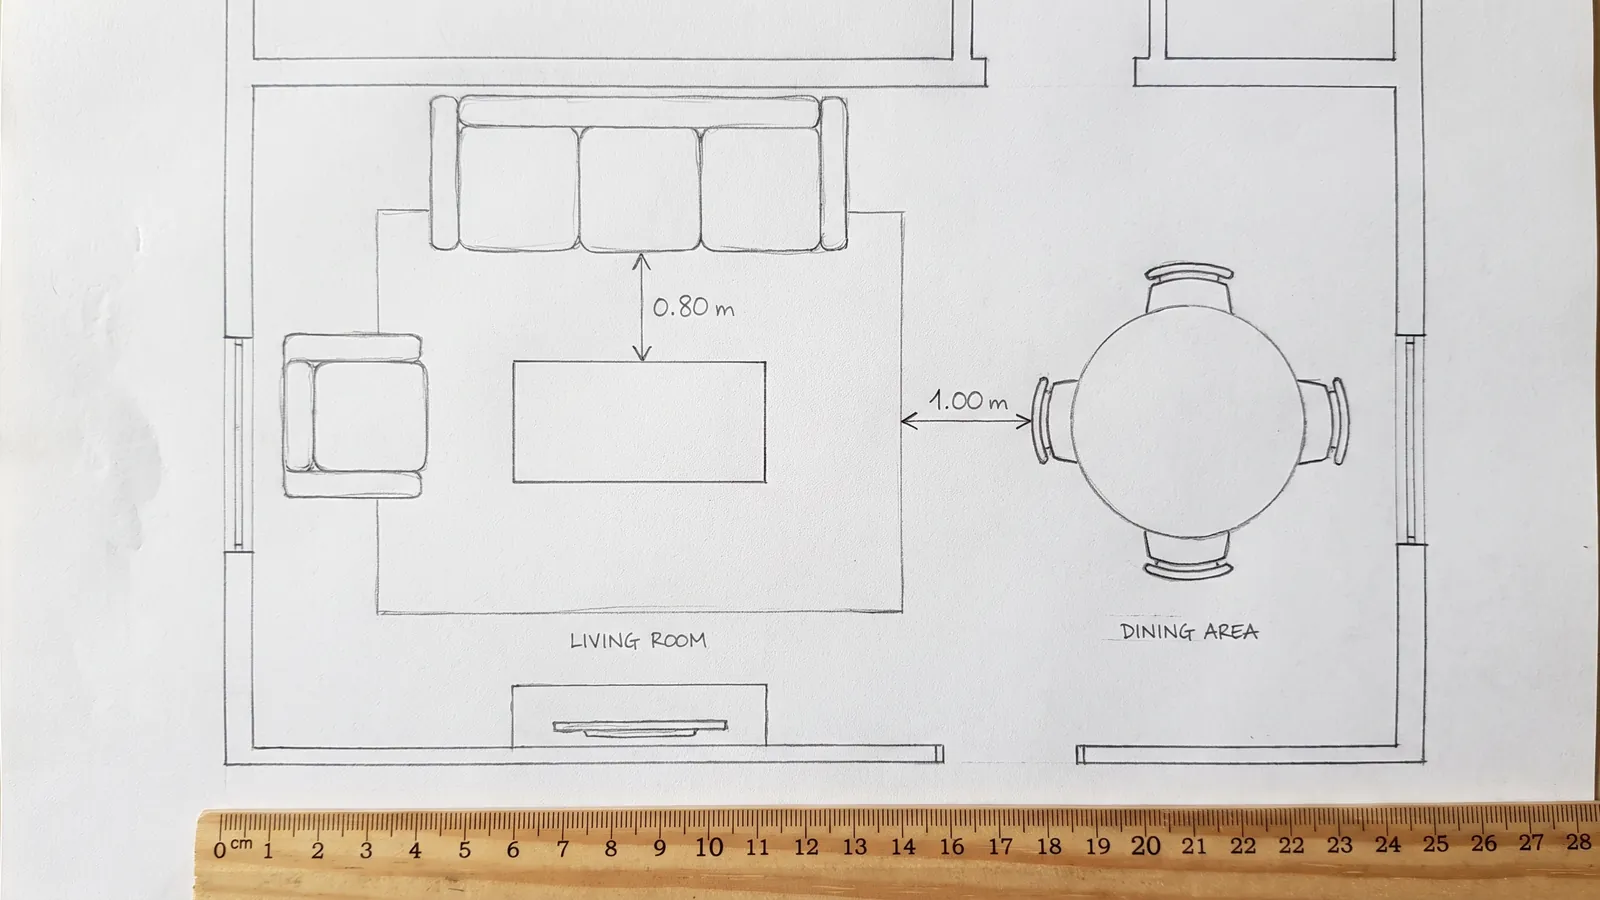
This is the step that converts a drawing into a decision. Typical footprints, metric first:
- Three-seat sofa: 200 to 230 cm wide, about 90 cm deep.
- Double bed: 140 by 200 cm. King: 180 by 200 cm.
- Dining table for four: around 120 by 80 cm. For six: 180 by 90 cm.
- Kitchen counter: 60 cm deep, which is fixed by appliance sizes rather than taste.
- Wardrobe: 60 cm deep, because that is what a hanger needs.
The clearances matter more than the furniture:
- 90 cm for a main walkway you use every day.
- 60 cm to squeeze past occasionally, which is tolerable at the far side of a bed and unpleasant anywhere else.
- 75 to 90 cm in front of a wardrobe, to open the door and stand there.
- 100 to 120 cm around a dining table: 75 cm lets you pull a chair out, and 100 lets someone walk behind a seated person.
- 40 to 45 cm between a sofa and a coffee table, close enough to reach and far enough to get past.
Treat these as typical working figures, not building codes, and check local regulations for anything you intend to build. Drawn at true size on the plan, they reveal the thing an overhead view otherwise hides: that the room is fine and the route through it is not. Standard room dimensions has the full set room by room.
By hand or on a screen
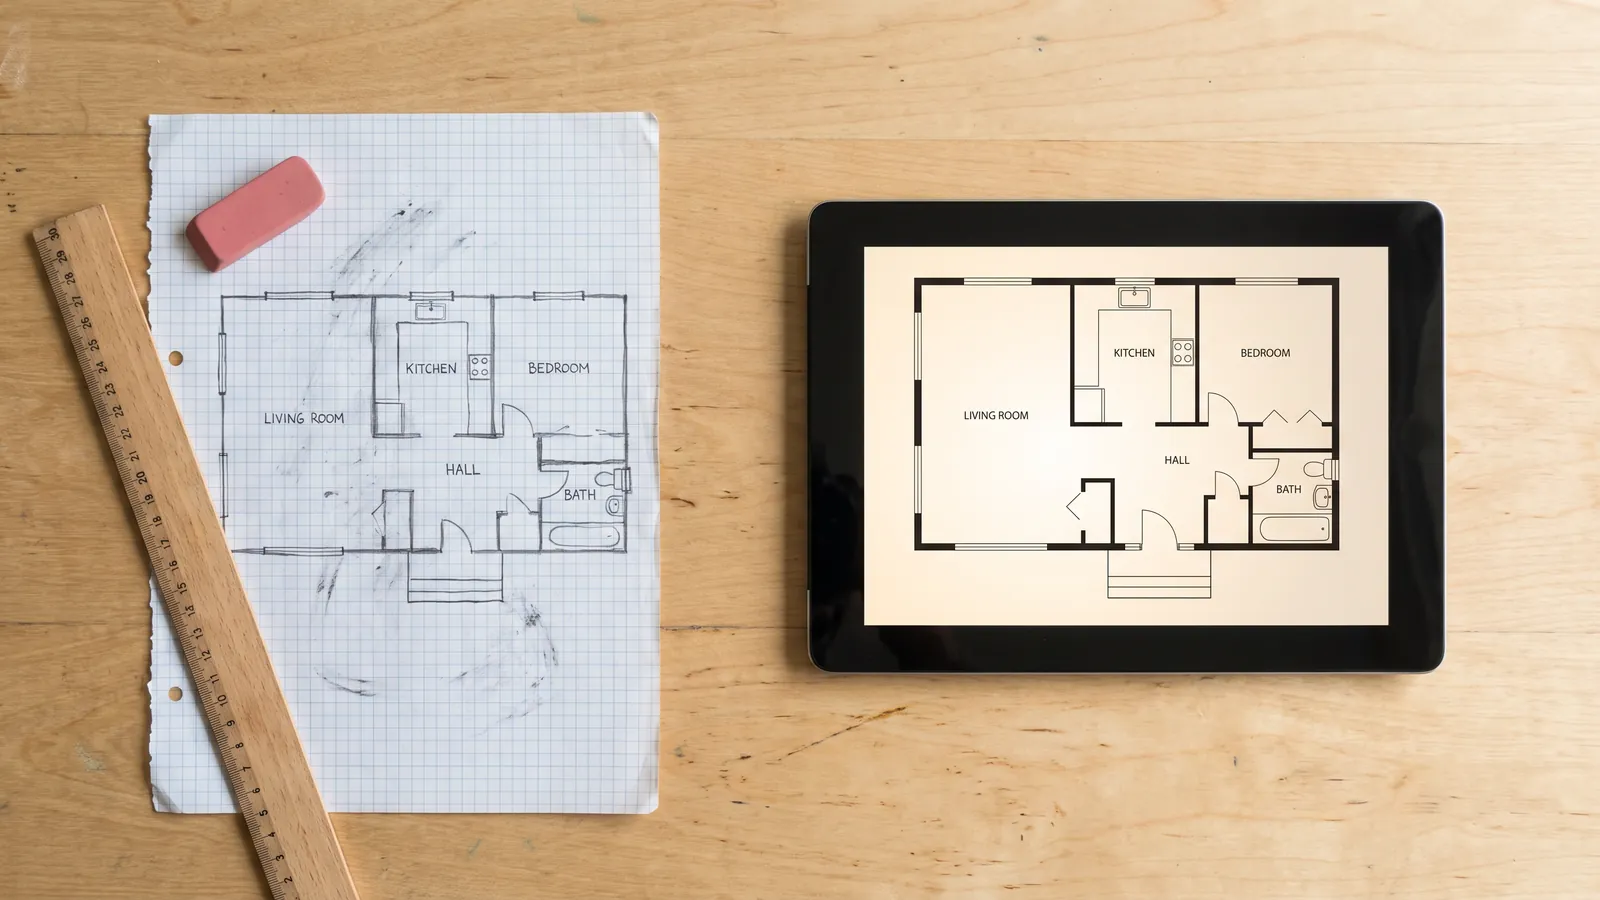
Each route wins at something different, and the honest answer is that most people use two of them.
| Route | Good at | Costs you | Use it when |
|---|---|---|---|
| Pencil and graph paper | Thinking, and working on site while you measure | Slow to change, arithmetic errors, hard to share, no 3D | The first sketch, always |
| Browser planner | Type real dimensions, edit without redrawing, share, view in 3D | A few minutes learning the tools | The version you keep and act on |
| Desktop CAD | Precision, layers, construction output | Steep learning curve, usually a licence | You are producing drawings to build from |
Sketch by hand while measuring, then redraw digitally. That is what most people converge on, and it is worth doing deliberately rather than discovering after the third eraser mark.
Two shortcuts are worth knowing if you would rather not start from a blank sheet. If a printed plan already exists, photograph it and trace over it, then set the scale by entering one real width. If nothing exists, describe the home in a sentence and correct the draft you get back. Both land you at the same place as drawing from scratch, faster.
One bedroom, drawn end to end
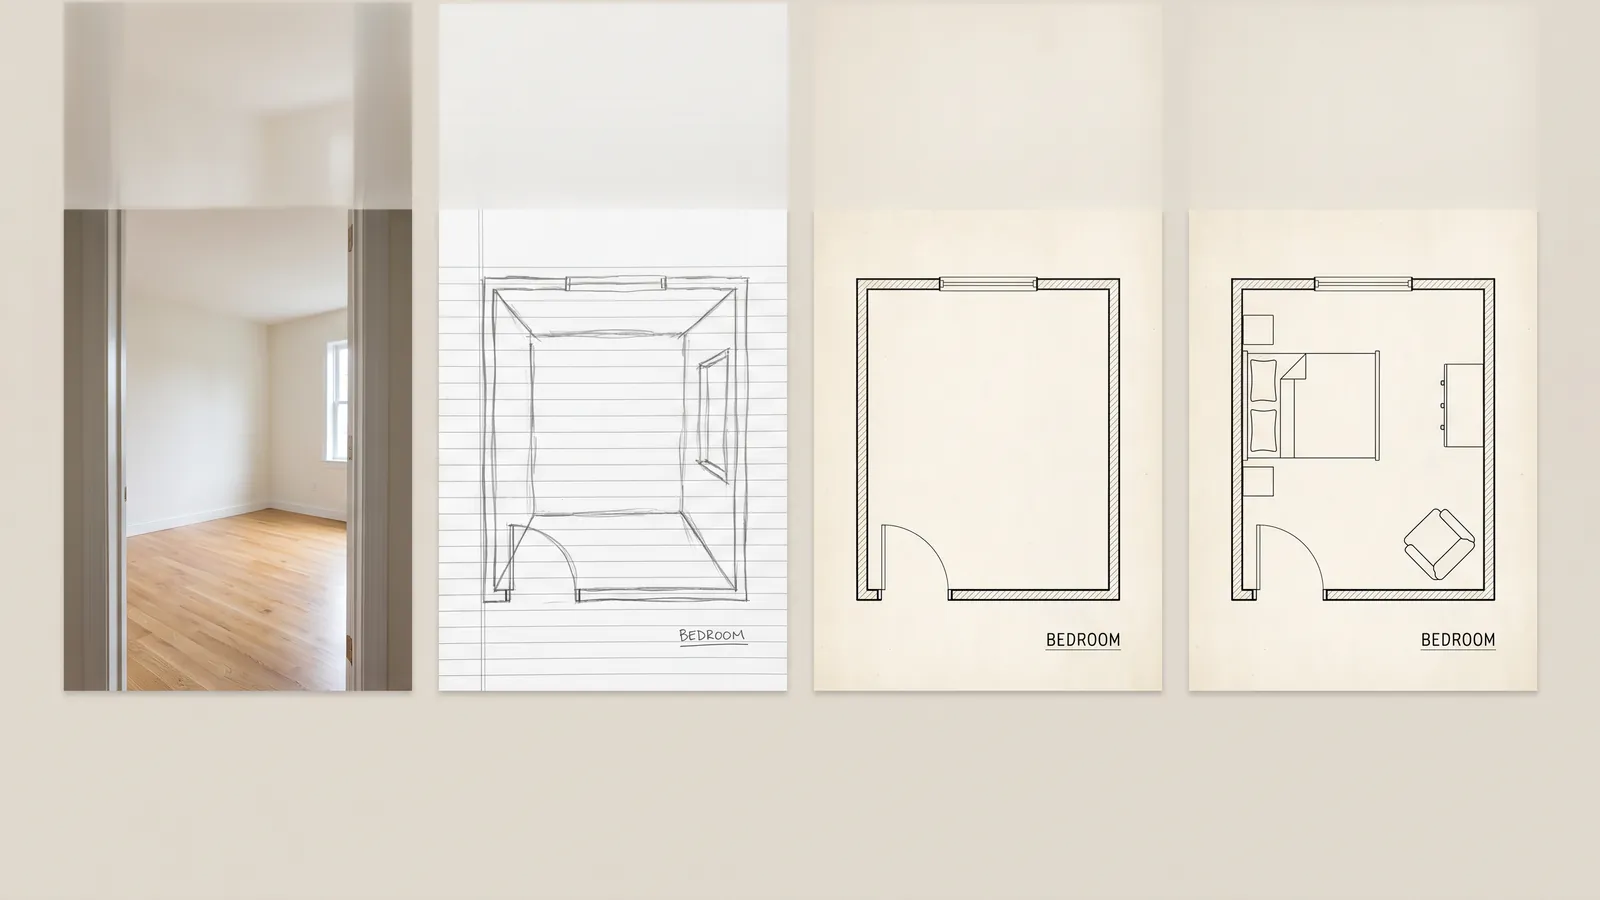
A real bedroom, with the actual numbers, because the abstract version hides where the time goes.
- Sketch the shape, two minutes. A rectangle with a chimney breast on one wall and a door in the corner.
- Measure the walls, six minutes. The window wall runs 3.60 m. The opposite wall reads 3.62 m, which is close enough to call 3.60 and move on. The side walls are 4.10 m, but the chimney breast interrupts one of them, so that wall records as three segments: 1.15 m, then a 0.90 m breast projecting 0.30 m, then 2.05 m. Those segments sum to 4.10, so the plan will close.
- Measure the openings, three minutes. Door 80 cm wide, 15 cm from the corner, swinging into the room. Window 140 cm wide, 90 cm from the corner, sill at 95 cm.
- Pick a scale, one minute. One room, so 1:20 on graph paper at 10 cm per square: the 3.60 m wall is 36 squares.
- Draw it, eight minutes. Envelope, then the chimney breast as its own rectangle, then 12 cm partitions, then the door with its arc and the window in the wall.
- Place furniture, five minutes. A 140 by 200 cm double bed centred on the window wall leaves 68 cm on one side and 72 cm on the other, both under the 90 cm you want but acceptable for a bedroom. A 60 cm deep wardrobe fits in the 2.05 m alcove beside the chimney breast with room to spare, and it needs 75 cm of clear floor in front to open, which the door swing does not overlap.
Twenty-five minutes, and the plan answers the question that prompted it: the wardrobe goes in the alcove, not on the window wall, because on the window wall it would have blocked the door arc.
Which level of detail to draw
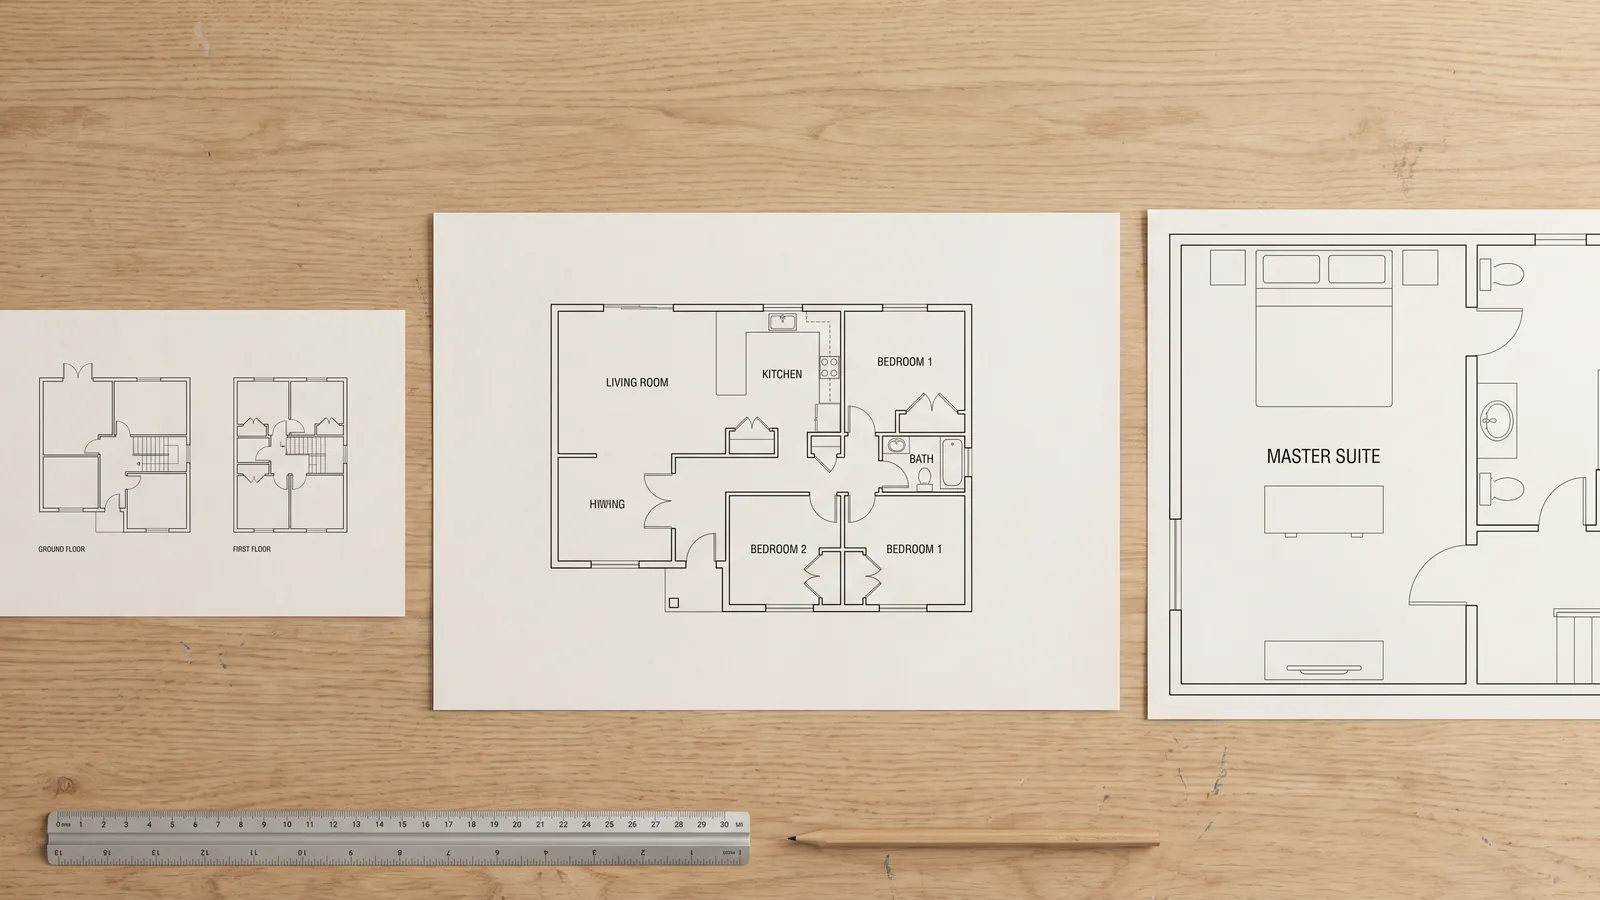
Drawing more than the job needs is the commonest way to abandon a plan halfway.
| What you are deciding | Draw | Scale | Include |
|---|---|---|---|
| Whether a layout works at all | The whole floor | 1:100 | Walls, doors, room labels. No furniture. |
| Where the furniture goes | One floor | 1:50 | Wall thickness, swings, windows, true-size furniture |
| Whether a specific piece fits | One room | 1:20 | Everything, plus radiators, sills and boxing |
| Briefing a builder | The whole floor | 1:50 | Full dimensions on every wall, scale noted on the sheet |
If you are unsure, draw at 1:50. It is detailed enough to be useful and coarse enough to finish.
Common floor plan mistakes
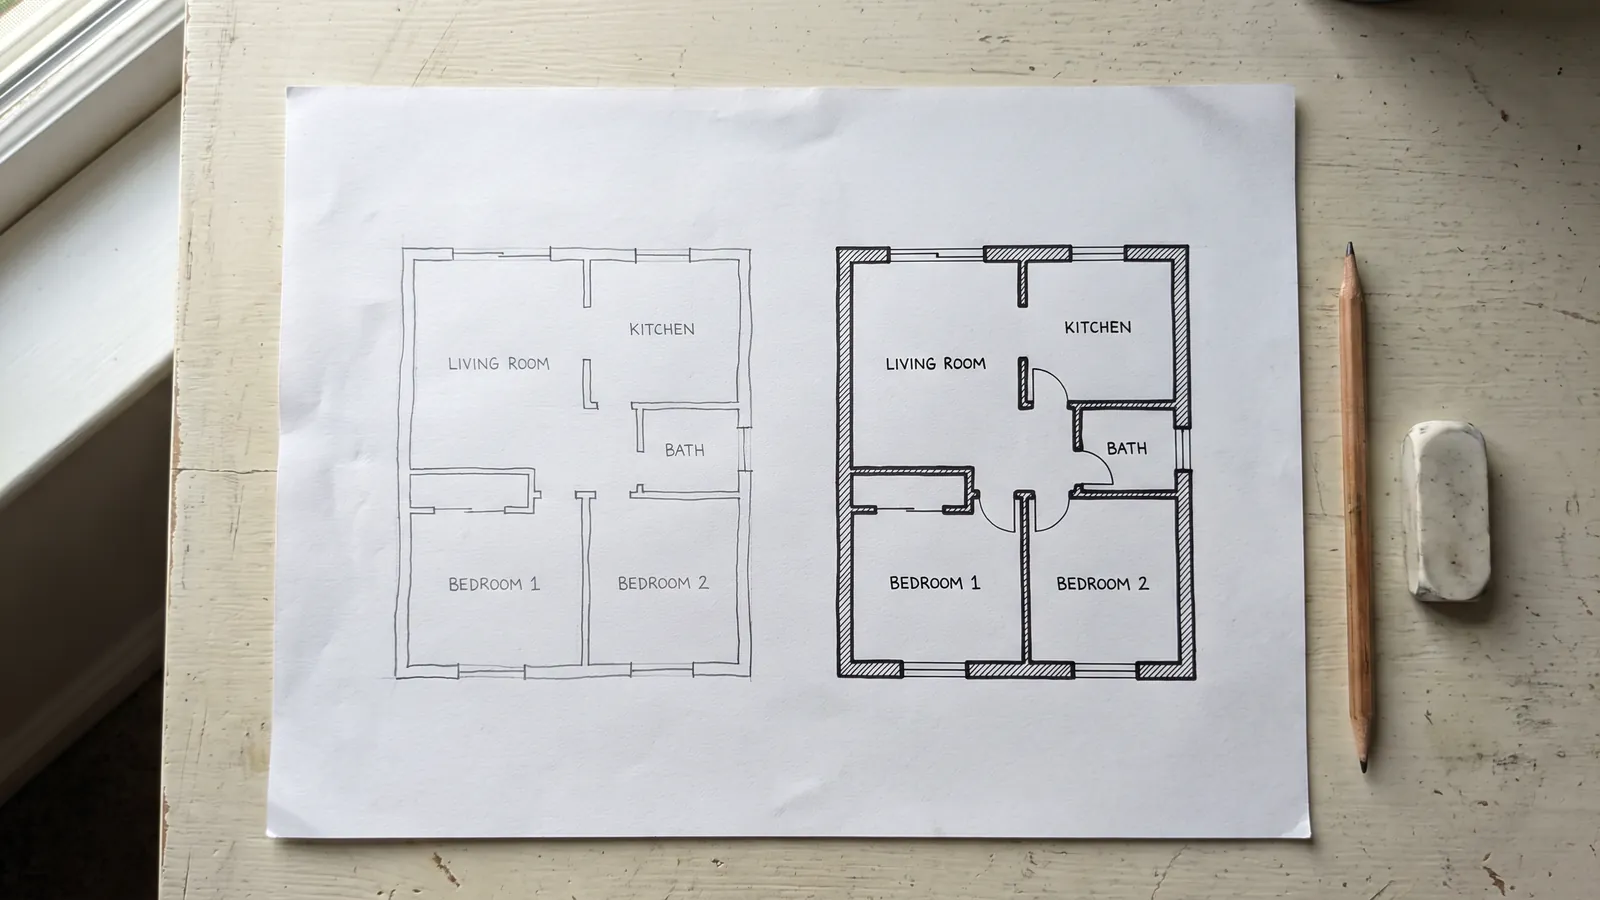
Six recur, and each has a fix that takes less time than the problem costs.
- Walls drawn as single lines. Covered above, and worth repeating because it is the one that inflates every room at once. Draw the thickness.
- Door swings left off. You lose the floor the arc covers and find out after the wardrobe arrives. Draw the arc even on a rough plan.
- Only the overall measured. The alcove or chimney breast vanishes, and with it the one place the wardrobe actually fitted. Record segments.
- Ceiling height ignored. It is invisible on a plan and decides whether a room feels generous or oppressive. A 2.4 m ceiling and a 2.9 m ceiling are different rooms. Note it per room.
- Furniture drawn from memory. Remembered sofas are always smaller than real ones. Measure what you own, or use the typical figures above.
- No scale noted on the sheet. The drawing becomes unusable to anyone but you, including you in six months. Write it in a corner.
The quiet seventh is radiators, pipe boxing and deep window sills. None of them are walls, all of them stop furniture sitting flat against one, and none of them appear on a plan unless you deliberately put them there.
The plan that will not close
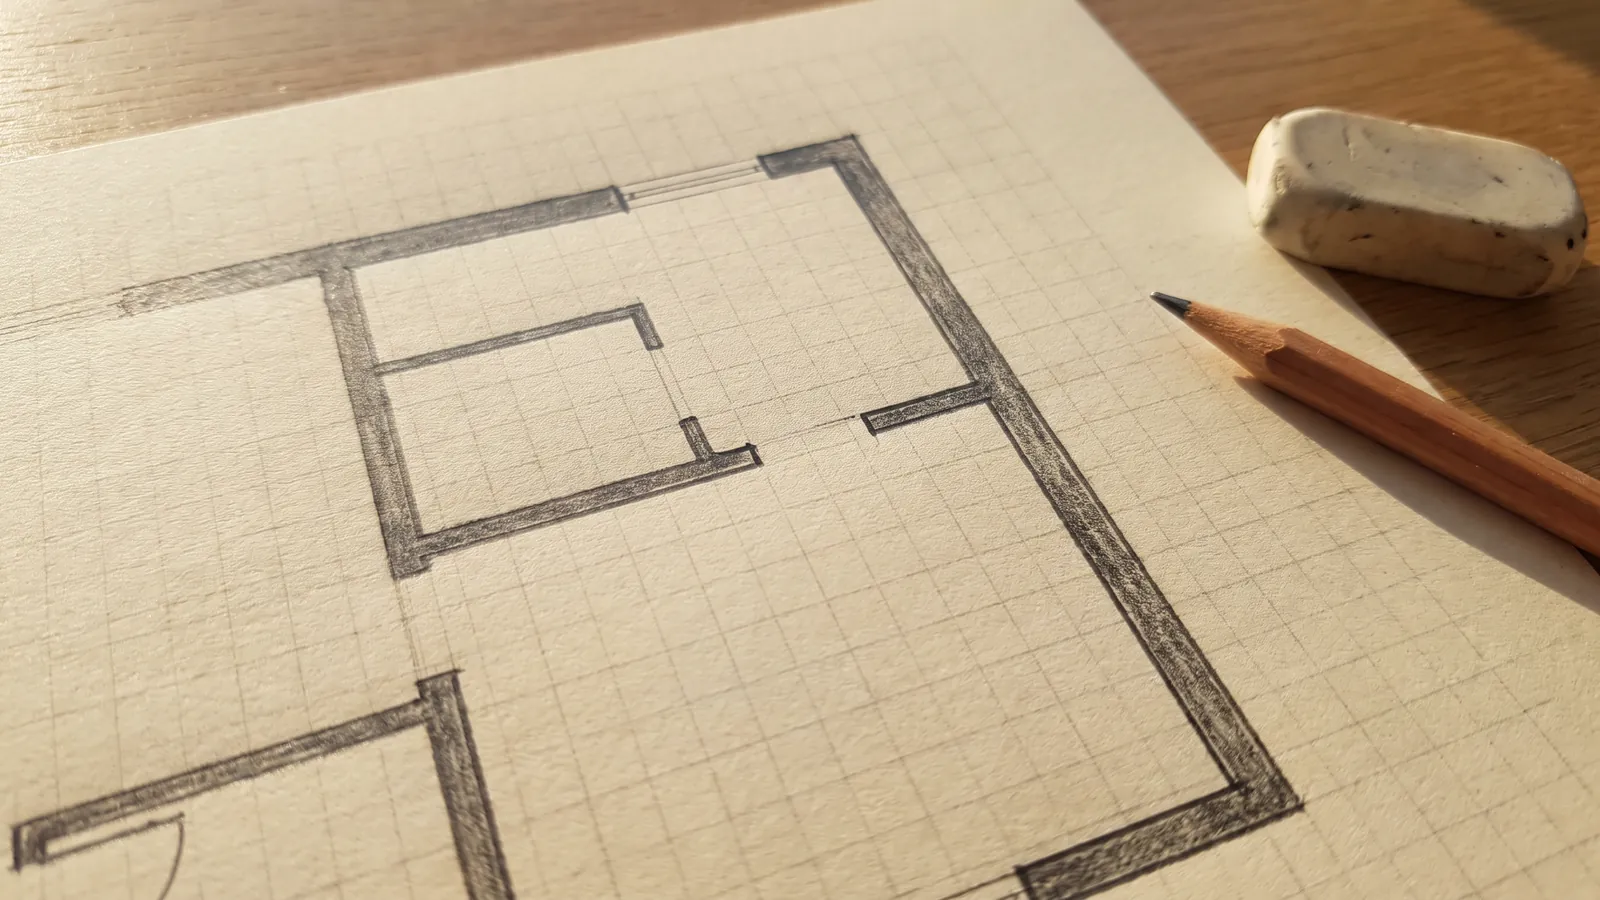
You draw the perimeter, work around the room, and the last wall does not meet the first. There is a gap, or an overlap, and no amount of staring resolves it.
It is almost never the drawing. It is that a segment went unmeasured. The usual culprits are a chimney breast recorded as part of the wall rather than as its own projection, a shallow alcove nobody registered as a feature, pipe boxing in a corner that reads as wall until you touch it, and a door reveal in a thick wall that adds 20 or 30 cm nobody wrote down.
The fix is arithmetic, not redrawing. Add up your segments along the offending side and compare with the overall measurement you took of that same side. The difference is the size of the thing you missed, and its size usually tells you what it was: 10 to 15 cm is boxing or a mis-recorded wall thickness, 30 cm is a chimney breast, 60 cm and up is an alcove or a recess. Go back and measure that one wall again rather than adjusting the drawing to fit, because a plan quietly fudged to close is a plan that will mislead you later at exactly the moment it matters.
This is also the argument for recording the overall dimension of every side even when you have the segments. It costs four extra measurements and it is the only thing that lets you find the error at all.
Draw yours and walk through it
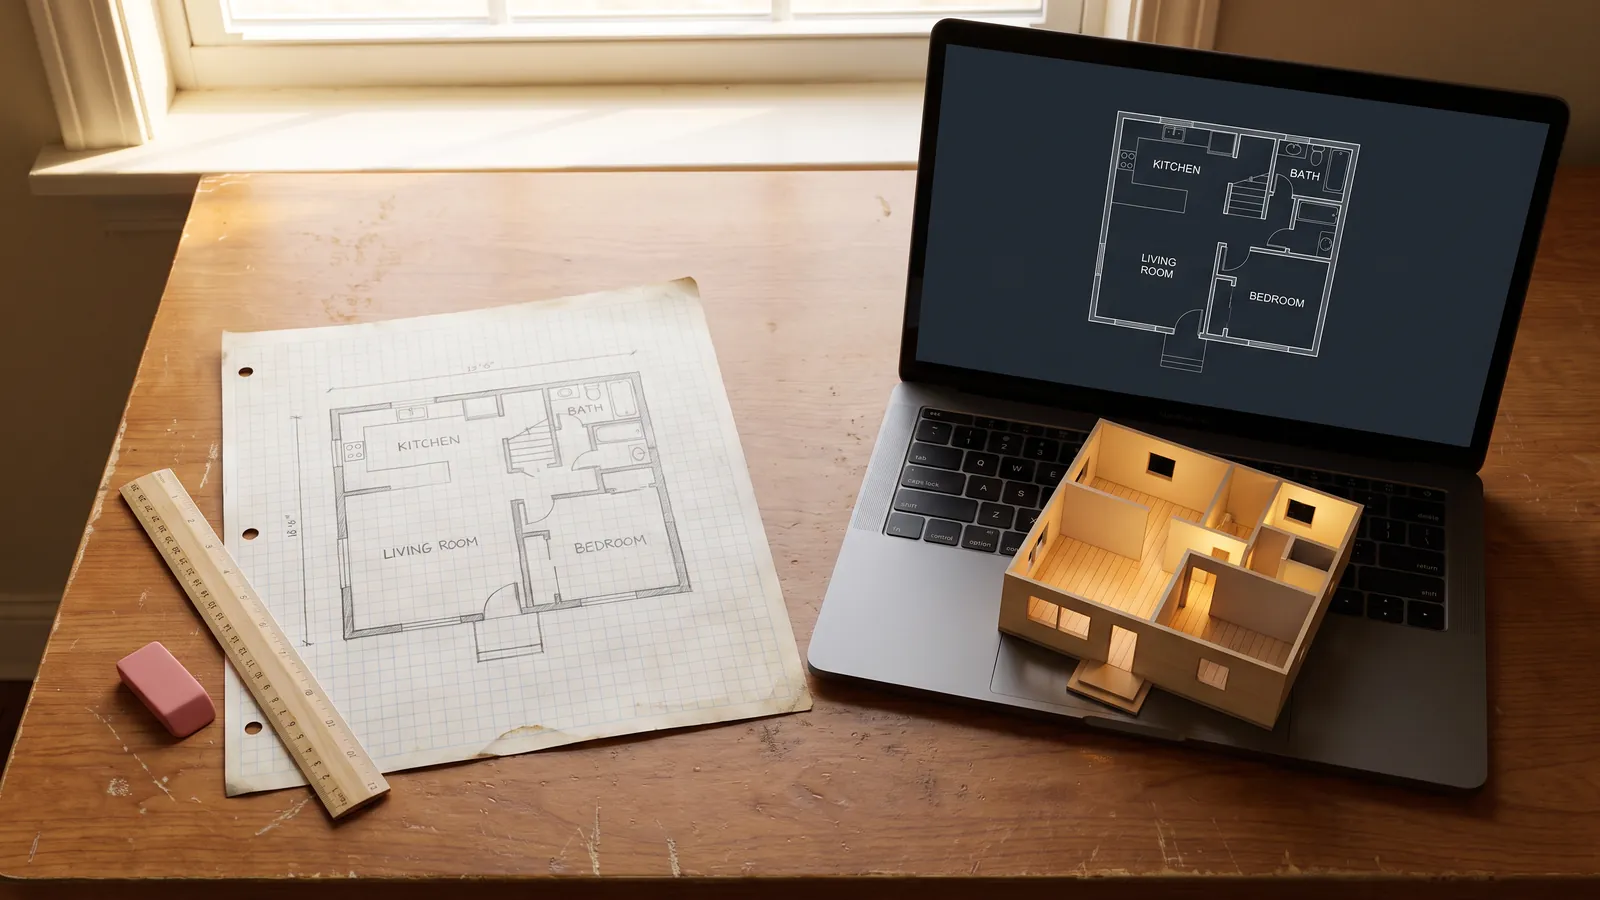
A drawn plan does not have to stay flat. Once the walls are in, you can stand inside it at eye level, which is the only reliable way to judge whether a room feels the size the numbers say.
- Draw the walls, trace a photo of an existing plan, or describe the home in a sentence and correct the draft.
- Place furniture at true size and keep 90 cm on the routes you walk daily.
- Switch to 3D and walk in, then render the viewpoint if you want to see it finished.
Everything up to the render costs nothing and needs no account, so you can draw the whole plan and decide whether it was worth it before spending anything. The photoreal image at the end is the paid step, on a subscription. Open the planner and draw your plan, or see how the floor plan creator works first. If a plan already exists on paper, turning a floor plan into 3D covers the tracing route instead.
Frequently asked questions
Can I draw a floor plan without CAD software? +
Yes. Graph paper and a pencil work, and so does a browser-based planner. CAD is only needed when you are producing drawings to build from, and it costs real learning time that most plans do not justify.
What scale should I use? +
Use 1:100 for a whole house on one sheet, 1:50 for a flat or a single floor, and 1:20 for one room where placement matters to the centimetre. If you are unsure, 1:50 is detailed enough to be useful and coarse enough to finish.
How do I draw a floor plan to scale on graph paper? +
Decide what one square represents, usually 10 cm for a room or 25 cm for a whole house, then count squares instead of dividing. A 4.2 m wall at 10 cm per square is 42 squares, so the arithmetic disappears.
How thick should I draw the walls? +
Roughly 10 to 12 cm for internal partitions and 25 to 40 cm for exterior walls, depending on construction. Drawing walls as single lines is the most common mistake, because it makes every room larger than it really is.
Do I need to include furniture? +
Only if you are making a decision about it. If you do include it, draw it at true size, because a remembered sofa is always smaller than a real one and a plan drawn from memory will mislead you.
Why does my floor plan not close? +
Almost always because a segment went unmeasured: a chimney breast, an alcove, pipe boxing or a door reveal. Add your segments along that side and compare with the overall measurement of the same side. The difference is the size of what you missed.
How long does it take to draw a floor plan? +
About 30 minutes for a small flat, measured and drawn properly. Most of that is measuring. A single room takes around 25 minutes end to end, including placing furniture at true size.
Can I turn my drawing into a 3D view? +
Yes. Once the walls are in you can stand inside the plan at eye level, which is the only reliable way to judge whether a room feels the size the numbers say. Drawing and walking through are free; the photoreal render is the paid step.
 After
After
 Before
Draw it, then walk it
Your plan, built and rendered
Draw the floor plan free in your browser, walk it in 3D, and one click renders the finished home in your style.
Draw your plan and see it realDraw it free. Walk it in 3D. No signup.