restylai blog
Floor Plan to 3D: Turn Any Plan Into a Real Room
Updated July 31, 2026 · by the restylai team
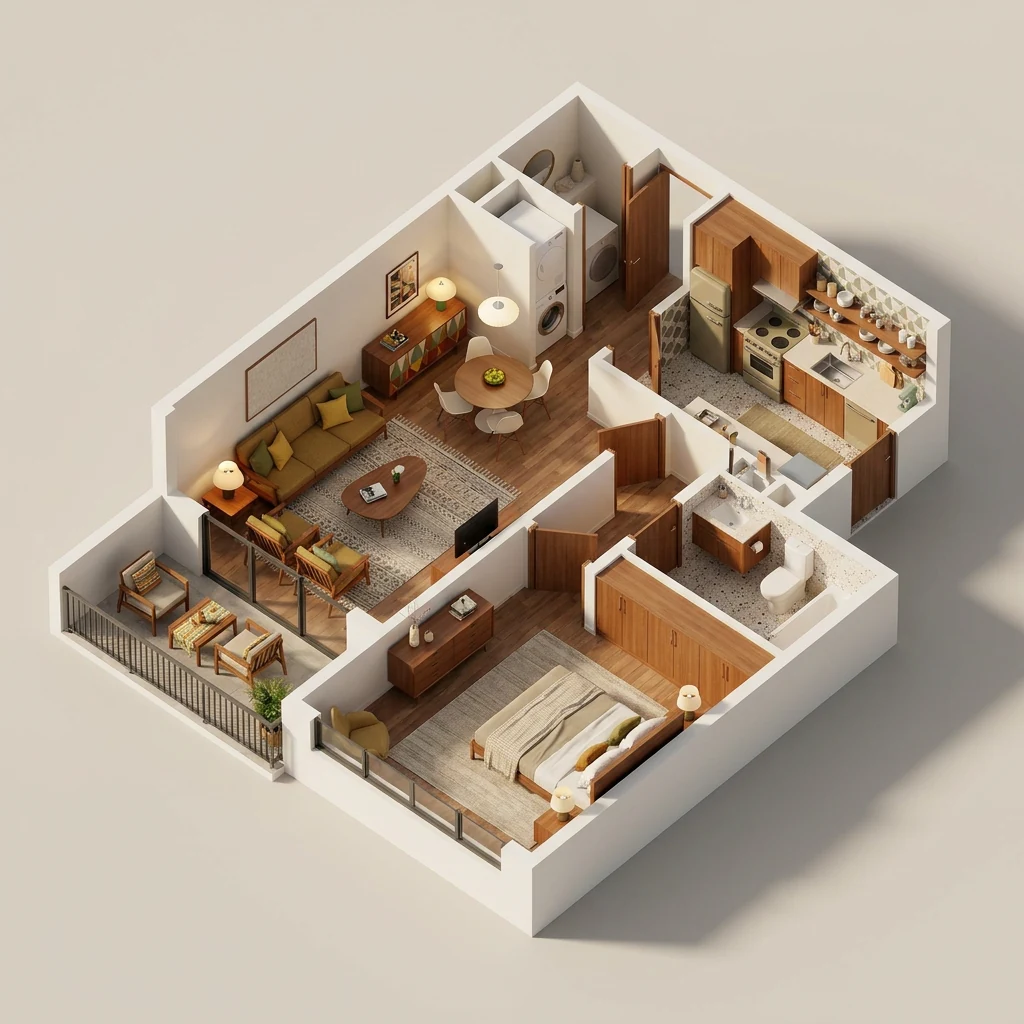
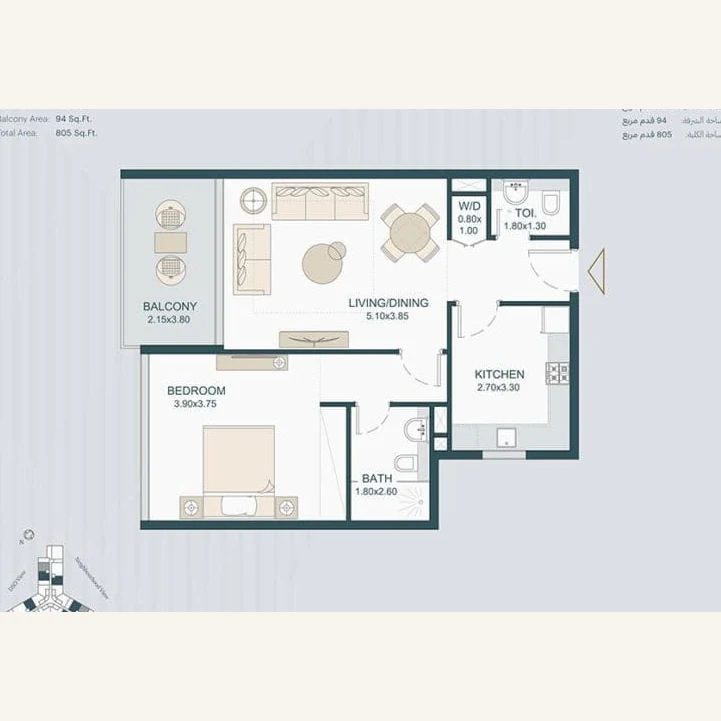 Before
3D render
Before
3D render
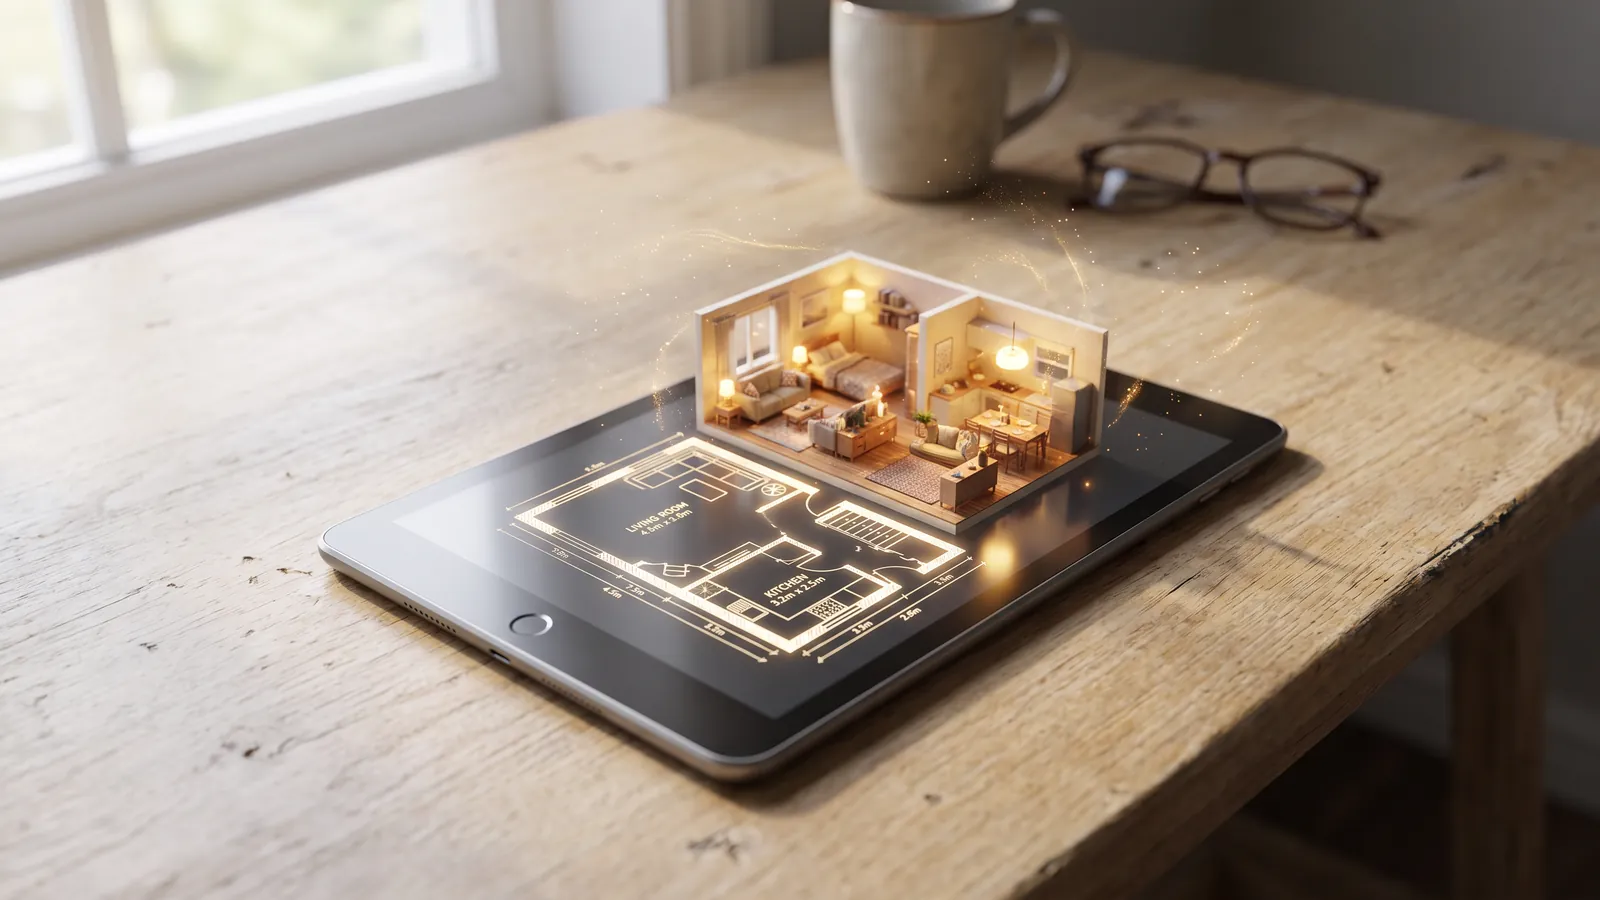
A floor plan is information-dense and emotionally flat. It tells an architect everything and tells most people almost nothing, because it is hard to feel a room's size or flow from symbols and lines alone. Turning that plan into 3D fixes exactly that: the same walls and openings become a place you can look around, judge, and show to someone else without explaining what a door swing arc means.
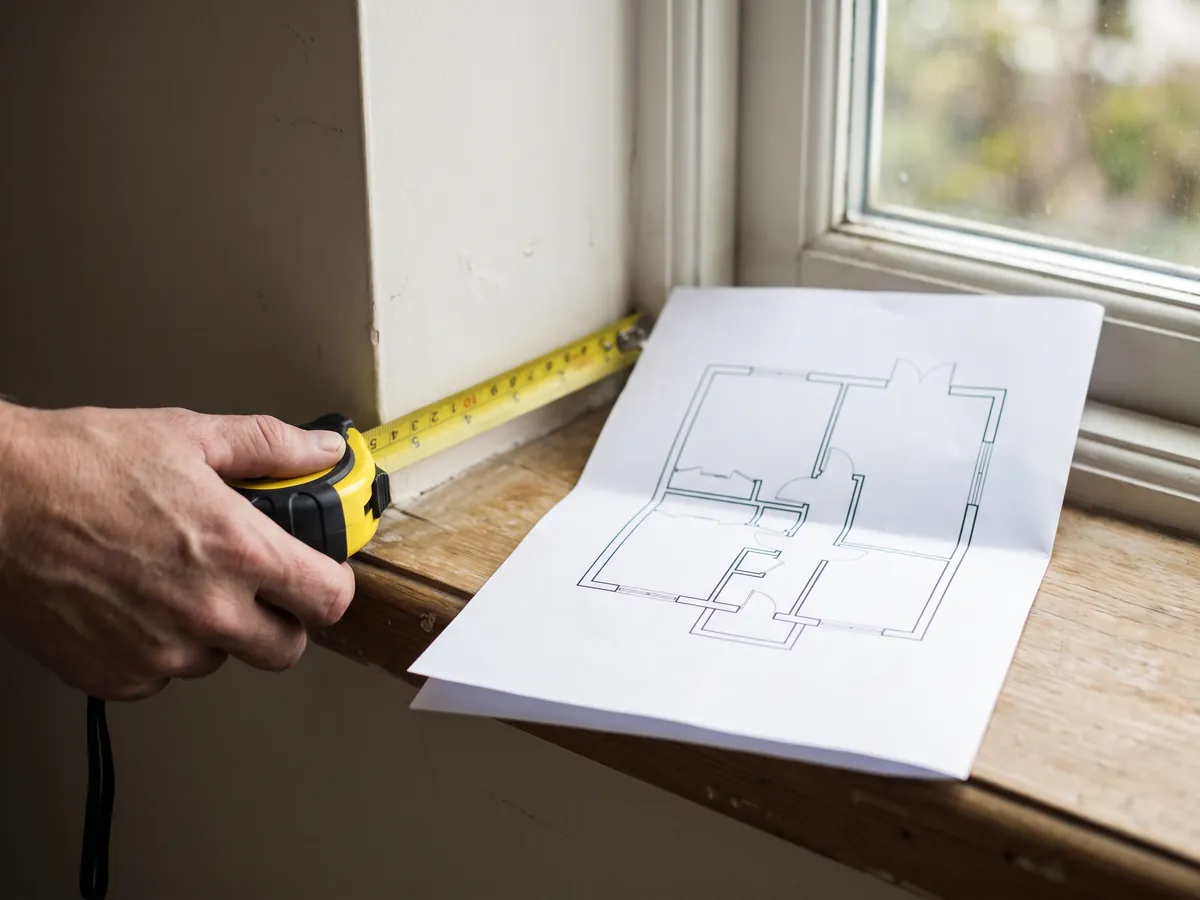
You do not need the original CAD file, and you do not need to own the drawing. A photo of a printed plan is enough, as long as you can tell the software one real dimension to work from. If no plan exists yet, you can draw one in a browser in about twenty minutes and walk through it the same afternoon.
This guide covers what a 3D conversion actually produces, what you need to start, the step-by-step process, why standing inside a plan at eye level changes decisions, one real flat carried from printed sheet to finished render, what it costs, and where the whole approach falls short.
What floor plan to 3D actually means
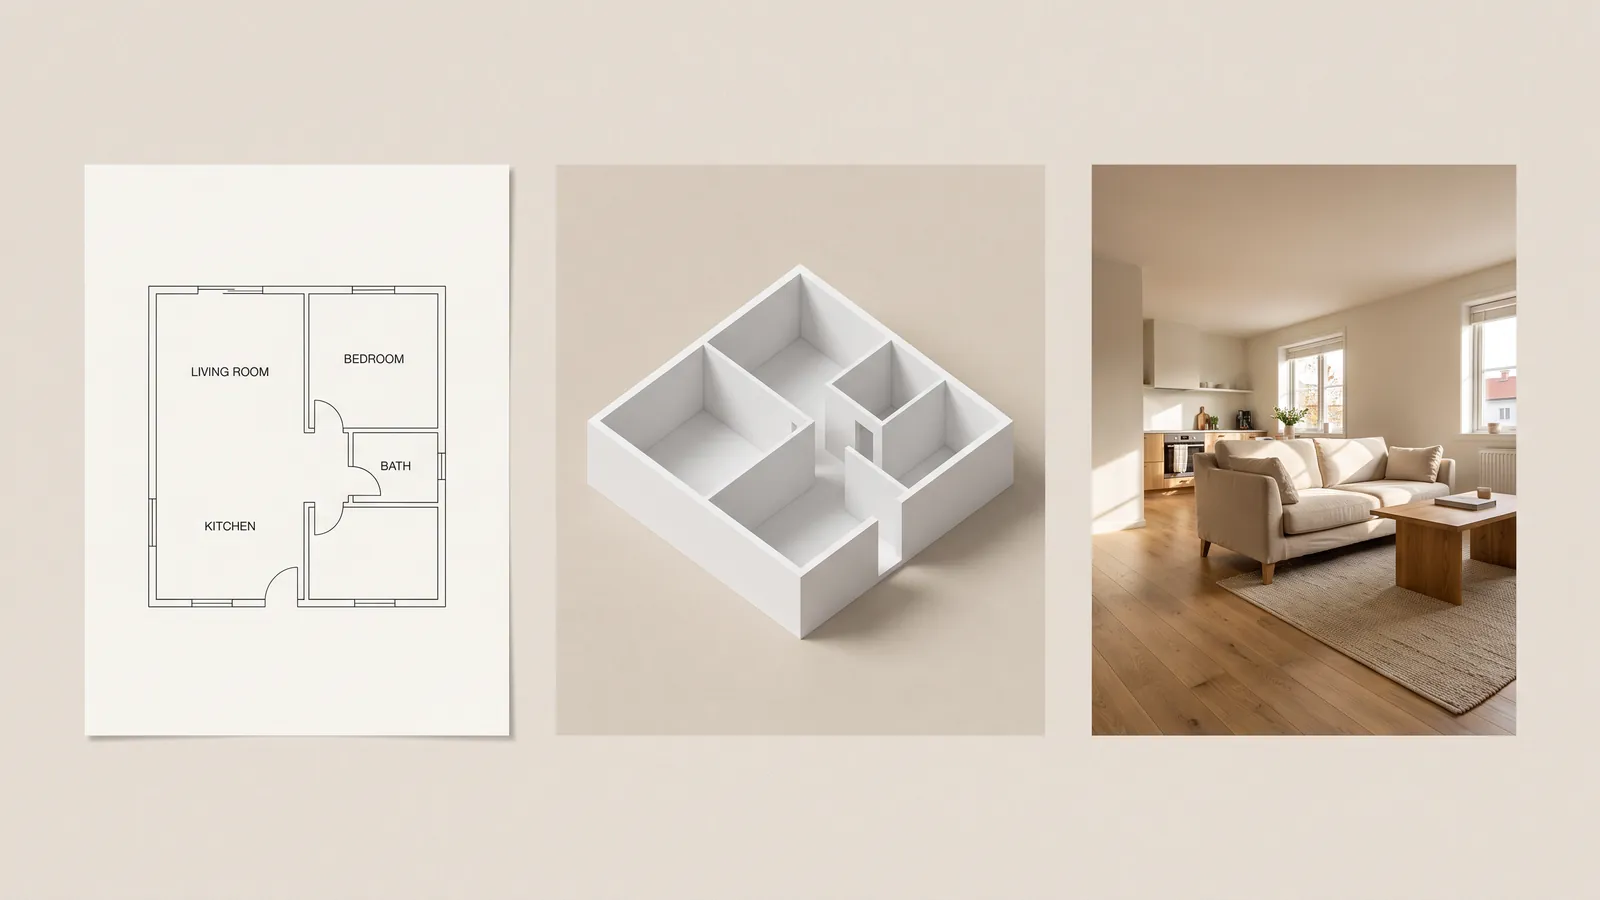
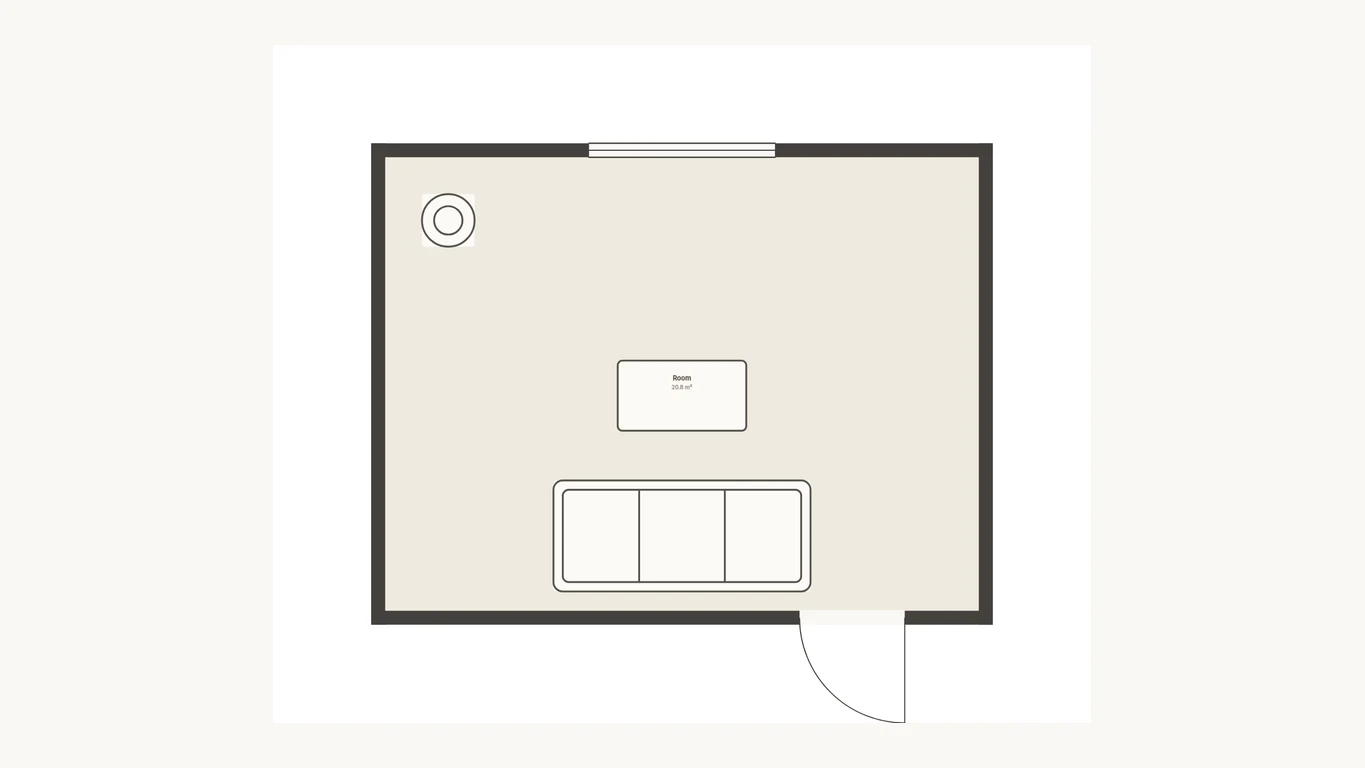
A 2D plan is an overhead abstraction: lines for walls, arcs for door swings, numbers for lengths. Converting it to 3D means giving those lines height, materials and light so your eye can judge the space instead of your imagination having to.
Three different outputs get called "3D", and people want them for different reasons:
- An isometric or dollhouse view. The whole floor seen from above at an angle, walls cut down to about waist height so you can see in. Best for understanding layout and how rooms connect.
- A first-person walkthrough. Standing inside at eye level, roughly 1.6 m off the floor. Best for judging whether a room actually feels big enough, which a plan cannot tell you.
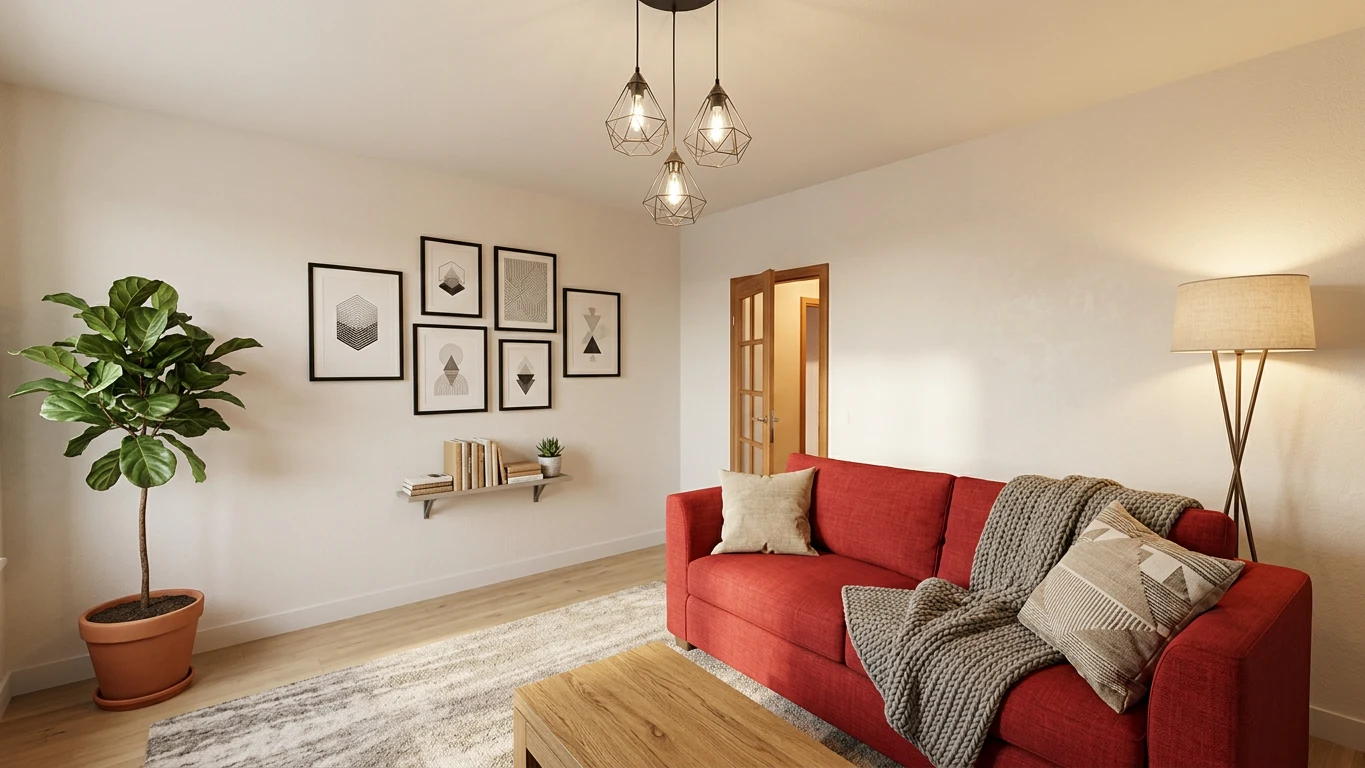
- A photoreal render. A photograph-quality image of one viewpoint, with real materials and light behaviour. Best for deciding how a space will look finished.
Most tools give you the first. Some give you the second. Very few give you the third from an ordinary plan. It is worth knowing which one you actually need before you start, because the effort is different for each.
What you need to start
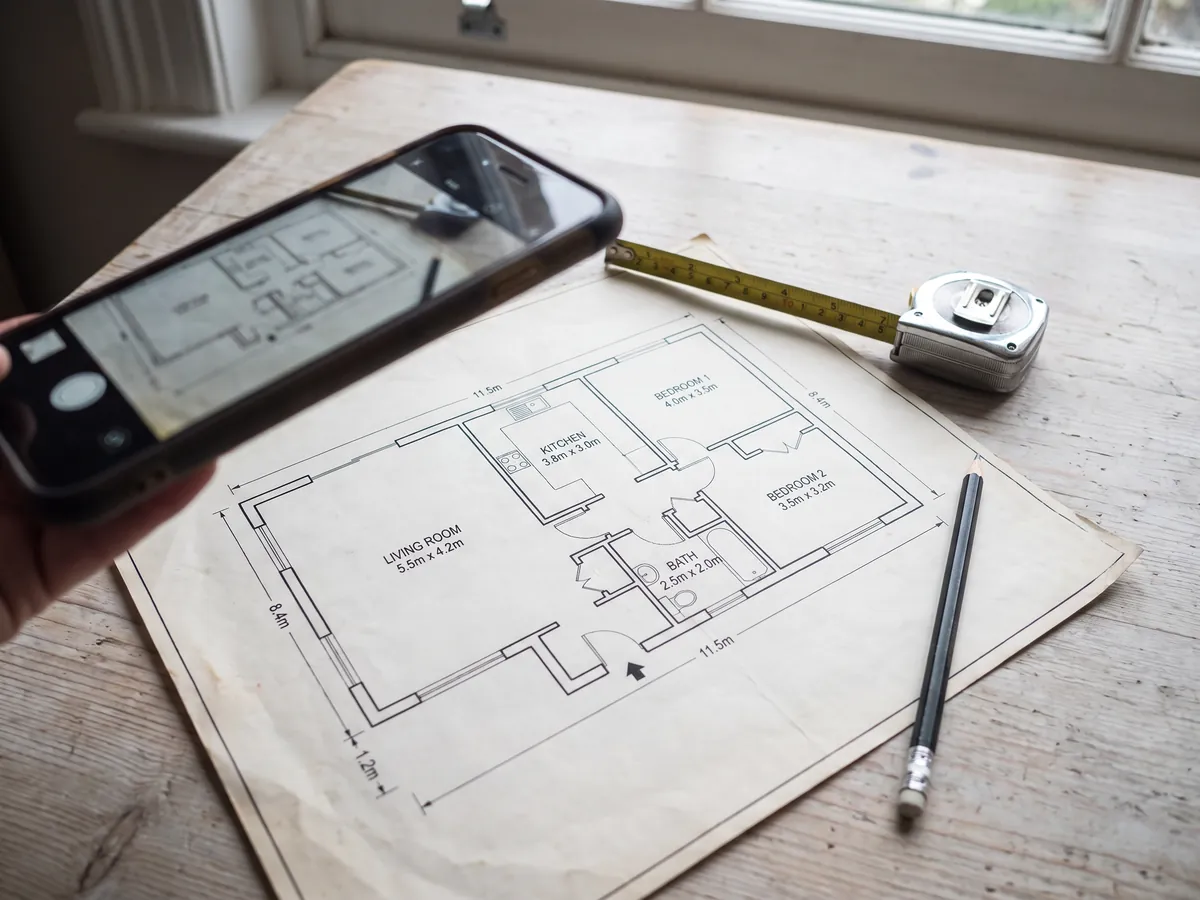
Almost certainly less than you think. There are four starting points, and only one of them involves owning professional software.
- A photo of a printed plan. A phone photo of an estate agent sheet or a builder's drawing works. You trace over it and supply one real dimension so the software knows the scale.
- A PDF or image export from an architect. Cleaner lines than a photo, same process.
- A DXF or CAD file, if you happen to have one. This imports directly and is the most accurate route, because the geometry arrives already measured.
- Nothing at all. Draw the walls yourself, or describe the home in a sentence and correct the draft you get back.
The one concept worth understanding is calibration. Software cannot know the scale of a photograph, because a plan shot from 30 cm away and one shot from 2 m away look identical once cropped. So you tell it one real measurement, usually a wall length you have taped or a standard interior door at 80 to 90 cm, and every other dimension follows from that single reference. Get it right and the whole plan is right. Get it wrong and every room is wrong by the same percentage, which is the failure worth guarding against.
A bad source photo costs you accuracy before you start. The three things that hurt most are shooting at an angle, which skews the geometry, folds and shadows crossing the sheet, and resolution too low to read the thin interior walls. Lay the plan flat, shoot straight down, and use even light. Our floor plan creator explains the tracing workflow in more detail, and if you have no drawing at all, how to draw a floor plan covers making one from scratch.
Which starting point fits your plan
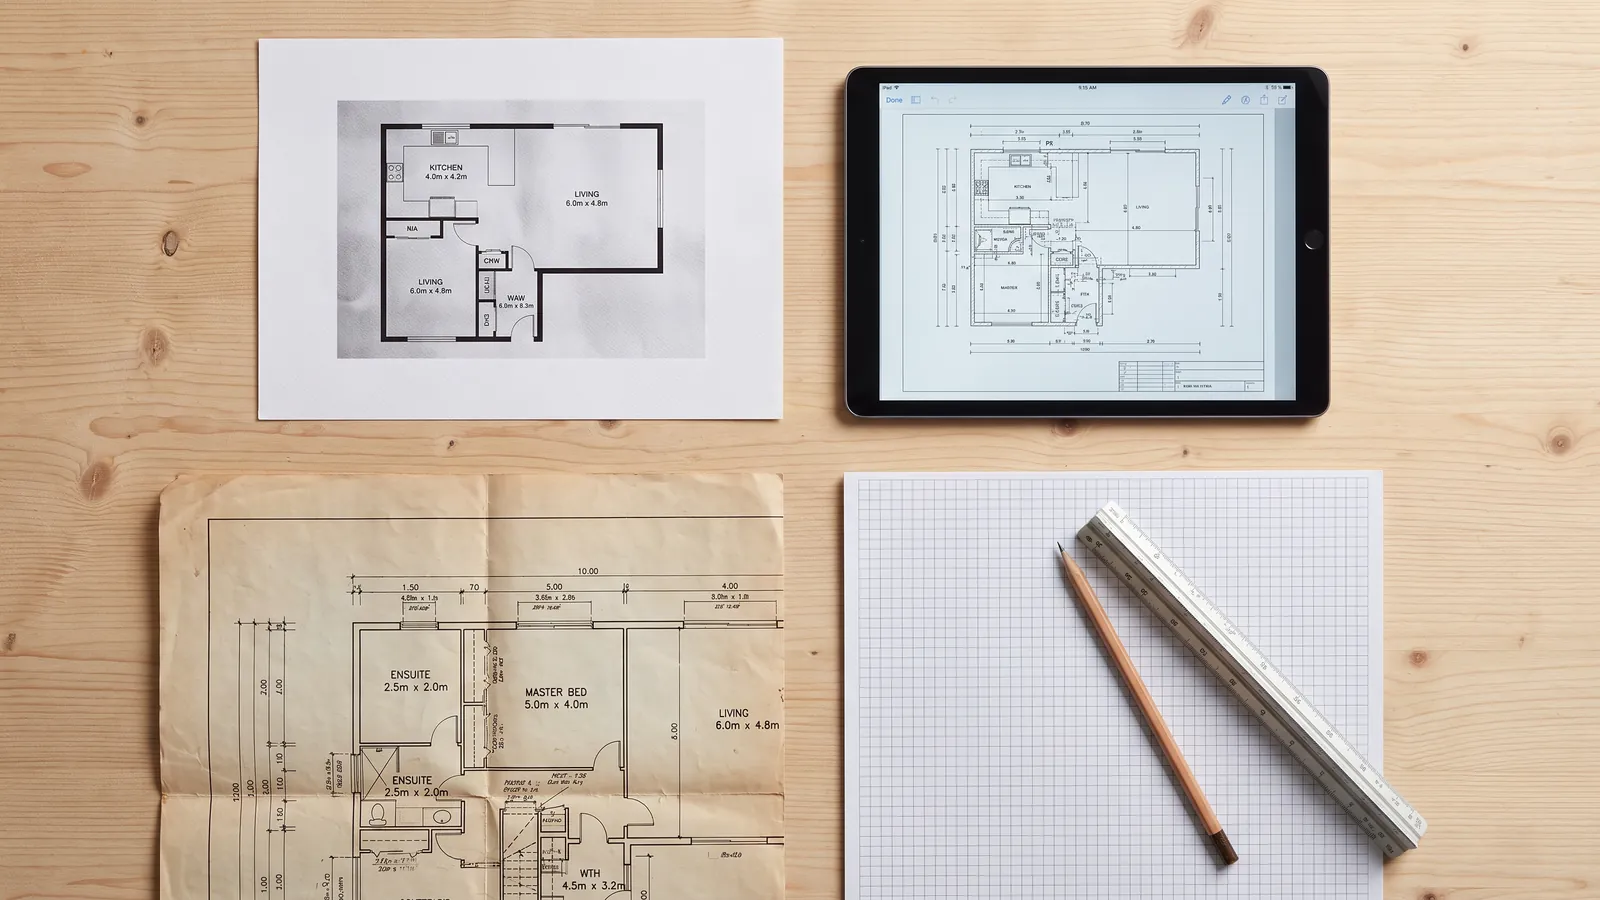
The right route depends on what you already have and how accurate the result needs to be.
| What you have | Route | Accuracy | Time to a 3D view |
|---|---|---|---|
| A printed plan or an estate agent sheet | Photograph it and trace over it | Good, as good as your calibration measurement | 15 to 30 minutes |
| A PDF from an architect | Import the image and trace | Better, the lines are crisp | 15 to 25 minutes |
| A DXF or CAD file | Import directly | Highest, the geometry is already measured | Under 5 minutes |
| Only the real rooms, no drawing | Measure, then draw the walls | As good as your measuring | 30 to 60 minutes for a small flat |
| Nothing, and you want a starting point | Describe the home in a sentence, then correct the draft | Rough until you fix the dimensions | Under 5 minutes to a first draft |
If accuracy matters and you have the choice, the DXF route wins on every axis. If you are working from a listing sheet you found online, tracing is the only option, and the calibration step becomes the thing to take seriously.
How the conversion works, step by step
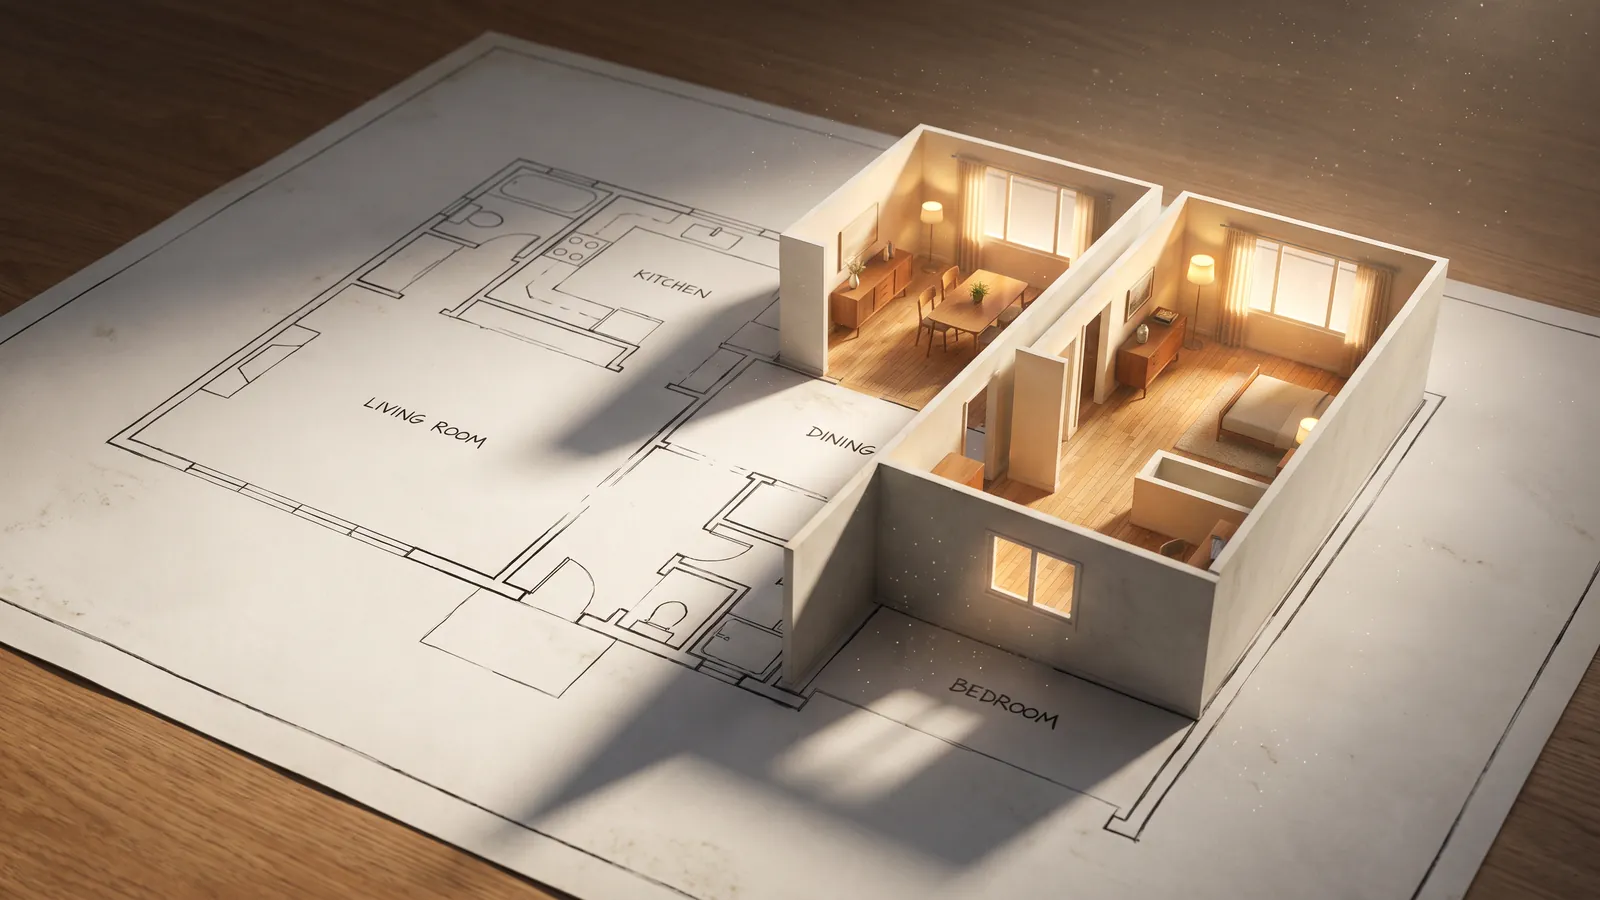
The sequence is the same whichever starting point you chose:
- Bring in the plan. Trace a photo, import a DXF, or draw the walls directly.
- Set the scale. Enter one real width. Everything else is derived from it.
- Confirm the walls. A traced outline is a starting point, not a finished plan. Expect to nudge a few walls, and remember that interior partitions are usually 10 to 12 cm thick while exterior walls run 25 to 40 cm depending on construction. Drawing every wall as a single thin line is the most common way a plan quietly overstates how much room you have.
- Place the doors and windows. Openings are what stop a 3D space feeling like a set of boxes, and their position matters as much as their width. Measure each opening from the nearest corner, not just its size.
- Add furniture at true size. This is the step that answers whether the sofa fits. A three-seat sofa is typically 200 to 230 cm wide, a double bed is 140 by 200 cm, a king is 180 by 200 cm, and a dining table for four is around 120 by 80 cm.
- Switch to 3D and walk in. Move through the plan at eye level rather than looking down at it.
- Render a viewpoint. Turn the view you are standing in into a photoreal image, in a chosen style or from a typed description.
Steps one through six cost nothing. Only the final render is paid. That is worth knowing up front so you can do the whole layout exercise, and decide whether it was useful, before spending anything.
Walking through the plan changes what you decide
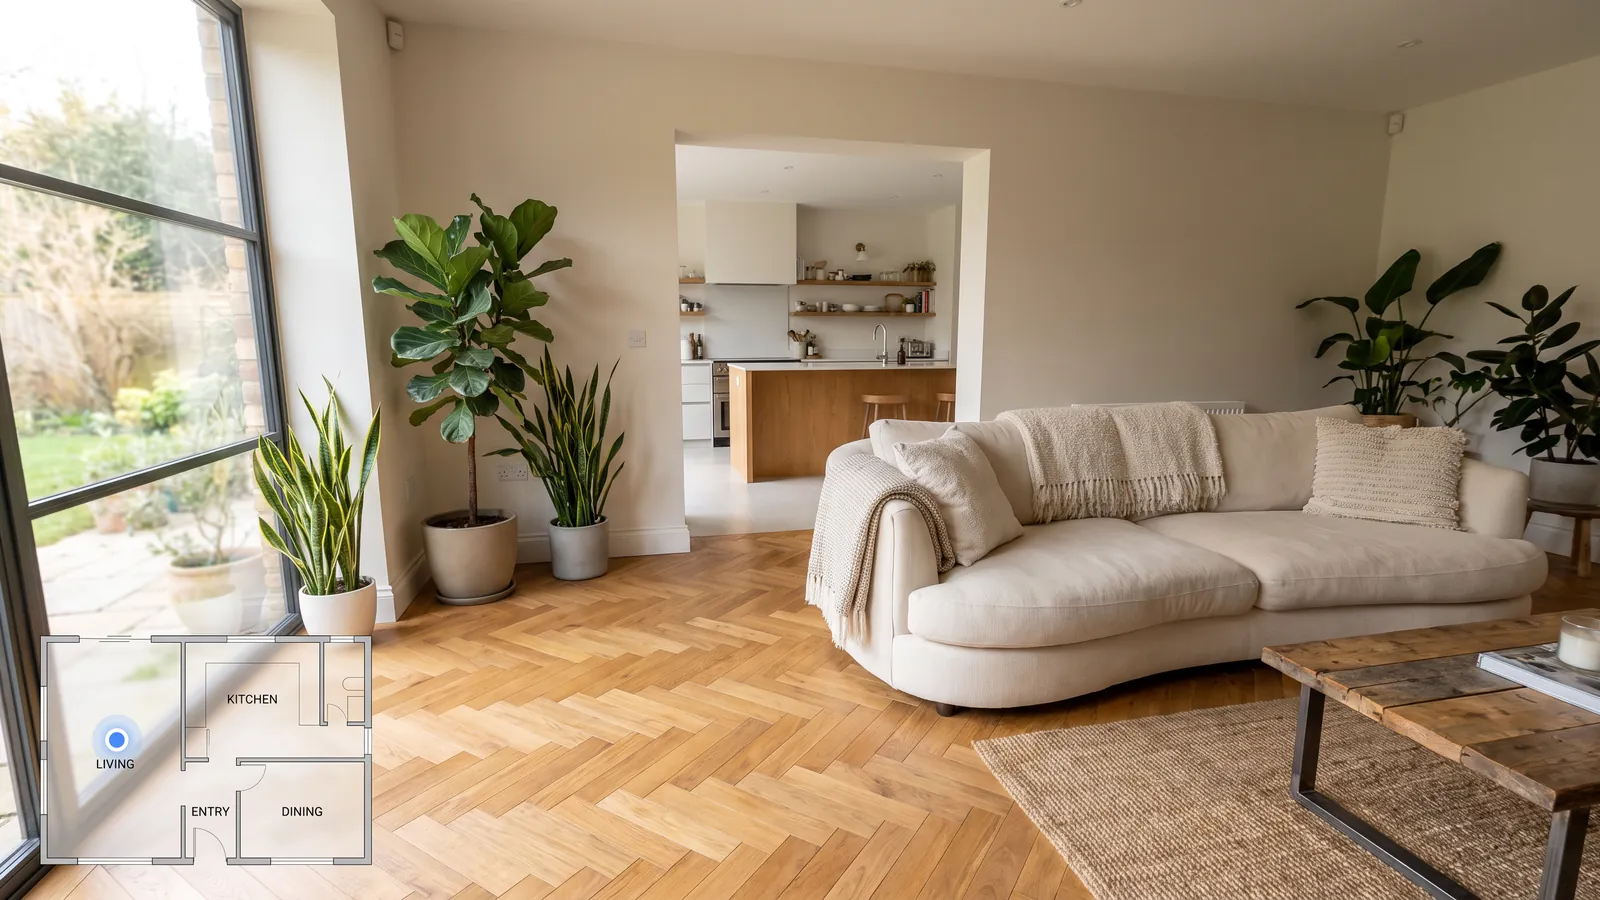
Overhead plans systematically mislead people about how a space feels, and they do it in a consistent direction: rooms read more generous on paper than they do in life. A plan hides ceiling height, hides sightlines, and cannot show you how much floor furniture actually eats once it is in place.
Three decisions are difficult on a plan and obvious in a walkthrough:
- Whether a kitchen island leaves a comfortable passage. On paper the gap is a number. At eye level you can see whether 100 cm behind a seated person reads as generous or as squeezing past. Below about 90 cm a main route starts to feel like a corridor.
- Whether a sofa blocks the view to a window. A plan shows a rectangle against a wall. A walkthrough shows you that the back of a 230 cm sofa cuts the lower third of the glass.
- Whether a hallway feels tight. A 90 cm hallway and a 120 cm hallway look nearly identical on a plan and feel completely different to walk down.
This is the cheapest way to catch an expensive mistake. Rearranging furniture in a 3D view takes seconds; discovering after delivery that the wardrobe needs 75 to 90 cm of clear floor in front of it to open and stand in takes a return shipment. For the numbers behind these clearances, standard room dimensions covers them room by room, and small living room ideas works through the arrangements themselves.
From 3D model to photoreal render
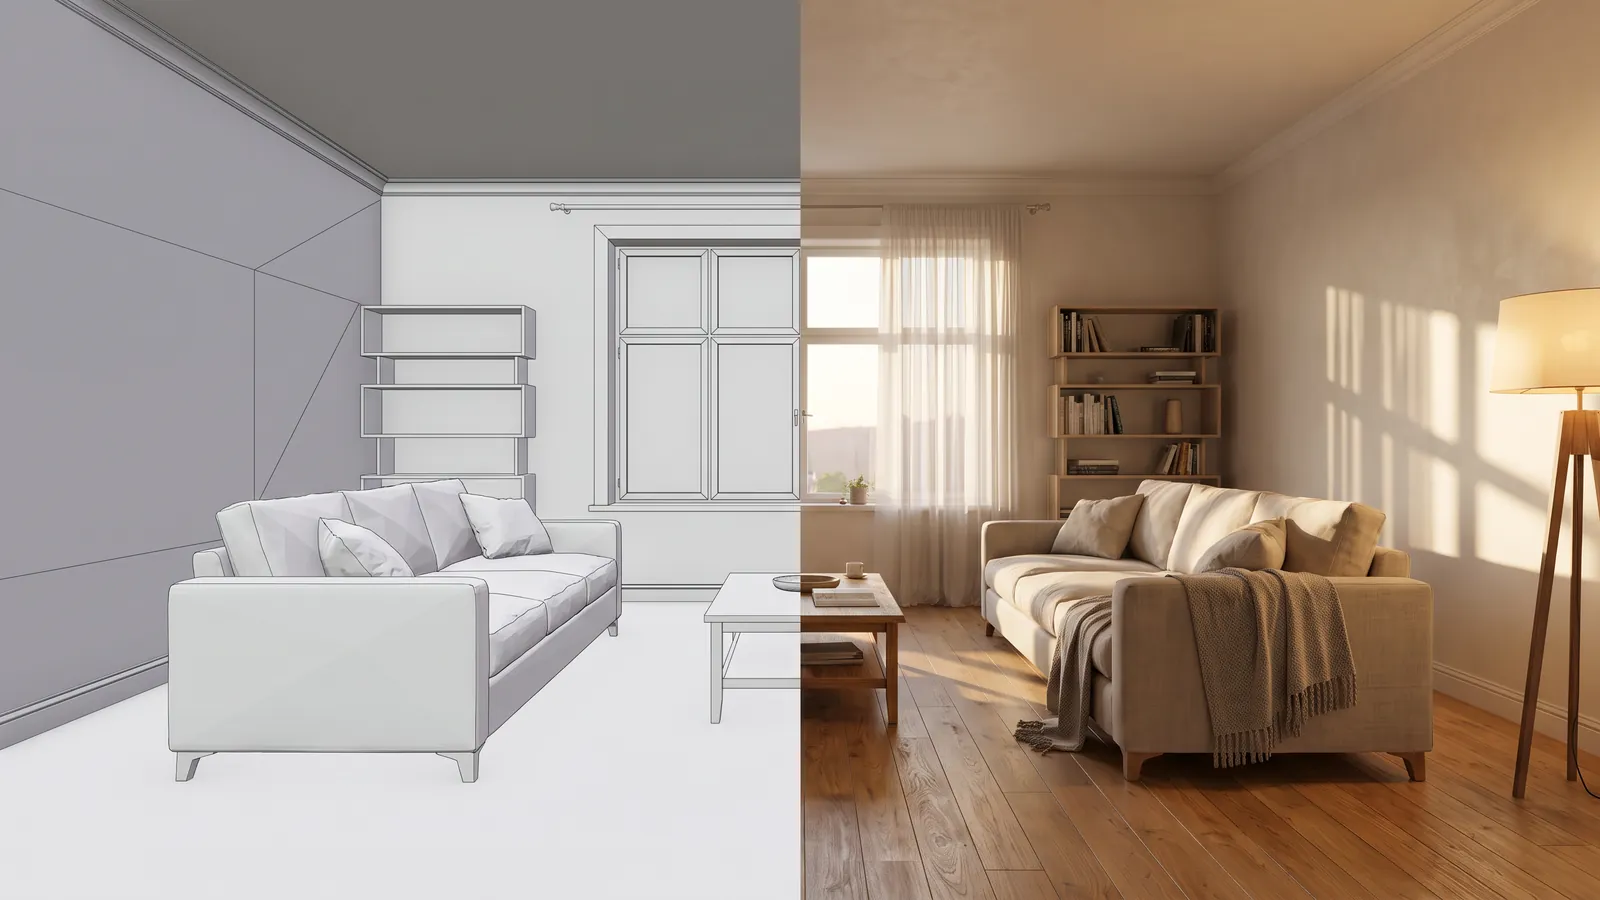
A 3D model view and a photoreal render are two different things, and most tools stop at the first. A model view gives you clean geometry with flat materials: accurate, useful, and obviously computer-generated. A render gives you materials that behave like real materials, light that falls off correctly, contact shadows under furniture, and depth of field. It reads as a photograph.
The render is generated from the exact viewpoint you are standing in, either in a chosen style or from a description you type. What matters is what stays fixed: the walls, the window positions and the proportions of your plan are preserved rather than reinvented. The layout is yours and the finish is generated. That is the honest version of the claim, and it is the reason the output is worth anything as a decision tool rather than just as a picture.
If you want the space in motion rather than as a single frame, a rendered view can be taken further into a short AI video walkthrough, which is available on the higher plans. If you would rather work from a photograph of a real room than from a plan, you can redesign a room from a photo instead.
A real flat, from printed sheet to finished render
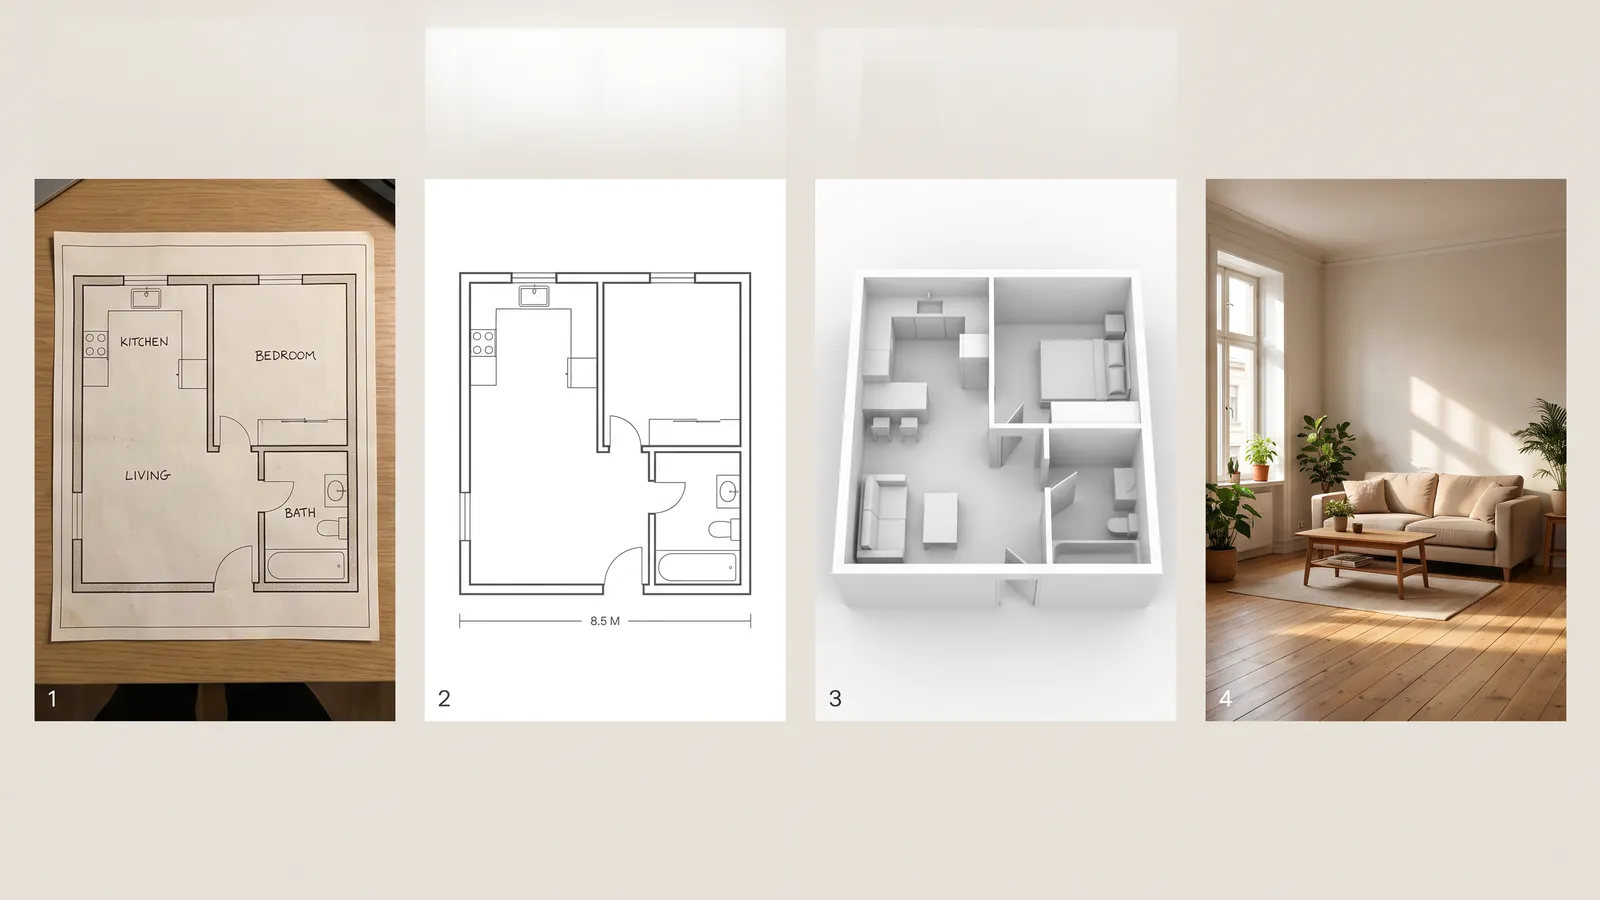
Worth walking through one plan end to end with the actual numbers, because the abstract version hides where the time goes.
The plan is a one-bedroom flat on a printed estate agent sheet: a living room with an open kitchen, one bedroom, a bathroom and a hall, 52 m² in total. Here is the whole job:
- Photograph the sheet, two minutes. Laid flat on a table, shot straight down, no shadow across it.
- Calibrate, one minute. The sheet prints the living room as 4.2 m along the window wall. Entering that one number sets the scale for everything else. A tape measure against the real wall would be better, but a printed dimension on the sheet is a reasonable second choice.
- Trace and correct the walls, twelve minutes. The traced outline came back close but not exact. The internal partition between the bedroom and the hall traced at 8 cm and was corrected to 11 cm, and the bathroom wall was straightened. The living room settles at 4.2 by 3.6 m, so 15.1 m².
- Place the openings, five minutes. Four doors at 80 cm, the bedroom door 45 cm from the corner, two windows at 120 cm and 90 cm.
- Furnish at true size, ten minutes. A 220 cm sofa on the long wall, a 120 by 80 cm dining table, a 140 by 200 cm double bed. The bed against the far wall leaves 62 cm to squeeze past on one side, which is under the 90 cm you want for a route you use daily, so it moves to give 95 cm on the door side and 55 cm on the other.
- Walk it, three minutes. At eye level the kitchen counter at 60 cm deep leaves 105 cm to the dining chairs, which is comfortable. The hall reads tight at 96 cm and there is nothing to be done about it, which is itself useful to know before signing anything.
- Render the living room viewpoint. Standing by the hall door looking at the window.
About 35 minutes of work, and the output is two things: a decision about the bed position that would otherwise have been discovered after delivery, and an image of the room that someone who does not read plans can understand instantly.
Multi-floor plans and whole houses
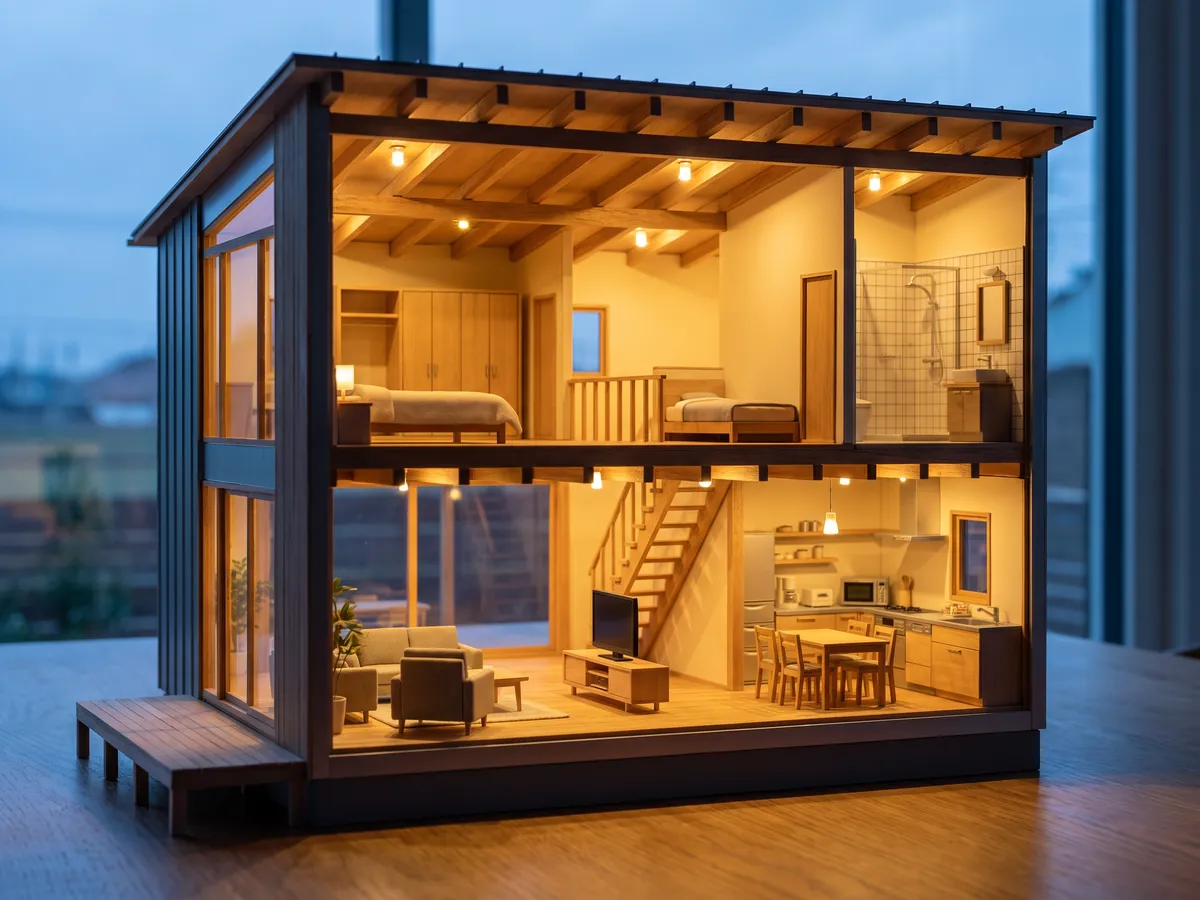
A house is several plans stacked, and stacking is where house plans get interesting. Floors are drawn separately and viewed either one at a time or as a cutaway whole, which is the view that makes a house legible to someone seeing it for the first time.
Two constraints shape almost every two-storey plan. The first is the staircase: it occupies floor area on both levels at once, it needs roughly 90 cm of width to be comfortable and around 3 m of run for a straight flight, and its position is the single thing most likely to force a layout rethink. The second is that an upper floor inherits the footprint below it, and misaligned load-bearing walls are the usual reason a plan changes late and expensively.
Viewing both floors together is what catches the mismatches: a bathroom sitting over a living room, or a stairwell that lands in the middle of a kitchen. None of this is structural advice, and a plan that you intend to build from needs an architect or engineer regardless of how good the 3D view looks.
The mistake that quietly ruins a converted plan
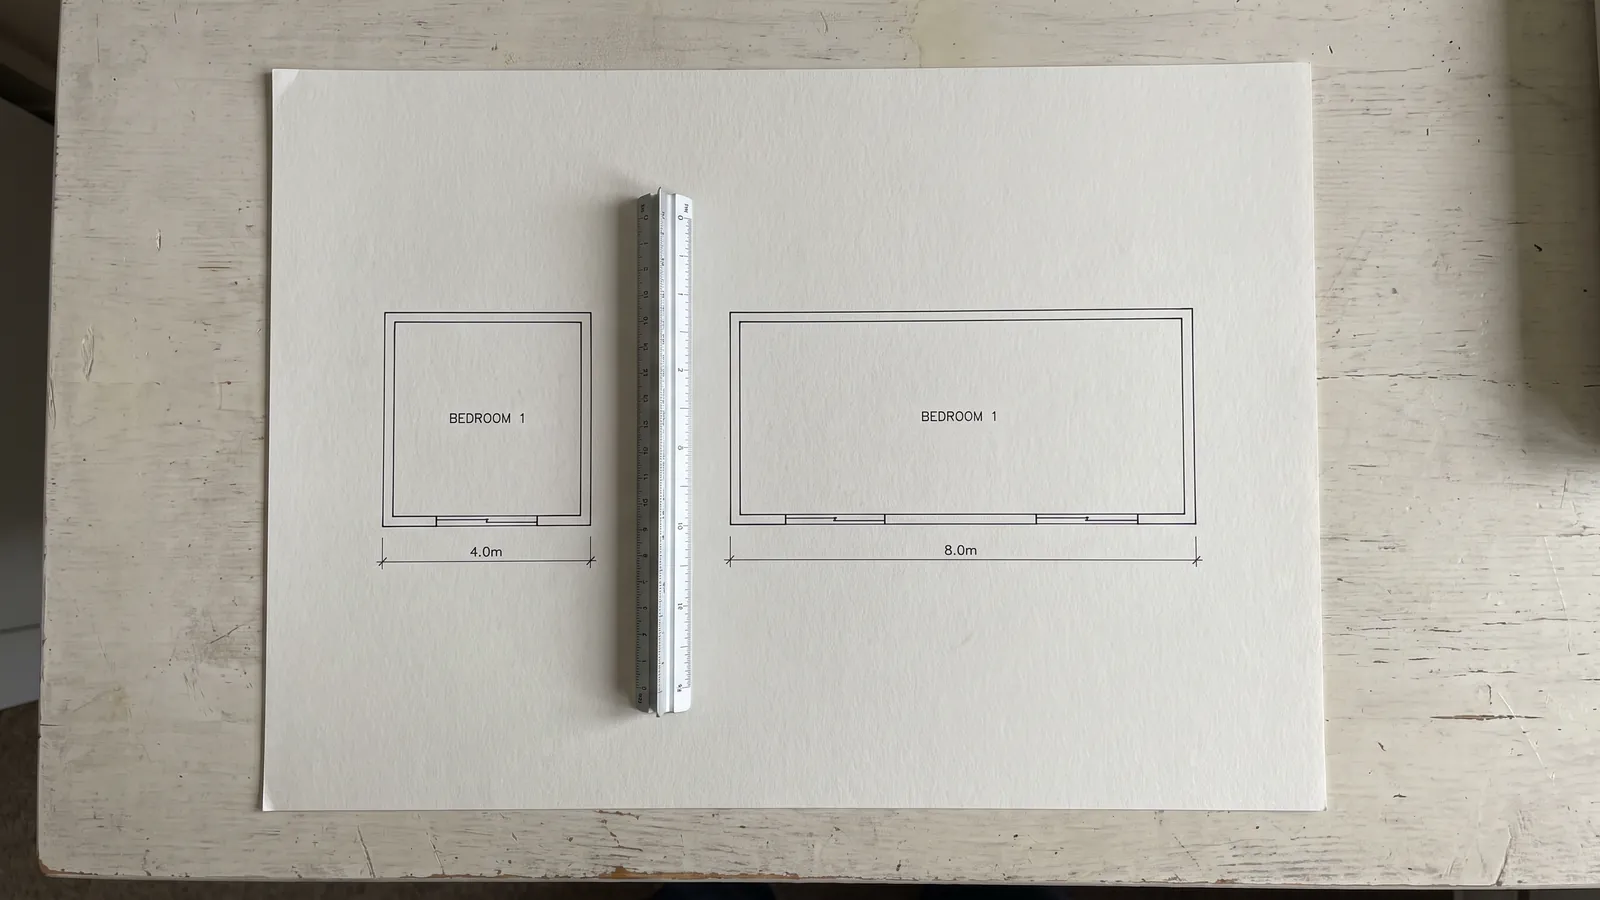
Almost every bad conversion traces back to one thing, and it is not the tracing. It is calibrating from the wrong line.
Here is how it happens. You trace a plan and the software asks for one real dimension. The obvious thing to click is the longest wall, because it is easy to see. But on a printed plan that longest line is often the outside face of the building, while the dimension label next to it describes the internal room. Enter the internal number against the external line and every measurement in the plan is now wrong by the thickness of two walls, which on a 4.2 m room with 30 cm exterior walls is about 14 percent.
Fourteen percent does not look wrong. The plan still reads as a plan, the rooms still look like rooms, and nothing announces the error. It surfaces later, when a 230 cm sofa that fitted comfortably in the model does not fit the real wall, or when a 60 cm counter run leaves 8 cm less clearance than the model promised.
The fix takes one minute. Calibrate against something you have physically measured, not something the drawing tells you, and prefer a short reliable dimension to a long ambiguous one. A standard interior door at 80 to 90 cm is a good reference because it is unambiguous and you can check it with a tape. Then verify: pick a second wall you also measured, and see whether the model agrees within a couple of centimetres. If it does not, your calibration line was the wrong line.
What it costs, and what is free
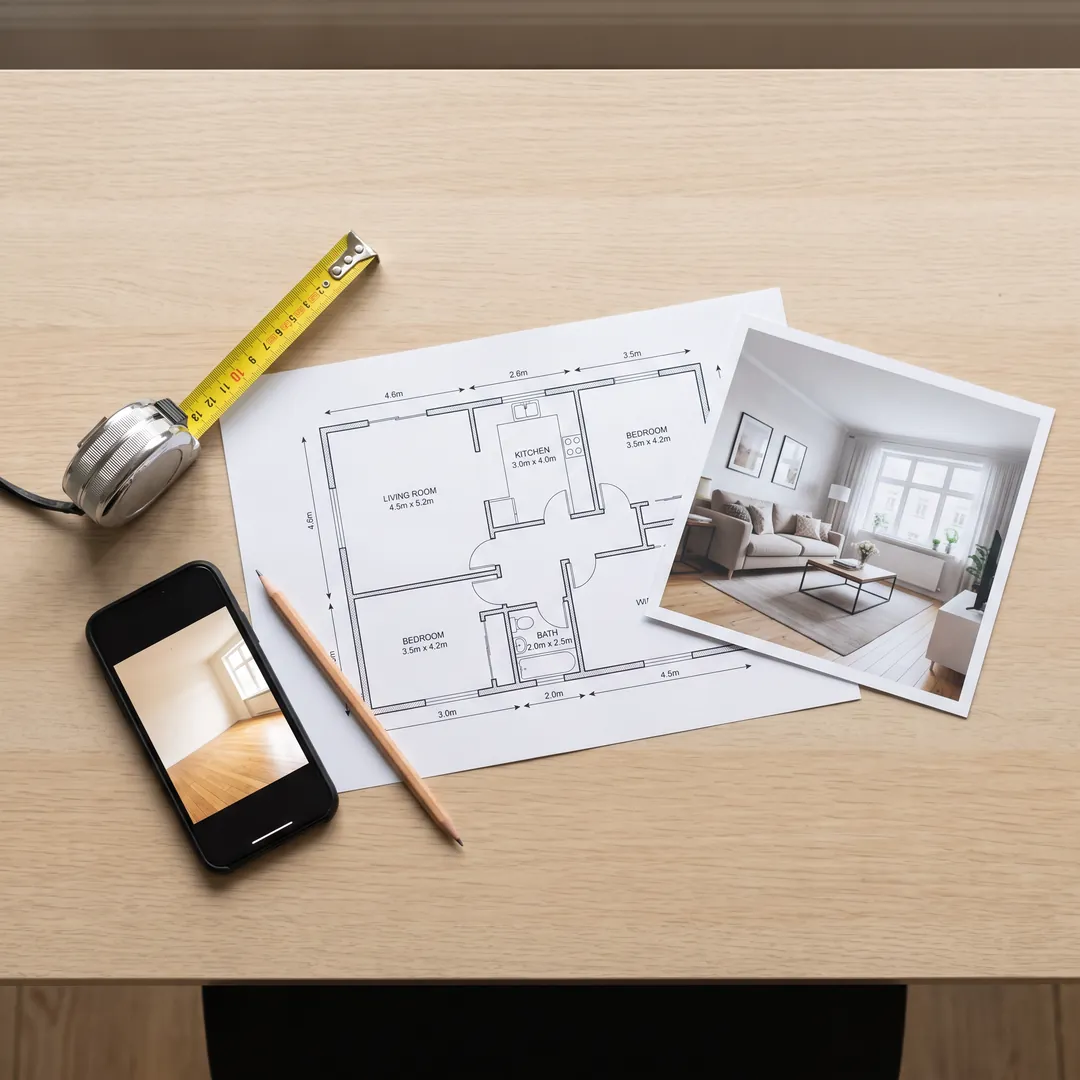
The split is simple. Drawing a plan, tracing a photo, importing a DXF, placing furniture, walking through in 3D and exporting a plan sheet are all free and need no account. The photoreal render is the paid step, and it comes with a subscription.
Set against the alternatives, that lands well. Commissioning a 3D visualiser produces a better image and costs per image, with a turnaround measured in days rather than seconds. Desktop CAD gives you precision and full control, and asks for a licence plus real learning time before you produce anything. Free CAD exists and is genuinely capable, and the learning curve is the price you pay instead of money.
The reason rendering is a subscription rather than a one-off is that each render is generated when you ask for it, so the cost is per use rather than per purchase. The layout work, which is most of the value if you are making a decision rather than producing an image, sits on the free side of that line.
Where floor plan to 3D falls short
This section matters more than the rest, because the limits are what make the other sections trustworthy.
- It is only as accurate as your calibration. One measurement propagates to every dimension. Measure it twice, and verify against a second known wall.
- Ceiling heights are assumed unless you set them. A default of around 2.5 m is typical, but older buildings often run 2.9 m or more, and that difference changes how a room feels more than most furniture choices do.
- It is not a construction document. It carries no structural, electrical or code information, and it does not replace an architect for anything you intend to build.
- Furniture models approximate real products. A 220 cm sofa in the model is 220 cm, but it is not the specific sofa you are looking at. Check the actual product dimensions before ordering.
- A render shows how a space could look, not how it will look. It is generated from your geometry, so the layout is real, but the finish is one plausible version of many.
What it is reliably good for is a shorter list and a genuinely useful one: judging a layout, testing whether furniture fits, comparing two arrangements against each other, and communicating a space quickly to someone who does not read plans. Those four cover most of the reasons anyone converts a plan in the first place.
Try it on your own plan
Four steps, in order:
- Bring in your plan. Photograph it, upload a PDF, import a DXF, or draw the walls if no plan exists yet.
- Set one real width that you have measured yourself, then check it against a second wall.
- Place furniture at true size and leave 90 cm for the routes you walk every day.
- Switch to 3D and walk in at eye level, then render the viewpoint you want to keep.
Everything up to the render is free and needs no account. Open the planner and start with your plan, or read how the floor plan creator works first if you would rather see the whole thing explained before you begin.
Frequently asked questions
Can I convert a floor plan to 3D from just a photo? +
Yes, if the plan is legible and you can supply one real dimension to set the scale. You photograph the sheet straight down, trace over it, and enter one measured width such as a wall length or a standard interior door at 80 to 90 cm. Every other dimension follows from that one reference.
Do I need CAD software or the original file? +
No. A photo or a PDF works, and DXF import is available if you do have the file. Importing a DXF is the most accurate route because the geometry arrives already measured, but it is not required and most people never have one.
How accurate is the 3D version? +
As accurate as the dimension you calibrate with and the corrections you make to the traced walls. That is good enough for layout and furniture decisions, and it is not a construction document. Verify your calibration against a second wall you also measured before trusting the numbers.
Can I walk through the plan in first person? +
Yes, and switching between the 2D plan and a first-person 3D view is free. Walking at eye level is what reveals the things a plan hides: ceiling height, sightlines, and how much floor the furniture actually takes.
Can I do more than one floor? +
Yes, multi-floor plans are supported. The staircase is the usual constraint, because it takes floor area on both levels at once and needs roughly 90 cm of width and around 3 m of run for a straight flight.
What does it cost? +
Drawing, tracing, importing a DXF, placing furniture, walking through in 3D and exporting a plan sheet are free and need no account. The photoreal render is the paid step and comes with a subscription.
Can I read a hand-drawn floor plan sketch into 3D? +
Yes, if the sketch is clear and roughly to scale, with legible walls, doors and windows. A tidy hand drawing traces well. The things to avoid are heavy skew from shooting at an angle, glare across the paper, and lines so rough the rooms are hard to make out.
Can I turn a floor plan into a 3D video walkthrough? +
Yes. Beyond the still render, a rendered view can be taken further into a short AI video walkthrough that shows the space in motion, which most plan converters cannot do. Video is available on the higher plans.
 After
After
 Before
Draw it, then walk it
Your plan, built and rendered
Draw the floor plan free in your browser, walk it in 3D, and one click renders the finished home in your style.
Draw your plan and see it realDraw it free. Walk it in 3D. No signup.